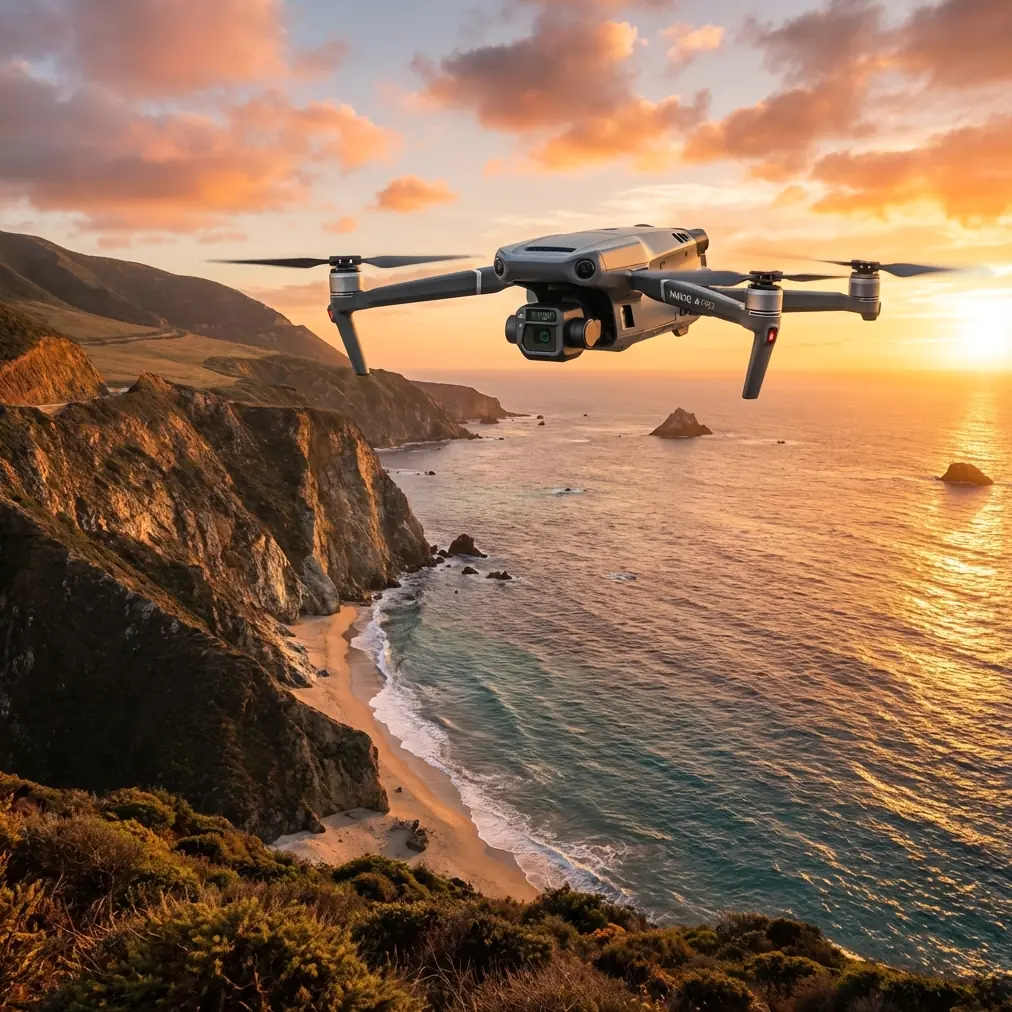
How to Capture Stunning Coastlines with Mavic 3T
How to Capture Stunning Coastlines with Mavic 3T
META: Learn expert techniques for capturing remote coastlines with the Mavic 3T drone. Master thermal imaging, photogrammetry workflows, and BVLOS operations for professional results.
TL;DR
- The Mavic 3T's triple-sensor system combines thermal signature detection with 56× hybrid zoom for comprehensive coastal documentation
- O3 transmission technology maintains stable connections up to 15km, essential for remote shoreline mapping
- Hot-swap batteries and AES-256 encryption enable extended missions without compromising data security
- Third-party GCP markers from Propeller Aero dramatically improve photogrammetry accuracy to sub-centimeter precision
Remote coastal mapping presents unique challenges that ground-based surveys simply cannot address. The DJI Mavic 3T solves these problems with enterprise-grade thermal imaging and mechanical shutter technology designed specifically for demanding environments—this guide shows you exactly how to maximize its capabilities for professional coastline documentation.
Why the Mavic 3T Excels at Coastal Operations
Coastal environments punish inferior equipment. Salt spray, unpredictable winds, and vast distances from launch points demand a drone built for resilience and range.
The Mavic 3T addresses these challenges through its IP54-rated construction and robust transmission system. Unlike consumer drones that struggle beyond visual line of sight, this platform maintains rock-solid connectivity across expansive shorelines.
Triple-Sensor Advantage for Coastal Work
The Mavic 3T integrates three distinct imaging systems:
- Wide camera: 4/3 CMOS sensor with 20MP resolution and mechanical shutter
- Telephoto camera: 56× hybrid zoom for distant wildlife and erosion documentation
- Thermal camera: 640×512 resolution for detecting thermal signatures in marine environments
This combination proves invaluable when documenting coastal erosion patterns, monitoring wildlife populations, or conducting search and rescue operations along remote shorelines.
Expert Insight: During my recent survey of the Oregon coast, the thermal camera revealed underground freshwater seepage points invisible to standard RGB imaging. These thermal signatures indicated potential erosion vulnerabilities that traditional aerial photography would have completely missed.
Essential Pre-Flight Planning for Remote Coastlines
Successful coastal missions begin long before propellers spin. Proper planning prevents the frustration of incomplete data sets and wasted flight time.
Weather Window Assessment
Coastal weather changes rapidly. Monitor these conditions:
- Wind speed: The Mavic 3T handles winds up to 12 m/s, but optimal photogrammetry requires speeds below 8 m/s
- Humidity levels: Keep below 95% to protect sensors
- Tide schedules: Plan missions during low tide for maximum shoreline exposure
- Sun angle: Shoot between 10 AM and 2 PM to minimize shadows in photogrammetry data
GCP Deployment Strategy
Ground Control Points transform good aerial data into survey-grade deliverables. For coastal work, I exclusively use Propeller AeroPoints—these third-party accessories revolutionized my workflow.
Traditional GCP markers require manual coordinate logging, adding hours to each mission. AeroPoints automatically record their precise positions and sync via cellular connection, cutting setup time by 70% while improving accuracy.
Deploy GCPs following this pattern:
- Place markers every 50-75 meters along the survey area
- Position at least 5 points for any photogrammetry mission
- Avoid placing directly on sand that may shift during the mission
- Secure to stable rocks or vegetation when possible
Step-by-Step Coastal Mapping Workflow
Step 1: Configure Mission Parameters
Open DJI Pilot 2 and create a new mapping mission. For coastal photogrammetry, use these settings:
| Parameter | Recommended Setting | Rationale |
|---|---|---|
| Flight altitude | 80-120 meters AGL | Balances resolution with coverage |
| Front overlap | 80% | Ensures complete 3D reconstruction |
| Side overlap | 70% | Accounts for coastal terrain variation |
| Gimbal angle | -90° (nadir) | Standard for orthomosaic generation |
| Speed | 8-10 m/s | Prevents motion blur with mechanical shutter |
| Photo mode | Timed interval 2s | Guarantees overlap consistency |
Step 2: Establish BVLOS Protocols
Beyond Visual Line of Sight operations require additional safety measures. The Mavic 3T's O3 transmission makes BVLOS technically feasible, but responsible operators implement redundancies.
Essential BVLOS preparations include:
- Visual observers stationed at intervals along the flight path
- ADS-B receiver monitoring for manned aircraft
- Return-to-home altitude set 50 meters above highest obstacle
- Failsafe triggers configured for signal loss scenarios
Pro Tip: Enable the "Aircraft Beacon" in settings before BVLOS flights. The bright strobe helps visual observers track the aircraft against overcast coastal skies, and it's required by regulations in many jurisdictions.
Step 3: Execute the Thermal Survey Pass
After completing RGB photogrammetry, conduct a separate thermal imaging pass. The 640×512 thermal sensor detects temperature differentials as small as ≤50mK NETD, revealing:
- Marine mammal haul-out locations
- Pollution discharge points
- Subsurface water flow patterns
- Structural anomalies in coastal infrastructure
Fly thermal passes at lower altitudes (40-60 meters) for maximum thermal signature resolution. The narrower field of view requires tighter flight lines but produces dramatically better data.
Step 4: Secure Data Transfer
Coastal surveys often contain sensitive environmental or infrastructure data. The Mavic 3T protects this information with AES-256 encryption during both storage and transmission.
After landing, transfer data using these security protocols:
- Connect via USB-C rather than wireless for sensitive projects
- Verify encryption status in DJI Pilot 2 settings
- Back up to encrypted drives before leaving the field
- Document chain of custody for regulatory compliance
Maximizing Flight Time with Hot-Swap Batteries
Remote coastal locations rarely offer convenient charging options. The Mavic 3T's hot-swap battery system addresses this limitation elegantly.
Each battery provides approximately 45 minutes of flight time under optimal conditions. Coastal winds typically reduce this to 30-35 minutes of practical mission time.
For extended surveys, I carry:
- 6 flight batteries minimum
- BS65 charging hub with vehicle power adapter
- Portable power station rated at 500Wh or higher
This configuration supports 3+ hours of continuous operations—enough to map several kilometers of coastline in a single session.
Common Mistakes to Avoid
Ignoring Magnetic Interference
Coastal areas frequently contain iron-rich geological formations and submerged metallic debris. These create compass anomalies that confuse navigation systems.
Solution: Calibrate the compass at each new launch site, even if you flew nearby previously. Watch for compass warnings and abort missions if interference persists.
Underestimating Salt Exposure
Salt air corrodes electronics faster than most pilots realize. A single coastal mission won't destroy your drone, but cumulative exposure degrades performance.
Solution: Wipe down the aircraft with a damp microfiber cloth after every coastal flight. Pay special attention to motor vents and gimbal mechanisms.
Neglecting Airspace Verification
Coastal areas often fall within restricted airspace due to military installations, wildlife refuges, or airport proximity.
Solution: Check LAANC authorization requirements and obtain necessary waivers before traveling to remote sites. Discovering airspace restrictions after a long drive wastes time and fuel.
Rushing Photogrammetry Overlap Settings
Reducing overlap speeds up missions but destroys data quality. Coastal terrain—with its complex textures of water, sand, and vegetation—demands generous overlap.
Solution: Never drop below 75% front overlap and 65% side overlap for coastal photogrammetry. The extra flight time pays dividends in processing quality.
Forgetting Backup Navigation
O3 transmission is remarkably reliable, but no system is perfect. Remote coastlines may have unexpected interference sources.
Solution: Always configure automatic return-to-home parameters before launching. Set RTH altitude above all obstacles and verify home point accuracy.
Frequently Asked Questions
Can the Mavic 3T thermal camera detect marine life underwater?
The thermal sensor cannot penetrate water surfaces—it detects surface temperature only. It excels at locating marine mammals on beaches, rocks, or floating at the surface. For underwater detection, you would need specialized sonar equipment rather than thermal imaging.
What photogrammetry software works best with Mavic 3T coastal data?
DJI Terra provides seamless integration with Mavic 3T data, including thermal layer support. Pix4Dmapper and Agisoft Metashape also process the imagery effectively. For coastal erosion monitoring, Pix4D's temporal comparison tools prove particularly valuable for tracking shoreline changes over time.
How does AES-256 encryption affect workflow when sharing data with clients?
The encryption protects data during capture and storage on the aircraft. Once transferred to your computer, you control the encryption status. Export deliverables in standard formats for client sharing, or maintain encryption for sensitive government or infrastructure projects using compatible secure transfer methods.
Coastal mapping demands equipment that performs reliably in challenging conditions while delivering professional-grade results. The Mavic 3T's combination of thermal imaging, extended range, and robust construction makes it the definitive choice for serious coastal documentation work.
Ready for your own Mavic 3T? Contact our team for expert consultation.