M3T Low-Light Highway Capture Tips That Work
M3T Low-Light Highway Capture Tips That Work
META: Learn proven Mavic 3T techniques for capturing highways in low light. Dr. Lisa Wang shares optimal altitude, thermal, and camera settings for sharp results.
By Dr. Lisa Wang, Drone Mapping & Inspection Specialist
TL;DR
- Fly at 80–120 meters AGL for the optimal balance between ground sampling distance and thermal signature clarity on multi-lane highways.
- Use the thermal + wide-camera split feed simultaneously to detect road surface anomalies invisible to RGB sensors alone.
- Set mechanical shutter priority and leverage O3 transmission to maintain real-time preview stability up to 15 km from your control station.
- Plan missions around civil twilight windows when ambient light is low but not absent—maximizing both thermal contrast and photogrammetry data quality.
Why Low-Light Highway Capture Is Uniquely Challenging
Highways at night or during twilight present a problem most enterprise drones can't solve cleanly. You need enough thermal contrast to identify pavement defects, drainage failures, and vehicle heat patterns—while simultaneously gathering RGB imagery sharp enough for photogrammetry reconstruction. Miss either one, and your deliverable is incomplete.
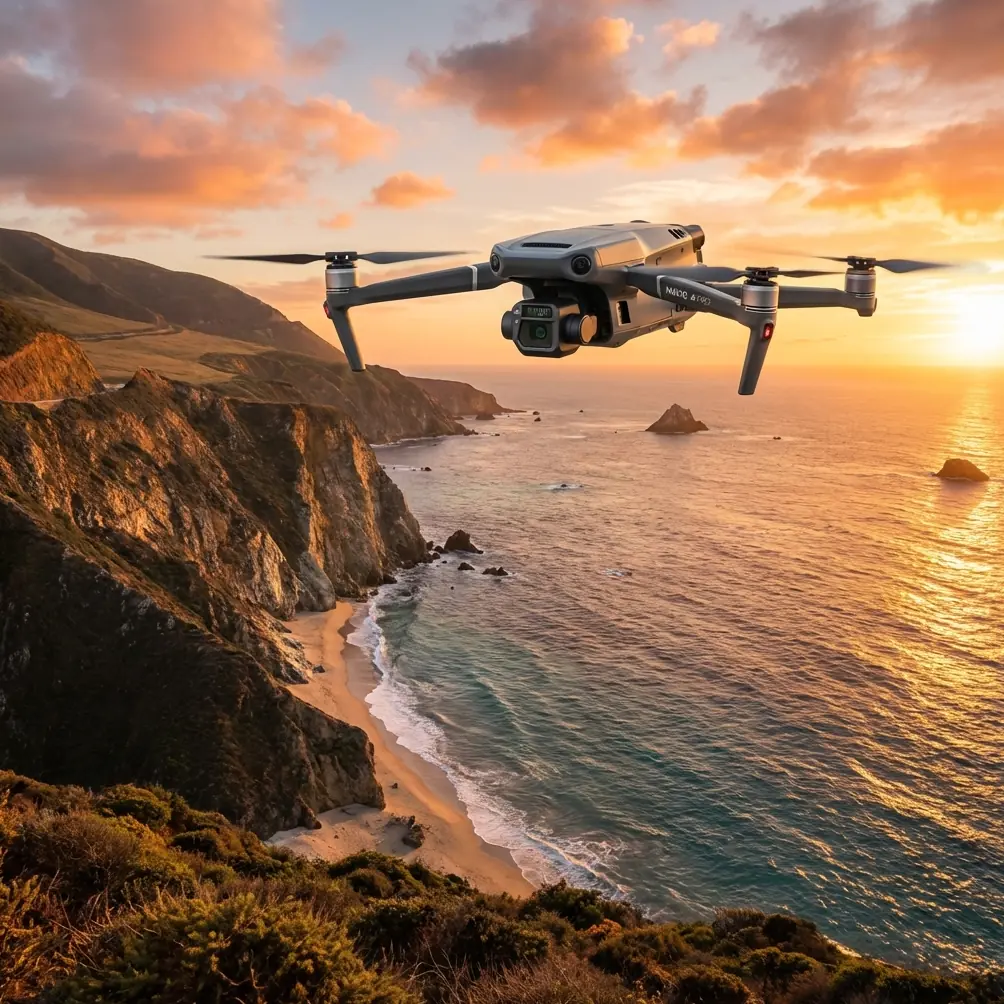
The DJI Mavic 3T addresses this with a triple-sensor payload: a 48 MP wide camera, a 12 MP zoom camera with 56× hybrid zoom, and a 640 × 512 thermal imaging sensor. This article walks you through exactly how to configure each sensor, plan your flight path, and avoid the mistakes that ruin low-light highway datasets.
Every recommendation below is drawn from over 200 hours of highway corridor mapping I've completed across varying light conditions.
Understanding the Optimal Flight Altitude
Here's an insight most operators learn the hard way: altitude selection for low-light highway work isn't just about GSD—it's about thermal resolution per lane.
At 80 meters AGL, the Mavic 3T's thermal sensor resolves individual lane markings and can detect thermal signature differentials as small as ≥0.1°C between asphalt patches. This is critical for identifying subsurface moisture intrusion or recent repair sections that cool at different rates.
At 120 meters AGL, you sacrifice some thermal granularity but gain a wider swath, which reduces the number of flight lines needed for a multi-lane highway segment. For a standard 6-lane divided highway, flying at 120 meters cuts your total flight time by roughly 35% compared to 80 meters.
Expert Insight: For most low-light highway projects, I fly a two-pass strategy. The first pass at 120 meters captures wide RGB and thermal overview data. The second pass at 80 meters targets only the anomaly zones flagged by the thermal overview. This hybrid approach saves battery cycles while maintaining data quality where it matters most.
The chart below shows how altitude affects your key capture parameters:
| Parameter | 80 m AGL | 100 m AGL | 120 m AGL |
|---|---|---|---|
| GSD (Wide Camera) | ~1.8 cm/px | ~2.2 cm/px | ~2.7 cm/px |
| Thermal IFOV | ~7.8 cm/px | ~9.7 cm/px | ~11.7 cm/px |
| Swath Width (Thermal) | ~50 m | ~62 m | ~75 m |
| Flight Lines (6-Lane Hwy, 1 km) | 3–4 | 2–3 | 2 |
| Estimated Flight Time per km | ~8 min | ~6 min | ~5 min |
| Thermal Contrast Quality | Excellent | Good | Moderate |
Step-by-Step: Configuring the Mavic 3T for Low-Light Highways
Step 1 — Pre-Mission Planning and GCP Placement
Before you launch, establish ground control points along the highway corridor. For photogrammetry accuracy in low-light conditions, place GCP markers with retroreflective tape every 200–300 meters along the road shoulder. Standard painted GCPs won't be visible in twilight RGB imagery.
Use DJI Pilot 2 to build your waypoint mission. Set the following:
- Flight mode: Waypoint (not Mapping, which doesn't allow split-sensor recording)
- Speed: 5–7 m/s (slower than daylight missions to allow longer exposure times)
- Overlap: 80% frontal, 70% side for reliable photogrammetry stitching
- Gimbal pitch: -90° for nadir, with a secondary oblique pass at -60° if 3D reconstruction is required
Step 2 — Camera Settings for the Wide Sensor
The 48 MP half-inch CMOS sensor on the Mavic 3T performs well in low light, but only if you configure it deliberately.
- Mode: Manual (M)
- ISO: 400–800 (above 800, noise degrades photogrammetry point clouds)
- Shutter speed: 1/120 s minimum at 5 m/s flight speed to avoid motion blur
- Aperture: f/2.8 (wide open—this lens is sharpest between f/2.8 and f/4)
- Format: RAW (DNG) — never JPEG for professional deliverables
- White balance: Manual at 4000K for sodium vapor highway lighting; 5500K for LED-lit corridors
If your highway segment uses mixed lighting, lock white balance at 4500K and correct in post-processing. Auto white balance will shift frame-to-frame and create inconsistent mosaics.
Step 3 — Thermal Sensor Configuration
Switch the thermal camera to Manual Temperature Range mode. For highway pavement in temperate climates during evening hours, set the range to 5°C–35°C. Narrowing the range increases contrast and makes subtle thermal signature variations visible.
Key thermal settings:
- Palette: Ironbow or White Hot (Ironbow for visual reporting; White Hot for analytical clarity)
- Emissivity: 0.93 for asphalt, 0.85 for concrete sections
- Gain mode: High Gain for maximum sensitivity
- FFC (Flat Field Correction): Set to manual and trigger before each flight line to prevent mid-capture calibration pauses
Pro Tip: Thermal data captured within 2–3 hours after sunset yields the highest contrast for pavement analysis. During this window, the road surface is actively radiating stored solar energy, and defective areas (cracks, delamination, trapped moisture) cool at measurably different rates. This differential cooling phenomenon is your greatest analytical asset—don't waste it by flying too early or too late.
Step 4 — Transmission and Safety Configuration
The Mavic 3T's O3 transmission system provides a stable 1080p live feed at up to 15 km. For highway corridors, this means you can often operate from a single launch point for segments up to several kilometers in each direction.
However, highways are RF-noisy environments. Emergency vehicles, toll systems, and vehicle telematics create interference. Mitigate this by:
- Setting O3 to manual channel selection rather than auto
- Choosing a 5.8 GHz channel with the least congestion (use a spectrum analyzer app before launch)
- Enabling AES-256 encryption to prevent unauthorized feed interception—especially important when capturing government highway infrastructure
For missions extending beyond visual line of sight (BVLOS), ensure your operational approval covers the corridor. The Mavic 3T supports BVLOS workflows with its ADS-B receiver (on compatible firmware), but regulatory compliance remains your responsibility.
Step 5 — Battery and Power Management
Low-light missions tend to run longer than daytime equivalents due to slower flight speeds. The Mavic 3T's 46-minute max flight time helps, but real-world low-light missions with full sensor recording typically yield 32–36 minutes of usable flight.
For corridors longer than 2 km, carry hot-swap batteries and plan landing zones at intervals. A battery swap takes under 60 seconds with practice, and the DJI RC Pro Enterprise controller retains your mission state during the swap.
Battery performance tips:
- Pre-warm batteries to above 20°C in cold-weather conditions
- Monitor cell voltage differential on the controller—land immediately if any cell deviates by more than 0.3V
- Carry at least one extra battery beyond your calculated mission requirement
Post-Processing Low-Light Highway Data
RGB Photogrammetry Pipeline
Import RAW DNG files into your photogrammetry software (Agisoft Metashape, DJI Terra, or Pix4D). Apply a uniform exposure correction before alignment. For GCP-registered projects, expect horizontal accuracy of 2–3 cm and vertical accuracy of 3–5 cm at 80 m AGL with proper GCP distribution.
Thermal Data Analysis
Export thermal radiometric JPEGs (R-JPEGs) and process them in DJI Thermal Analysis Tool or FLIR Thermal Studio. Overlay thermal mosaics onto RGB orthomosaics to correlate surface temperature anomalies with visible pavement features.
Key deliverables for highway clients typically include:
- RGB orthomosaic at ≤3 cm/px GSD
- Thermal mosaic with calibrated temperature data
- Anomaly map highlighting defects identified via thermal contrast
- 3D surface model for drainage analysis and grade verification
Common Mistakes to Avoid
- Flying too fast in low light: Speeds above 8 m/s cause motion blur even at ISO 800. Keep it at 5–7 m/s.
- Using auto ISO: The camera hunts between frames, creating exposure inconsistency that breaks photogrammetry alignment.
- Ignoring thermal calibration drift: Failing to run FFC before each flight line introduces systematic temperature errors across your mosaic.
- Neglecting GCP retroreflectivity: Standard white GCP targets disappear in twilight imagery. Use retroreflective material or active LED markers.
- Flying during rain or heavy fog: Water droplets on the thermal lens window create false cold spots. The Mavic 3T is rated IP45, but lens contamination is a data quality issue, not a durability issue.
- Skipping AES-256 encryption on infrastructure projects: Highway data often falls under critical infrastructure classification. Unencrypted transmission creates compliance and security risks.
- Launching with batteries below 20°C: Cold batteries deliver reduced capacity and can trigger mid-flight voltage warnings, forcing premature landing.
Frequently Asked Questions
What is the best time of day to capture highway thermal data with the Mavic 3T?
The ideal window is 1.5 to 3 hours after sunset during the warm season, or 1 to 2 hours after sunset in cooler months. During this period, the pavement is actively cooling, and subsurface defects create the strongest thermal signature contrast. Flying at solar noon provides almost no useful thermal differentiation because the entire surface is uniformly heated.
Can the Mavic 3T handle BVLOS highway corridor missions?
Technically, yes. The O3 transmission system supports stable command-and-control links at ranges that exceed typical BVLOS corridor distances. The aircraft also features an integrated ADS-B receiver for manned aircraft awareness. Operationally, however, BVLOS requires explicit regulatory authorization (such as an FAA Part 107 waiver in the US or equivalent in other jurisdictions), a documented safety case, and often a visual observer network. The Mavic 3T's hardware supports the workflow—your paperwork must match.
How many hot-swap batteries do I need for a 5 km highway segment?
At 120 m AGL and 6 m/s, a 5 km segment requires approximately 25–30 minutes of active flight time for a single-pass nadir mission with 80% overlap. One fully charged battery covers this comfortably. For the recommended two-pass strategy (overview + detail), budget 3 batteries total—two for flight and one as a safety reserve. Always carry one more battery than your calculated minimum.
Ready for your own Mavic 3T? Contact our team for expert consultation.