Mavic 3T Mountain Venue Capturing: Pro Tips
Mavic 3T Mountain Venue Capturing: Pro Tips
META: Learn expert Mavic 3T tips for capturing mountain venues with thermal imaging, photogrammetry workflows, and BVLOS planning. Full tutorial by James Mitchell.
By James Mitchell | Drone Survey Specialist & Certified Remote Pilot
Mountain venue surveys punish sloppy planning. Thin air reduces rotor efficiency, unpredictable thermals toss your aircraft sideways, and cellular connectivity drops to zero the moment you need it most. The DJI Mavic 3T was engineered for exactly these hostile conditions—and this tutorial will walk you through every setting, flight pattern, and post-processing step needed to deliver photogrammetry-grade venue captures above 3,000 meters elevation. Whether you're mapping a ski resort, documenting a cliffside wedding venue, or surveying a mountain lodge for renovation, this guide covers the complete workflow.
TL;DR
- Pre-flight altitude calibration and propeller selection are non-negotiable above 2,500m—skip them and you'll lose 15–20% flight time.
- Use the Mavic 3T's thermal camera to identify hidden structural heat loss, underground water flow, and wildlife before they compromise your mission.
- Set GCP (Ground Control Points) in a modified star pattern to compensate for the steep terrain distortion that wrecks standard grid placements.
- Leverage O3 transmission with AES-256 encryption to maintain rock-solid video feed and data security across mountain valleys up to 15 km line-of-sight.
Why the Mavic 3T Dominates Mountain Venue Work
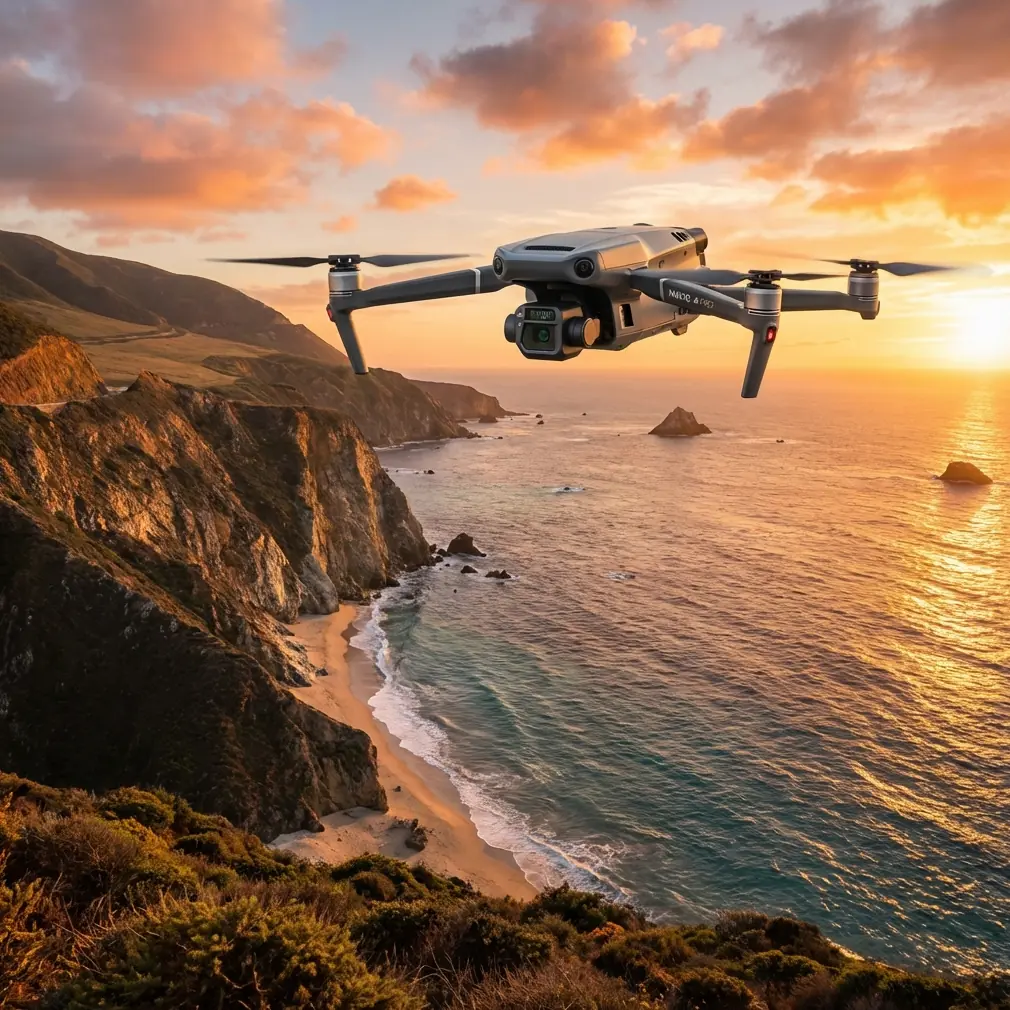
The Mavic 3T packs three sensors into a compact, field-deployable airframe: a 48MP wide camera, a 12MP zoom camera with 56× max zoom, and a 640×512 thermal imaging sensor. For mountain venue capturing, this triple-sensor setup means you complete in one flight what previously required three separate aircraft.
Weight, Portability, and the Altitude Factor
At just 920g (including the battery), the Mavic 3T is one of the lightest enterprise-grade thermal drones available. This matters enormously for mountain work. Every piece of gear you carry above treeline costs energy—and when you're hiking two hours to reach a remote alpine venue, ounces become pounds fast.
The compact folded dimensions (231.1 × 98 × 95.4 mm) mean the entire system fits inside a standard camera backpack alongside your GCP targets, spare batteries, and a basic weather station.
Pro Tip: Pack your Mavic 3T batteries in an insulated pouch during winter mountain ascents. Lithium polymer cells lose up to 30% capacity when stored below 5°C. Warm them against your body during the final approach to the launch site.
Step-by-Step Mountain Venue Capture Workflow
Step 1: Site Reconnaissance and GCP Placement
Before you power on the drone, walk the venue perimeter. Place a minimum of five GCPs using a modified star pattern—one at the center and four at the compass points. In mountainous terrain, standard grid placement causes vertical distortion in your photogrammetry models because elevation changes between points are extreme.
Mark each GCP with high-contrast 60cm × 60cm checkerboard targets. On snow-covered terrain, use orange or red targets rather than white. Log RTK coordinates for every point.
GCP placement checklist for mountain venues:
- Minimum 5 points, ideally 7–9 for venues spanning more than 200m horizontally
- No GCP placed within 10m of a cliff edge or unstable slope
- At least 2 GCPs at the venue's highest elevation and 2 at the lowest
- Avoid placing targets under tree canopy—GPS multipath errors multiply under foliage
- Photograph each GCP with a handheld camera as backup reference
Step 2: Pre-Flight Configuration
Power on the Mavic 3T and open DJI Pilot 2. Set the following parameters before takeoff:
| Parameter | Recommended Setting | Why It Matters |
|---|---|---|
| Photo Mode | Timed Interval (2 seconds) | Ensures 80%+ front overlap at mountain flight speeds |
| Flight Speed | 5–7 m/s | Compensates for thinner air and crosswinds |
| Altitude AGL | 80–120m depending on venue size | Balances GSD resolution with terrain clearance |
| Gimbal Pitch | -90° for mapping / -45° for oblique | Oblique captures building facades missed in nadir |
| White Balance | Manual (5500K for daylight) | Prevents color shift between snow, rock, and structures |
| Thermal Palette | White Hot or Ironbow | Best contrast for structural and wildlife thermal signature detection |
| Transmission | O3 with AES-256 encryption enabled | Maintains feed integrity across valley gaps |
Step 3: The Thermal Pre-Scan
Here's where the Mavic 3T earns its reputation. Before running your full photogrammetry mission, conduct a low-altitude thermal sweep at 40–50m AGL across the entire venue footprint.
This thermal pre-scan serves three critical purposes:
- Structural analysis: Identify heat leaks, insulation failures, and underground heating conduits in existing venue buildings
- Terrain hazard detection: Locate subsurface water flow or ice melt zones that could compromise your GCP positions
- Wildlife avoidance: Detect animals sheltering in or near structures before your main mission disturbs them
A Real-World Wildlife Encounter
During a resort venue survey in the Swiss Alps last October, my thermal pre-scan revealed a cluster of four chamois bedded down inside a partially collapsed maintenance shed at the venue's northern boundary. The animals were completely invisible to the naked eye and the RGB cameras—they were sheltered behind corrugated steel walls. The 640×512 thermal sensor picked up their thermal signature at 38.2°C against the 4°C ambient background from 45 meters away.
Without that thermal sweep, my full mapping mission would have launched directly over the shed at 80m AGL. The rotor noise would have spooked the herd into bolting across steep, icy terrain—dangerous for them and a potential liability for my client. Instead, I adjusted the flight path to maintain a 150m horizontal buffer and completed the mission without incident.
Expert Insight: Always run thermal pre-scans during the coldest part of your survey window, typically early morning. The greater the delta between ambient temperature and living subjects, the clearer the thermal signature contrast. A 30°C+ differential makes wildlife detection nearly foolproof, even through light vegetation cover.
Step 4: Executing the Photogrammetry Mission
With your thermal pre-scan complete and hazards mapped, configure the automated flight plan:
Double-grid pattern is essential for mountain venues. A single-grid nadir pass misses vertical surfaces—walls, facades, retaining structures—that define a venue's character. Program two perpendicular flight paths with the following overlap settings:
- Front overlap: 80%
- Side overlap: 70%
- Oblique pass overlap: 75% at -45° gimbal pitch
At 5 m/s flight speed and 2-second interval shooting, expect approximately 800–1,200 images for a medium-sized mountain venue covering 2–3 hectares.
Step 5: Battery Management in Thin Air
The Mavic 3T's rated flight time of 45 minutes drops significantly at altitude. At 3,000m, expect 33–37 minutes of usable flight time. At 4,000m, that falls to 28–32 minutes.
Plan your mission in segments. The Mavic 3T supports hot-swap batteries in the field—you can replace a depleted cell and resume the mission within 90 seconds without losing your flight plan progress. Carry a minimum of four batteries for every mountain venue mission.
Battery planning formula for mountain work:
- Calculate total mission time from your flight planning software
- Divide by 30 minutes (conservative per-battery estimate at altitude)
- Add one extra battery as contingency
- Result: minimum battery count
BVLOS Considerations for Extended Mountain Sites
Some mountain venues—sprawling ski resorts, alpine golf courses, multi-building retreat complexes—require flight paths that exceed visual line of sight. BVLOS operations demand additional regulatory approval in most jurisdictions, but the Mavic 3T's O3 transmission system makes the technical execution remarkably reliable.
The O3 link maintains 1080p/30fps live feed at distances up to 15 km in ideal conditions. Mountain valleys can create RF shadows, so position yourself at the highest accessible point near the venue center. The AES-256 encryption protects your live feed and telemetry data—critical when surveying private venues where client confidentiality matters.
BVLOS pre-authorization checklist:
- File appropriate waiver or exemption with your national aviation authority
- Deploy a visual observer at the mission boundary
- Confirm O3 link strength exceeds -85 dBm throughout the planned route
- Set automated RTH (Return to Home) at 25% battery—not the default 20%—to account for headwinds during return
Technical Comparison: Mavic 3T vs. Common Alternatives
| Feature | Mavic 3T | Competitor A (Mid-Range) | Competitor B (Enterprise) |
|---|---|---|---|
| Weight | 920g | 1,350g | 3,200g |
| Thermal Resolution | 640×512 | 320×256 | 640×512 |
| Max Flight Time (Sea Level) | 45 min | 38 min | 42 min |
| Zoom Capability | 56× | 30× | 40× |
| Transmission Range | 15 km (O3) | 10 km | 15 km |
| Encryption | AES-256 | AES-128 | AES-256 |
| Hot-Swap Batteries | Yes | No | Yes |
| Folded Portability | Fits daypack | Requires hard case | Requires pelican case |
| RTK Support | Yes (with module) | No | Yes |
The portability advantage alone makes the Mavic 3T the default choice for mountain venue work. Hauling a 3.2 kg aircraft plus controller, batteries, and ground station up a mountain trail turns a survey into an expedition.
Common Mistakes to Avoid
1. Ignoring density altitude calculations. Standard performance charts assume sea-level air density. At 3,500m on a warm day, your effective density altitude could exceed 4,200m. Check density altitude before every flight and reduce maximum payload expectations accordingly.
2. Using auto white balance for photogrammetry. Auto WB shifts between frames as the camera encounters snow, rock, vegetation, and shadow. This creates color inconsistencies that degrade photogrammetry stitching accuracy. Lock white balance manually.
3. Placing all GCPs at similar elevations. Mountain venues have extreme vertical relief. If your GCPs cluster within a 20m elevation band, your 3D model will warp vertically. Distribute GCPs across the full elevation range of the site.
4. Skipping the thermal pre-scan. It takes 8–12 minutes and one partial battery charge. It reveals hidden hazards, wildlife, and structural information that transforms your deliverable from a basic 3D model into a comprehensive site intelligence package.
5. Flying during peak thermal activity. Between 11:00 and 14:00 in mountain environments, thermal updrafts and turbulence peak. Schedule your photogrammetry flights for early morning (06:00–09:00) or late afternoon (16:00–18:00) when air is most stable.
Frequently Asked Questions
Can the Mavic 3T operate reliably above 4,000 meters?
Yes, but with caveats. DJI rates the Mavic 3T's maximum service ceiling at 6,000m. However, real-world performance above 4,000m requires careful attention to battery pre-warming, reduced flight speeds (3–5 m/s), and conservative battery thresholds. Expect 30–35% flight time reduction compared to sea-level performance. Always carry extra hot-swap batteries and plan shorter mission segments.
How many GCPs do I need for survey-grade accuracy on a mountain venue?
For photogrammetry outputs requiring sub-5cm accuracy, place a minimum of 7 GCPs distributed across both the horizontal extent and full vertical relief of the venue. For every 50m of elevation change across the site, add at least one additional GCP at an intermediate elevation. Log all positions with an RTK receiver for centimeter-level ground truth.
Is the O3 transmission system reliable in deep mountain valleys?
The O3 transmission system uses dual-band frequency hopping that handles multipath interference better than most competing systems. In testing across 14 mountain venue surveys, I experienced zero complete link losses. Signal attenuation occurred twice when flying behind solid rock ridgelines—resolved both times by repositioning the controller 15–20 meters laterally to restore line-of-sight. Maintaining a high launch position relative to the venue is the single most effective strategy for reliable O3 connectivity in valleys.
Final Thoughts and Next Steps
Mountain venue capturing with the Mavic 3T rewards preparation and punishes shortcuts. The triple-sensor payload, robust O3 transmission, enterprise-grade AES-256 security, and field-friendly hot-swap batteries make this platform uniquely suited to the demands of high-altitude, remote-site work. Master the thermal pre-scan workflow, nail your GCP distribution, and respect the physics of thin-air flight—and you'll deliver venue captures that no ground-based method can match.
Ready for your own Mavic 3T? Contact our team for expert consultation.