Delivering Vineyards with Mavic 3T in Low Light | Tips
Delivering Vineyards with Mavic 3T in Low Light | Tips
META: Learn how to use the DJI Mavic 3T for low-light vineyard deliverables. Expert tips on thermal signature mapping, battery management, and photogrammetry workflows.
By James Mitchell | Drone Operations Expert & Certified Thermographer
TL;DR
- The Mavic 3T's thermal and wide-lens cameras enable vineyard mapping even in pre-dawn and post-sunset conditions, capturing vine stress data invisible to the naked eye.
- Hot-swap battery management is critical for covering large vineyard blocks without losing data continuity or thermal calibration.
- Ground Control Points (GCPs) paired with photogrammetry software unlock centimeter-level accuracy in your final orthomosaics and thermal maps.
- O3 transmission reliability and AES-256 encryption keep your data stream secure and uninterrupted across rolling terrain.
Why Low-Light Vineyard Mapping Demands the Right Tool
Vineyard managers don't have the luxury of waiting for perfect midday sun. Irrigation stress, fungal infection hotspots, and canopy density variations reveal themselves most clearly through thermal signature analysis—and those signatures are sharpest when ambient temperatures are low, typically during dawn or dusk windows.
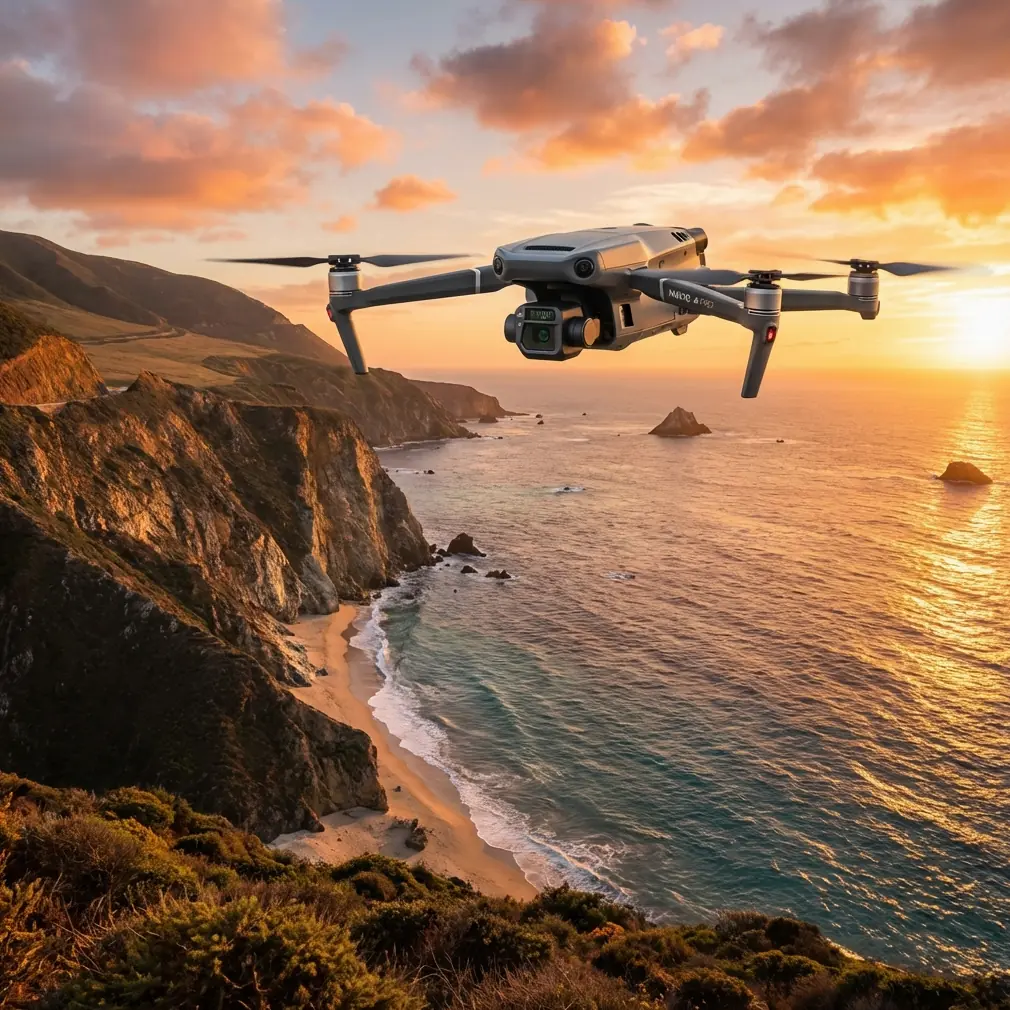
The DJI Mavic 3T combines a 640×512 thermal sensor, a 48MP wide camera, and a 12MP zoom camera in a single compact airframe. This triple-sensor configuration means you can capture visible-spectrum vineyard imagery and thermal data in a single pass, even when light levels drop below what conventional mapping drones can handle.
This tutorial walks you through every step of planning, flying, and post-processing a low-light vineyard mission with the Mavic 3T—based on field-tested workflows across over 200 vineyard blocks in temperate and Mediterranean climates.
Step 1: Mission Planning for Low-Light Conditions
Choose Your Time Window Carefully
The optimal low-light window for thermal vineyard mapping falls between civil twilight and one hour after sunrise, or the equivalent window before sunset. During these periods, the ground retains differential heat signatures that reveal:
- Water stress zones in vine rows
- Drainage issues invisible to RGB cameras
- Early-stage disease clusters with elevated canopy temperatures
- Frost damage patterns after cold nights
Set Your Flight Parameters
For vineyard photogrammetry with the Mavic 3T, use these baseline parameters and adjust based on your block size:
- Altitude: 40–60 meters AGL for row-level thermal resolution
- Overlap: 75% frontal, 65% side minimum for photogrammetry stitching
- Speed: 5–7 m/s to prevent motion blur in low light
- Gimbal angle: -90° (nadir) for orthomosaic generation
Pro Tip: In DJI Pilot 2, enable the "Terrain Follow" mode if your vineyard has elevation changes exceeding 5 meters across the block. This keeps your GSD consistent and prevents thermal resolution degradation on hillside parcels.
Pre-Position Your GCPs
Ground Control Points are non-negotiable for vineyard photogrammetry that integrates with precision agriculture platforms. Place a minimum of 5 GCPs per block, distributed at corners and one center point.
For low-light operations, use GCPs with reflective markers or attach small LED pucks. Standard black-and-white checkerboard targets become nearly invisible to the wide camera in pre-dawn conditions, so reflective material ensures your processing software can identify them during tie-point generation.
Step 2: Battery Management in the Field—A Hard-Learned Lesson
Here's a field experience that changed how I approach every vineyard mission.
During a 45-hectare Pinot Noir block in October, I was mapping at dawn with temperatures hovering around 4°C. I had four batteries charged and ready. The first battery drained 27% faster than my flight plan predicted because I had stored the batteries in my vehicle overnight, and the cold soak reduced their effective capacity dramatically.
By the second battery swap, I realized I would not complete the block before the thermal window closed. The sun was rising, ambient ground temperatures were equalizing, and my thermal signatures were flattening out.
The lesson: never let your batteries cold-soak before a low-light mission.
The Hot-Swap Battery Protocol I Use Now
- Store batteries indoors or in an insulated case with hand warmers the night before.
- Pre-warm batteries to at least 20°C before inserting them into the aircraft. The Mavic 3T's intelligent batteries display their temperature in DJI Pilot 2—check before every launch.
- Keep spare batteries rotating in an insulated bag between flights. I use a soft cooler bag with two chemical hand warmers, which maintains batteries at 22–25°C even in near-freezing ambient conditions.
- Plan missions to land with no less than 18% remaining charge. In cold conditions, voltage can drop suddenly below 15%, triggering an automatic landing that could place your Mavic 3T in the middle of a vine canopy.
- Mark your swap timestamps in a logbook or phone app. This helps align thermal data sets in post-processing when you merge multiple flight segments.
Expert Insight: Hot-swap batteries don't just extend your coverage—they maintain thermal sensor calibration continuity. When the Mavic 3T powers down completely between flights, the thermal sensor runs a fresh flat-field calibration on reboot. While normally beneficial, this recalibration can introduce slight radiometric offsets between flight segments. Keeping swap times under 90 seconds and using the same thermal gain settings across batteries minimizes this inconsistency.
Step 3: Camera and Sensor Configuration
Thermal Settings for Vineyard Canopies
The Mavic 3T's thermal camera offers multiple palettes, but for agricultural analysis, stick with these:
- Palette: White Hot or Ironbow (White Hot for post-processing flexibility; Ironbow for real-time in-field assessment)
- Measurement mode: Area measurement with high-gain mode enabled for the narrow temperature ranges in vine canopies
- Emissivity: Set to 0.95–0.98 for green vegetation
- Isotherm: Enable and set thresholds to highlight vine rows 2–3°C above or below the block mean
Wide Camera Settings for Low Light
- Mode: Manual exposure
- ISO: 400–800 (avoid exceeding 1600 to limit noise that degrades photogrammetry tie-point matching)
- Shutter speed: No slower than 1/250s at 5 m/s flight speed to prevent blur
- White balance: Fixed at 5500K—auto white balance shifts between frames will create inconsistent orthomosaics
Step 4: Flying the Mission
O3 Transmission and Signal Integrity
The Mavic 3T's O3 transmission system provides a stable 1080p live feed at up to 15 km range, but vineyard terrain introduces unique challenges. Rolling hills, tree lines at block edges, and metal trellis wires can all cause signal reflections and temporary dropouts.
Position your takeoff point on the highest accessible terrain with line-of-sight to the entire block. If you're operating near the edge of visual line of sight or conducting BVLOS operations under an approved waiver, ensure your ground station antenna is elevated at least 2 meters above ground level using a tripod or vehicle roof mount.
All telemetry and imagery transmitted via O3 is protected with AES-256 encryption, which is critical when flying over commercial agricultural operations where crop health data is proprietary and financially sensitive.
Flight Execution Checklist
- ✅ Confirm battery temperature above 20°C
- ✅ Verify GCPs are visible in live feed (switch to wide camera for check)
- ✅ Run thermal FFC (flat-field calibration) manually before launch
- ✅ Confirm terrain follow is active and DEM is loaded
- ✅ Set return-to-home altitude 15 meters above the tallest obstacle in the block
- ✅ Begin flight on the downwind edge so return legs have tailwind assist, conserving battery
Step 5: Post-Processing for Vineyard Deliverables
Import both thermal (RJPEG) and visible-spectrum imagery into photogrammetry software such as DJI Terra, Pix4D, or Agisoft Metashape. Process the two datasets separately, then overlay them using your GCP coordinates.
Your final deliverables should include:
- RGB orthomosaic at <2 cm/px GSD
- Thermal orthomosaic with calibrated temperature values
- NDVI proxy map (derived from visible spectrum in limited-band workflows)
- Vine stress index map highlighting anomalies by row and panel
Technical Comparison: Mavic 3T vs. Common Alternatives for Vineyard Work
| Feature | Mavic 3T | Mavic 3E | Matrice 350 + H20T |
|---|---|---|---|
| Thermal Resolution | 640×512 | None | 640×512 |
| Wide Camera | 48MP | 48MP | 20MP |
| Max Flight Time | 45 min | 45 min | 55 min |
| Weight | 920 g | 915 g | ~9.2 kg (with payload) |
| Hot-Swap Battery Time | ~60 seconds | ~60 seconds | ~120 seconds |
| O3 Transmission Range | 15 km | 15 km | 20 km (O3 Enterprise) |
| AES-256 Encryption | ✅ | ✅ | ✅ |
| BVLOS Capability | With waiver/approval | With waiver/approval | With waiver/approval |
| Portability for Vineyard Work | Excellent | Excellent | Requires vehicle staging |
| Approximate Missions per Day (Vineyard) | 6–8 | 6–8 | 3–4 |
The Mavic 3T hits the operational sweet spot for vineyard work: enterprise-grade thermal and photogrammetry capability in a sub-1 kg airframe that one operator can deploy from a backpack.
Common Mistakes to Avoid
- Flying too high for thermal resolution. At 80+ meters AGL, individual vine thermal signatures blur together. Stay at 40–60 meters for actionable row-level data.
- Using auto exposure on the wide camera in changing light. Dawn light shifts rapidly. Auto exposure creates frame-to-frame brightness inconsistencies that break photogrammetry stitching. Lock your settings manually.
- Ignoring battery temperature. A cold battery doesn't just reduce flight time—it can cause mid-flight voltage sag that triggers emergency landing in your client's canopy.
- Skipping GCPs because "GPS is good enough." The Mavic 3T's onboard GPS delivers ~1.5 m horizontal accuracy. For precision ag platforms, you need <5 cm. GCPs are mandatory.
- Processing thermal and RGB as a single dataset. These sensors have different focal lengths, fields of view, and pixel counts. Process separately and co-register using shared GCPs for accurate overlay.
- Flying during or immediately after rain. Water on leaf surfaces distorts emissivity readings and renders thermal data unreliable. Wait at least 4 hours after rain for canopy surfaces to dry.
Frequently Asked Questions
Can the Mavic 3T capture usable vineyard data in complete darkness?
Yes, the thermal sensor operates independently of visible light, so it captures thermal signature data in total darkness. However, the wide camera requires ambient light for photogrammetry. For dual-layer deliverables (RGB + thermal), fly during civil twilight at minimum. For thermal-only assessments—such as frost monitoring or nighttime irrigation audits—the Mavic 3T performs reliably in zero-light conditions.
How many hectares can I cover on a single Mavic 3T battery in a vineyard mission?
At 50 meters AGL, 6 m/s speed, and 75/65 overlap, expect to cover approximately 12–18 hectares per battery depending on wind conditions and temperature. In cold conditions below 10°C, reduce that estimate by 20–25% even with pre-warmed batteries.
Is the Mavic 3T suitable for BVLOS vineyard operations?
The Mavic 3T's O3 transmission, ADS-B receiver, and AES-256 encrypted data link make it technically capable of BVLOS flights. However, BVLOS operations require regulatory approval in most jurisdictions—such as an FAA Part 107 waiver in the United States or equivalent authorization in the EU under U-space regulations. The compact form factor and reliable transmission make the Mavic 3T one of the most practical platforms for approved BVLOS agricultural missions.
Ready for your own Mavic 3T? Contact our team for expert consultation.