Mavic 3T for Dusty Coastline Work: The Settings
Mavic 3T for Dusty Coastline Work: The Settings and Maintenance Details That Actually Matter
META: A field-tested technical review of the Mavic 3T for dusty coastline operations, covering camera setup, thermal use, transmission reliability, and maintenance-focused practices that reduce errors on real missions.
I’ve seen plenty of operators blame the aircraft when the real problem started long before takeoff. On one shoreline documentation job, the complaint was familiar: the images looked flat, the thermal pass felt inconsistent, and the crew assumed the platform was the limiting factor. It wasn’t. The issue was a mix of casual camera setup, environmental contamination, and a maintenance routine that left too much room for small human mistakes.
That is exactly why the Mavic 3T deserves to be discussed in a more grounded way.
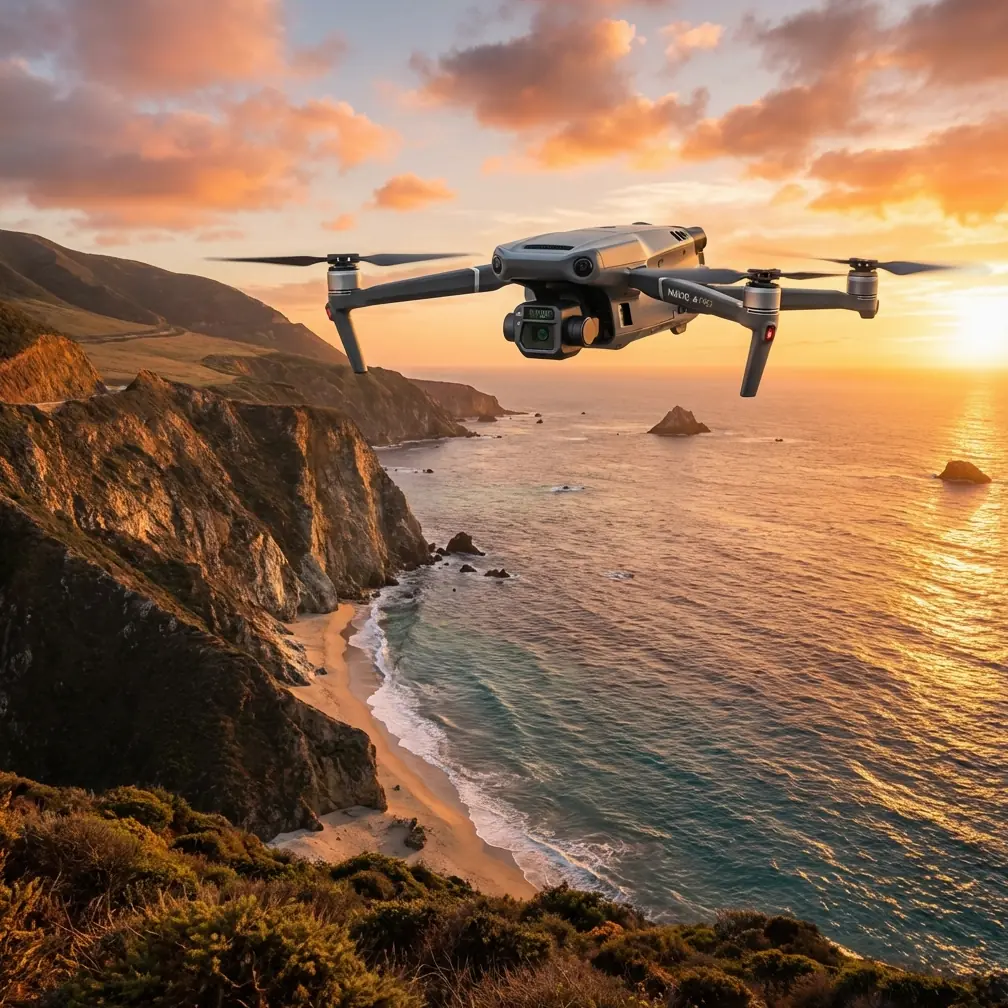
For dusty coastline work, this aircraft is not just about payload flexibility or the convenience of a compact airframe. Its value shows up when you connect three things that are often treated separately: camera discipline, reliable operation in harsh field conditions, and maintenance practices designed to prevent avoidable errors. If you get those right, the Mavic 3T becomes far more than a quick-response drone. It becomes a repeatable data tool.
The coastline problem is not only wind and salt
When people think about coastline missions, they usually focus on wind, glare, and changing light. Those matter. Dust matters just as much.
Dry coastal paths, construction access roads near seawalls, loose fill around revetment work, and vehicle movement around survey staging zones all create fine particulate exposure. That dust settles on lenses, airframe surfaces, connector points, and battery interfaces. It also changes behavior on the ground: crews rush, wipe gear carelessly, swap packs quickly, and start making preventable mistakes.
The Mavic 3T handles mobile field deployment well, but harsh environments expose how disciplined your workflow really is. In my experience, the weak point is rarely flight performance alone. The weak point is the gap between what the aircraft can do and how consistently the team sets it up.
Start with the camera, because “bad-looking photos” usually begin there
One reference point that deserves more attention comes from a recent Chinese photography article on everyday shooting. Its central idea is simple and correct: there is no absolute universal standard in photography, and online tutorials should be treated as reference rather than rules. That matters for Mavic 3T operators more than many realize.
A coastline mission can involve erosion records, asset condition documentation, progress reporting, and stakeholder visuals in the same day. Those are not the same photographic job. If you copy settings from someone else’s social post or generic drone tutorial, you are already behind.
The article also makes a second point with operational significance: if you want images that most people will judge as good, your shooting style has to move closer to broad visual preferences. In practical Mavic 3T terms, that means your visible-light imagery should aim for clarity, balanced exposure, and legible detail rather than highly stylized output. Site managers, engineers, insurers, and clients usually do not want an artistic interpretation of a seawall. They want a clean record they can read instantly.
So for daytime coastline filming with the Mavic 3T, especially in dusty conditions, my advice is straightforward:
- tune for consistent exposure rather than dramatic mood
- prioritize surface detail on rock armor, concrete edges, and sediment boundaries
- avoid overprocessing in camera
- treat influencer-style “best settings” content as a starting point, never a template
That sounds obvious, but it fixes a surprising number of failed flights.
Why the Mavic 3T works well when visible and thermal both matter
The Mavic 3T becomes particularly useful on coastline assignments because thermal signature analysis and visible inspection often need to happen together, not on separate campaigns.
For civilian work, thermal data along coastlines can help identify moisture retention patterns, drainage anomalies in built structures, heat differences around equipment enclosures, or material contrast after sun loading. The visible camera then provides the context needed to explain what the thermal image is actually showing. Without that pairing, interpretation gets weak fast.
This is where operators make another common mistake: they expect thermal to rescue poor mission planning. It won’t. If your visual pass is inconsistent, your thermal pass often becomes harder to interpret later because orientation, overlap, and scene logic no longer match.
When the Mavic 3T is used carefully, the advantage is not just “it has thermal.” The real advantage is that one compact platform can collect two complementary layers of evidence during the same operational window, before light, tide, or access conditions shift.
Transmission and trust: why O3 matters near reflective waterlines
Coastline environments are messy for signal confidence. Open areas can look benign, but reflective surfaces, terrain edges, marine structures, and intermittent obstructions can complicate aircraft positioning and pilot perception. In those moments, transmission quality is not a luxury feature. It directly affects whether the operator can maintain precise framing and interpret changing conditions in real time.
That is why O3 transmission is worth mentioning here. Reliable live video and control responsiveness reduce hesitation when flying inspection lines parallel to shore or repositioning around structures. Even when a mission remains fully compliant with visual line-of-sight requirements, stronger transmission stability contributes to safer and cleaner execution.
For teams handling sensitive commercial project imagery, AES-256 also matters. Coastline work often intersects with infrastructure owners, private developments, utilities, and restricted industrial zones. Secure transmission is not just a specification line. It is part of professional handling of visual and thermal data gathered on behalf of a client.
The maintenance lesson most crews learn the hard way
The most useful non-drone-specific reference in your source set comes from an aircraft design manual focused on reliability and maintainability. It lays out a principle that applies perfectly to Mavic 3T field work: error prevention should be built into the task so the operator can’t easily do the wrong thing.
The original text describes maintenance-oriented design goals in three plain ideas: work should be arranged so crews “can’t make the mistake,” “won’t make the mistake,” or “won’t suffer serious consequences if they do.” That is not abstract theory. It is exactly how you should structure a dusty coastline drone workflow.
The same manual also highlights specific anti-error design concepts:
- parts that are similar in shape and located near each other should be structurally differentiated or clearly marked
- connectors that are frequently removed and reinstalled should use foolproofing measures such as asymmetry, keyed geometry, or locking positions
- symmetric left-right or top-bottom components should either be interchangeable or designed so they cannot be installed incorrectly
These details have real operational significance for Mavic 3T crews.
Why? Because dusty field work amplifies fatigue and shortens attention. The manual explicitly warns that poor visibility, awkward handling, and physically annoying maintenance tasks all increase human error. Anyone who has changed batteries, cleaned optics, checked propellers, and repacked gear in a windy sand-laced staging area knows how true that is.
The lesson is simple: even if the aircraft’s hardware is well designed, your field kit and process must follow the same anti-error logic.
How I apply that principle to Mavic 3T operations
Here is what that looks like in practice on a coastline job.
1. Mark batteries and rotate them in a fixed order
If you are using hot-swap batteries in a rolling inspection day, number the packs physically and log cycle order. Do not rely on memory. In blowing dust, all battery pairs start looking identical very quickly. A clear sequence reduces the chance of mismatched pack usage or uneven battery wear.
2. Separate cleaning tools by purpose
Lens cloths, air blower, and body wipes should never live loose in one pouch. Similar-looking tools used in the wrong order can scratch optics or grind dust into seals. The maintainability manual’s warning about similar components being confused applies here almost perfectly, even though the drone itself is compact and modern.
3. Use keyed storage positions
If a prop set, RTK accessory, controller cable, or charging lead can be put back in the wrong place, eventually it will be. Foam cutouts or compartment labels are cheap insurance. The source manual’s “错不了” idea—making the wrong action physically difficult—is one of the best habits any drone team can adopt.
4. Build a short post-dust inspection routine
Not a vague “look it over.” A fixed order:
- lens and thermal window check
- gimbal freedom of movement
- battery contacts
- arm joints and prop attachment
- airframe vents and shell seams
- controller sticks and display cleanliness
Short, repeatable, and boring is good. Boring prevents mistakes.
Photogrammetry on the coast: where discipline beats enthusiasm
The source material includes a heavily degraded earthwork measurement solution document, but even in fragmentary form it points toward a broader truth: drone operations increasingly sit inside digital engineering workflows, not just image capture. That matters if your Mavic 3T mission includes photogrammetry, progress records, or terrain comparison around shoreline construction.
On dusty coastal projects, photogrammetry quality often falls apart for reasons that are not obvious in the field:
- inconsistent camera parameters between sorties
- variable altitude caused by rushed manual flying
- poor GCP planning on low-texture sand or uniform fill
- dirty lens surfaces reducing sharpness
- mismatched expectations between “inspection photos” and “mapping photos”
The Mavic 3T can support useful site documentation, but operators need to decide before launch whether they are collecting imagery for visual review, thermal interpretation, or measurable reconstruction. Those can overlap, but they should not be treated casually.
If GCPs are part of the job, they need to be visible, stable, and placed where dust and vehicle disturbance will not partially obscure them. This is one of those details teams skip when they are hurrying to catch a weather window, then regret during processing.
A note on style: public-facing footage is not engineering evidence
This brings me back to the photography article, because its message is unexpectedly relevant for drone professionals. The piece says online fashion and photo tutorials are only references and may not suit everyone. The drone version of that advice is this: social-media-friendly coastline footage and project-grade evidence are different outputs.
The public may respond well to saturated water, dramatic contrast, and cinematic side light. An engineer reviewing revetment settlement or a contractor verifying material placement probably wants neutral, legible frames. If you are flying the Mavic 3T on mixed-purpose assignments, create separate capture plans. Do not force one visual style to carry every deliverable.
That distinction alone can make your project reporting feel more professional.
What made the Mavic 3T easier for me on a difficult job
On a previous shoreline assignment, the real breakthrough was not a single feature. It was how the platform reduced friction across the entire mission cycle.
We used one aircraft for visible documentation, thermal review of selected structures, and follow-up close inspection. O3 transmission made positioning over reflective terrain more predictable. AES-256 gave the client confidence in handling sensitive project imagery. The compact system moved quickly between staging points. Most importantly, once we tightened our maintenance and camera-setting discipline, image quality stabilized across multiple flights.
That was the turning point. Not magic. Not a new preset. Process.
If you’re trying to refine your own coastline workflow and want a practical discussion rather than generic drone talk, you can message Dr. Lisa Wang’s team directly here.
My technical verdict
The Mavic 3T is a strong fit for dusty coastline operations when the mission needs both speed and credible documentation. Its real value is not just portability or thermal capability. It is the combination of compact deployment, secure and stable transmission, and the ability to produce useful visual-thermal context in one field session.
But the aircraft only shows its full value when the operator stops chasing universal “best settings” and starts building a repeatable workflow around the actual site. That means tuning images for audience and task, not trends. It means treating dust as a maintenance problem, not just an inconvenience. And it means borrowing a page from classic aircraft maintainability doctrine: design your field process so common mistakes become difficult to make.
That old reliability principle still holds up. If a task can be done wrong, eventually someone will do it wrong. Good drone operations account for that before the first battery goes in.
For Mavic 3T users filming coastlines, that is the real upgrade path.
Ready for your own Mavic 3T? Contact our team for expert consultation.