M3T Filming Tips for Dusty Construction Site Surveys
M3T Filming Tips for Dusty Construction Site Surveys
META: Master Mavic 3T filming on dusty construction sites. Expert tips for thermal imaging, dust protection, and professional aerial footage that delivers results.
TL;DR
- Dust mitigation requires specific gimbal settings and flight altitude adjustments to protect sensors and capture clean footage
- Thermal signature detection cuts through airborne particulates when visible light cameras struggle
- O3 transmission maintains stable video feed despite electromagnetic interference from heavy machinery
- Pre-flight protocols and hot-swap batteries maximize productive filming time on active sites
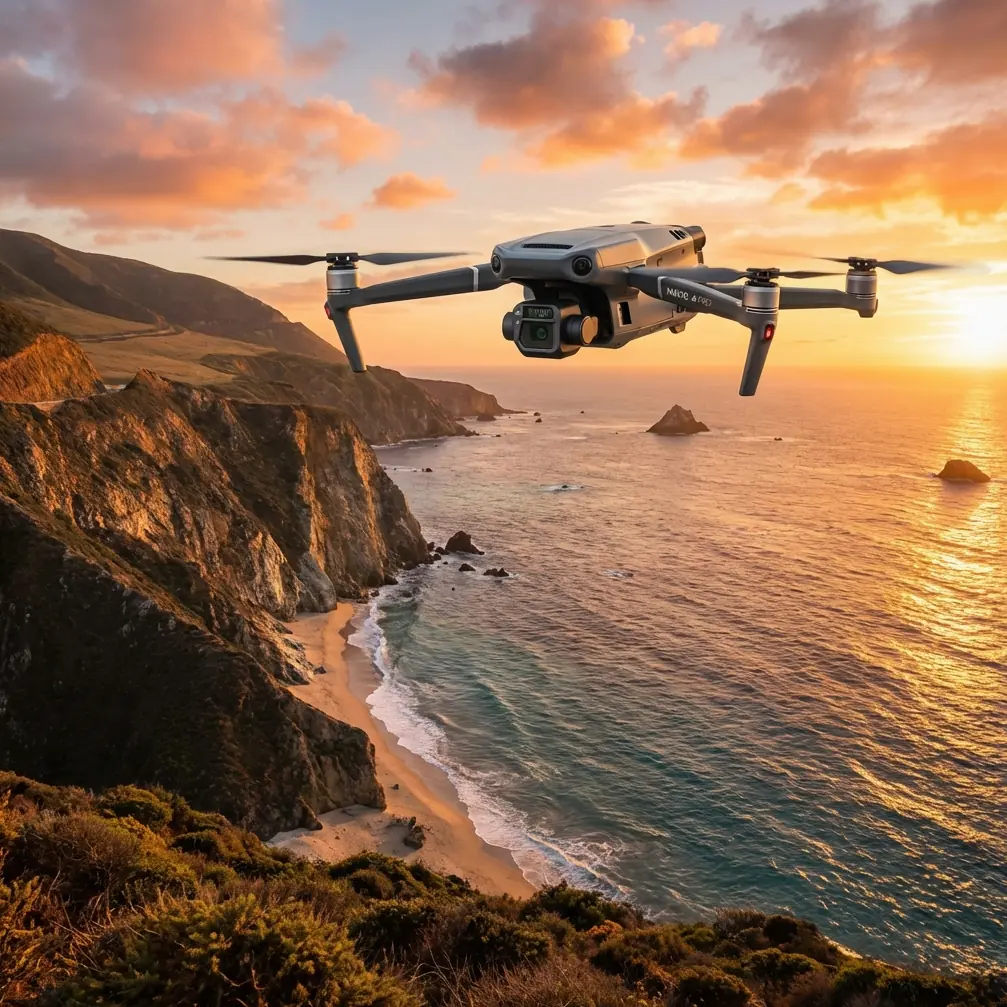
Construction site documentation demands equipment that performs under harsh conditions. The Mavic 3T combines a 56× hybrid zoom, 640×512 thermal sensor, and mechanical shutter specifically engineered for industrial environments—here's how to maximize every flight when dust threatens your footage quality.
Understanding Dust Challenges on Active Construction Sites
Active construction zones present unique filming obstacles that standard consumer drones simply cannot handle. Excavators, concrete mixers, and material transport vehicles generate continuous particulate clouds that obscure visibility and threaten sensitive optical equipment.
The Mavic 3T addresses these challenges through its sealed gimbal housing and IP45-rated construction. However, hardware protection alone does not guarantee professional results.
How Airborne Particulates Affect Your Footage
Dust particles between 2.5 and 10 microns scatter light unpredictably, creating haze that reduces contrast and color accuracy. This scattering effect intensifies during midday operations when thermal updrafts lift particles higher into your flight path.
Thermal imaging bypasses this limitation entirely. The Mavic 3T's uncooled VOx sensor detects infrared radiation that passes through dust clouds unimpeded, revealing:
- Equipment heat signatures for operational monitoring
- Concrete curing temperature variations
- Underground utility locations through surface thermal differentials
- Personnel positions obscured by dust plumes
Pre-Flight Preparation Protocol
Successful construction site filming begins before propellers spin. Establish these procedures as non-negotiable standards.
Site Assessment Checklist
Walk the perimeter and document:
- Active dust sources and their typical plume directions
- Electromagnetic interference points from generators and welding equipment
- Safe launch and landing zones with minimal ground disturbance
- Communication dead zones requiring antenna adjustment
Expert Insight: Position your launch point upwind from primary dust sources. Even a 50-meter offset dramatically reduces particulate exposure during critical takeoff and landing phases when the aircraft moves slowly through contaminated air.
Electromagnetic Interference Management
Construction sites bristle with interference sources. Tower cranes, portable generators, and radio communications create overlapping electromagnetic fields that challenge even robust transmission systems.
The Mavic 3T's O3 transmission operates across 2.4GHz and 5.8GHz bands simultaneously, automatically selecting cleaner frequencies. When interference persists, manual antenna adjustment becomes essential.
Orient your controller's antennas perpendicular to the aircraft's position—not pointed directly at it. This maximizes signal reception across the antenna's radiation pattern. During a recent high-rise project, repositioning antennas 45 degrees outward recovered a failing video link at 1,200 meters from the controller.
Optimal Camera Settings for Dusty Conditions
Default automatic settings fail in particle-heavy environments. Manual configuration ensures consistent, professional results.
Visible Light Camera Configuration
| Setting | Dusty Conditions | Clear Conditions |
|---|---|---|
| ISO | 100-200 | 100-400 |
| Shutter Speed | 1/500 minimum | 1/250+ |
| Aperture | f/4.0-5.6 | f/2.8-8.0 |
| White Balance | Manual 5600K | Auto |
| Color Profile | D-Log | Normal/D-Log |
The mechanical shutter eliminates rolling shutter distortion when filming moving equipment. Set shutter speed to at least 1/500 second to freeze dust particles rather than rendering them as motion blur streaks.
Thermal Imaging Optimization
Switch between high gain and low gain modes based on temperature differentials you need to capture.
High gain mode detects subtle 2-3°C variations ideal for identifying moisture intrusion or insulation gaps. Low gain mode handles extreme temperature ranges from operating machinery without sensor saturation.
Set your palette to White Hot for documentation purposes—it produces the clearest contrast for photogrammetry integration and client presentations.
Pro Tip: Capture thermal and visible imagery simultaneously using the split-screen recording mode. This creates synchronized datasets that dramatically simplify post-processing alignment for comprehensive site documentation.
Flight Techniques for Maximum Footage Quality
Altitude and speed directly impact dust exposure and image clarity.
Altitude Strategy
Maintain minimum 30 meters AGL (above ground level) over active work zones. This elevation places the aircraft above most dust plumes while preserving sufficient detail for documentation purposes.
For detailed inspections requiring lower altitudes, time your flights during:
- Early morning before operations begin
- Lunch breaks when equipment idles
- Late afternoon as activity winds down
Speed and Gimbal Coordination
Fly at 3-5 m/s maximum for smooth footage. The Mavic 3T's three-axis gimbal compensates for minor turbulence, but excessive speed creates vibration that no stabilization system can fully correct.
Enable Tripod Mode for critical detail shots. This limits maximum speed to 1 m/s and dampens control inputs for cinematic smoothness.
Photogrammetry Workflows for Construction Documentation
Aerial mapping transforms raw footage into actionable deliverables. The Mavic 3T's 4/3 CMOS sensor with mechanical shutter produces distortion-free images essential for accurate measurements.
Ground Control Point Integration
GCP placement determines photogrammetry accuracy. Position markers at:
- Site corners and boundaries
- Elevation change points
- Critical measurement locations
- Areas with minimal dust accumulation
Use high-contrast targets (black and white checkerboard patterns) sized appropriately for your flight altitude. At 50 meters AGL, targets should measure at least 30×30 centimeters.
Overlap Requirements
Construction site mapping demands higher overlap than standard surveys due to repetitive textures and dust interference:
- Front overlap: 80% minimum
- Side overlap: 70% minimum
- Flight pattern: Double-grid at perpendicular angles
This redundancy ensures software can match features even when individual images suffer from particulate contamination.
Data Security on Commercial Projects
Construction documentation often contains sensitive information. The Mavic 3T implements AES-256 encryption for all transmitted data, preventing unauthorized interception.
Enable Local Data Mode to prevent any network connectivity during flights. This ensures footage remains exclusively on your SD card until you choose to transfer it through secure channels.
Battery Management with Hot-Swap Efficiency
Dusty environments accelerate battery degradation through contaminated cooling vents. Implement these practices:
- Store spare batteries in sealed containers until needed
- Wipe battery contacts with dry microfiber before each insertion
- Allow 5-minute cooling periods between flights
- Rotate through your battery inventory evenly
Hot-swap batteries between flights rather than waiting for full charges on-site. Carrying 4-6 batteries enables continuous operations throughout a typical documentation session.
Common Mistakes to Avoid
Flying immediately after ground disturbance: Wait 3-5 minutes after vehicles pass your launch area. Settling time prevents propeller wash from lifting fresh particulates directly into your sensors.
Ignoring wind direction changes: Construction sites create unpredictable microclimate patterns. Monitor wind shifts continuously—a dust plume that was safely downwind can envelop your aircraft within seconds.
Neglecting lens maintenance: Clean your lens before every flight, not just when contamination becomes visible. Microscopic particles create subtle haze that compounds across footage.
Skipping BVLOS considerations: Beyond Visual Line of Sight operations require specific authorizations. Dust conditions that obscure your view of the aircraft do not grant automatic BVLOS privileges—maintain visual contact or obtain proper waivers.
Overlooking post-flight cleaning: Dust infiltrates every crevice. Use compressed air (never canned air with propellants) to clear gimbal mechanisms and cooling vents after each session.
Frequently Asked Questions
How does dust affect the Mavic 3T's obstacle avoidance sensors?
The omnidirectional sensing system uses both visual and infrared detection. Heavy dust reduces visual sensor effectiveness, but infrared components maintain functionality. Reduce maximum flight speed in dusty conditions to give sensors additional reaction time, and consider disabling automatic obstacle avoidance for experienced pilots who can maintain manual vigilance.
Can I fly the Mavic 3T in rain to settle construction dust?
The Mavic 3T carries an IP45 rating protecting against water jets, but rain creates additional challenges including reduced visibility and potential water ingress through propeller seals during extended exposure. Light drizzle for dust suppression is acceptable for brief flights; postpone operations during steady rain.
What post-processing techniques recover footage affected by dust haze?
Dehaze filters in Adobe Premiere Pro or DaVinci Resolve recover significant detail from haze-affected footage. Apply 15-30% dehaze strength combined with contrast curve adjustments. For thermal footage, adjusting the temperature span narrows the displayed range and increases apparent contrast through dust interference.
Mastering construction site documentation with the Mavic 3T requires understanding both the aircraft's capabilities and the unique challenges dusty environments present. These techniques transform difficult conditions into opportunities for footage that competitors simply cannot match.
Ready for your own Mavic 3T? Contact our team for expert consultation.