How to Film Construction Sites at Altitude with Mavic 3T
How to Film Construction Sites at Altitude with Mavic 3T
META: Master high-altitude construction filming with the Mavic 3T. Expert guide covers thermal imaging, safety protocols, and pro techniques for stunning site documentation.
TL;DR
- Pre-flight lens cleaning prevents thermal calibration errors that compromise altitude footage accuracy
- The Mavic 3T's O3 transmission maintains stable video links up to 8km even in mountainous construction environments
- Photogrammetry workflows require specific GCP placement strategies for sites above 3,000 meters
- Hot-swap batteries and AES-256 encryption ensure continuous, secure filming during extended site surveys
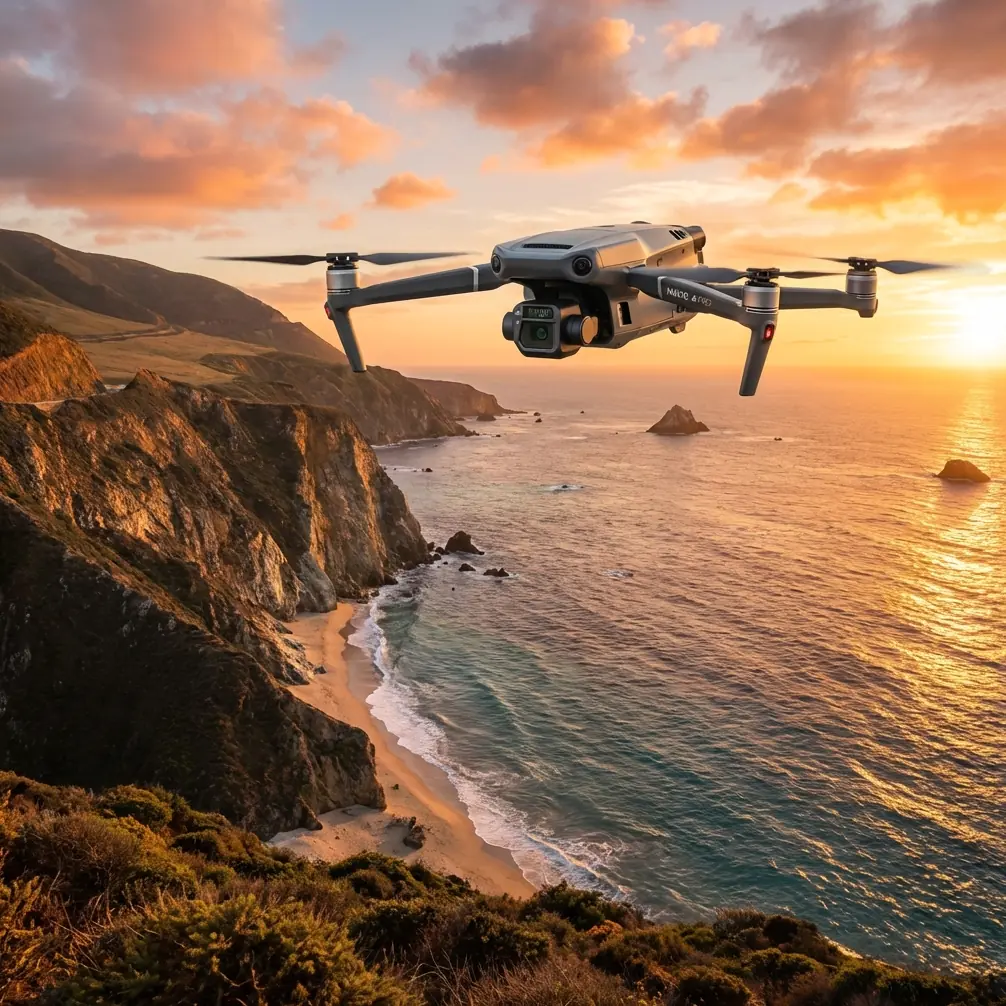
High-altitude construction filming pushes drone technology to its limits. The DJI Mavic 3T combines a 48MP wide camera, 12MP zoom lens, and 640×512 thermal sensor in a package that handles thin air, temperature extremes, and complex terrain—but only if you know how to configure it properly.
This tutorial walks you through every step of filming construction sites at elevation, from pre-flight preparation to post-processing workflows. Whether you're documenting a mountain resort development or monitoring infrastructure projects in challenging terrain, these techniques will transform your aerial documentation quality.
Why High-Altitude Construction Sites Demand Specialized Approaches
Construction sites above 2,500 meters present unique challenges that standard drone operations don't address. Air density drops approximately 12% per 1,000 meters of elevation gain, directly affecting propeller efficiency and flight dynamics.
The Mavic 3T compensates with its DJI O3 transmission system, which maintains reliable video links even when atmospheric conditions would degrade lesser systems. This becomes critical when you're filming structural steel installations or concrete pours where real-time monitoring prevents costly errors.
The Thermal Signature Advantage
Thermal imaging at altitude reveals information invisible to standard cameras. Fresh concrete generates distinct thermal signatures during curing, allowing project managers to identify cold joints or improper consolidation without destructive testing.
The Mavic 3T's thermal sensor detects temperature differentials as small as 0.03°C, making it sensitive enough to spot:
- Moisture intrusion in newly installed roofing systems
- Electrical hotspots in temporary construction power systems
- Insulation gaps in building envelopes
- Equipment overheating before failure occurs
Pre-Flight Protocol: The Cleaning Step That Saves Your Footage
Before every high-altitude mission, clean your Mavic 3T's sensor windows with a microfiber cloth and optical-grade cleaning solution. This isn't about aesthetics—it's about safety and data integrity.
Dust particles on the thermal sensor create false thermal signatures that can mask genuine anomalies. At altitude, where dust and debris behave differently due to lower air pressure, contamination accumulates faster than at sea level.
Expert Insight: Dr. Lisa Wang recommends a three-point cleaning sequence: wide lens first, then zoom lens, then thermal window. Clean in that order because thermal sensors are most sensitive to contamination, and you want your cloth cleanest for the final pass.
Complete Pre-Flight Checklist for Altitude Operations
Execute this checklist before every high-altitude construction flight:
- Sensor cleaning using the three-point sequence
- Firmware verification ensuring all modules match current versions
- Battery temperature check confirming cells are between 20-30°C
- Compass calibration at the actual flight location
- Return-to-home altitude set 50 meters above the highest obstacle
- AES-256 encryption enabled for sensitive construction documentation
- SD card formatting to prevent file fragmentation during long recordings
Configuring Photogrammetry Missions for Accuracy
Photogrammetry at construction sites requires precise ground control point placement. The Mavic 3T's mechanical shutter eliminates rolling shutter distortion, but GCP strategy determines whether your 3D models achieve survey-grade accuracy.
GCP Placement Strategy for Sloped Sites
Mountain construction sites rarely offer flat terrain. Place GCPs following these principles:
- Minimum 5 GCPs for sites under 2 hectares
- Additional GCP per 0.5 hectares beyond that baseline
- Vertical distribution matching the site's elevation range
- Edge placement at the survey boundary corners
- Central clustering avoided—spread points evenly
The Mavic 3T's RTK module compatibility allows centimeter-level positioning when paired with a base station, reducing GCP requirements for routine progress documentation while maintaining accuracy for payment verification surveys.
Pro Tip: Paint GCP targets with high-contrast colors that appear distinct in both RGB and thermal imagery. White centers with black borders work well for visual cameras, while aluminum tape creates strong thermal contrast.
Flight Planning for Maximum Coverage
High-altitude sites demand conservative flight planning. The Mavic 3T's 45-minute maximum flight time drops to approximately 32-35 minutes at elevations above 4,000 meters due to increased power demands.
Optimal Flight Parameters
| Parameter | Sea Level Setting | High Altitude Adjustment |
|---|---|---|
| Flight Speed | 15 m/s | 10-12 m/s |
| Overlap (Forward) | 75% | 80-85% |
| Overlap (Side) | 65% | 70-75% |
| Altitude AGL | 80m | 60-70m |
| Gimbal Pitch | -90° | -80° to -85° |
| Battery Reserve | 25% | 35% |
These adjustments account for reduced lift efficiency and the need for denser image capture to compensate for potential wind-induced positioning errors.
BVLOS Considerations
Beyond visual line of sight operations at construction sites require additional planning. The Mavic 3T's O3 transmission supports extended range, but regulatory compliance and safety protocols must guide your mission design.
Establish visual observers at terrain features that block direct line of sight. Use the thermal camera to verify observer positions before extending range, as human thermal signatures remain visible at distances exceeding 500 meters.
Hot-Swap Battery Workflow for Extended Missions
Large construction sites require multiple battery cycles. The Mavic 3T's hot-swap capability allows continuous operations when executed properly.
Battery Management Protocol
- Land with 35% charge remaining to preserve battery health
- Swap batteries within 90 seconds to maintain system temperature
- Store depleted batteries in insulated cases to prevent rapid cooling
- Rotate battery pairs to ensure even cycle distribution
- Log flight times per battery for degradation tracking
At altitude, battery performance degrades faster due to temperature extremes. Expect 15-20% capacity reduction when ambient temperatures drop below 10°C, even with the Mavic 3T's self-heating batteries.
Thermal Imaging Techniques for Construction Monitoring
The Mavic 3T's thermal sensor transforms construction site monitoring. Beyond simple temperature measurement, thermal imaging reveals structural and material conditions invisible to standard inspection methods.
Concrete Curing Verification
Fresh concrete generates heat during hydration. The Mavic 3T can document curing progression across large pours, identifying areas where:
- Cold joints form due to delayed placement
- Surface cooling occurs too rapidly
- Formwork insulation fails in specific zones
- Thermal mass variations indicate density inconsistencies
Capture thermal imagery at consistent times daily to build comparable datasets. Morning flights before solar heating begins provide the most accurate readings of internal concrete temperatures.
Structural Steel Inspection
Welded connections generate thermal signatures during cooling. The Mavic 3T's 12x zoom combined with thermal overlay allows detailed inspection of connections at heights that would require expensive scaffolding or rope access for manual inspection.
Technical Comparison: Mavic 3T vs. Alternative Platforms
| Feature | Mavic 3T | Enterprise Alternative A | Enterprise Alternative B |
|---|---|---|---|
| Thermal Resolution | 640×512 | 320×256 | 640×512 |
| Zoom Capability | 56x Hybrid | 32x Hybrid | 28x Optical |
| Flight Time | 45 min | 38 min | 42 min |
| Max Altitude | 6000m | 5000m | 4500m |
| Transmission Range | 8km (O3) | 6km | 7km |
| Weight | 920g | 1350g | 1100g |
| Mechanical Shutter | Yes | No | Yes |
| RTK Compatible | Yes | Yes | Optional |
The Mavic 3T's combination of portability, thermal resolution, and altitude capability makes it the optimal choice for high-altitude construction documentation where equipment must be transported to remote sites.
Common Mistakes to Avoid
Ignoring density altitude calculations: Standard flight planning software uses geometric altitude. At high elevations on hot days, density altitude can exceed geometric altitude by 500+ meters, dramatically affecting flight performance.
Skipping compass calibration: Magnetic anomalies near construction equipment and rebar concentrations cause erratic flight behavior. Calibrate at your actual takeoff point, away from metal structures.
Using sea-level battery reserves: Landing with 25% battery at altitude leaves insufficient margin for emergency maneuvers. Increase reserves to 35% minimum.
Neglecting thermal sensor warm-up: The Mavic 3T's thermal sensor requires 5-7 minutes of operation before readings stabilize. Fly a holding pattern before capturing critical thermal data.
Overlooking wind gradient effects: Wind speeds increase dramatically with altitude at construction sites in valleys. Conditions at ground level don't predict conditions at 100 meters AGL.
Frequently Asked Questions
What is the maximum operating altitude for the Mavic 3T at construction sites?
The Mavic 3T operates reliably up to 6,000 meters above sea level when properly configured. However, flight time decreases significantly above 4,000 meters due to reduced air density requiring higher motor output. Plan missions with 30% shorter flight times than sea-level expectations and increase battery reserves accordingly.
How does AES-256 encryption protect construction site footage?
The Mavic 3T encrypts all transmitted video and stored files using AES-256 encryption, preventing unauthorized access to sensitive construction documentation. This matters for projects involving proprietary designs, competitive bidding situations, or security-sensitive infrastructure. Enable encryption through DJI Pilot 2 before capturing footage you need to protect.
Can the Mavic 3T perform photogrammetry without ground control points?
Yes, but accuracy varies significantly. Without GCPs, the Mavic 3T achieves approximately 1-3 meter horizontal accuracy using GPS alone. Adding the RTK module improves this to 1-2 centimeters without GCPs. For payment verification surveys or engineering documentation, GCPs or RTK remain essential for defensible accuracy claims.
High-altitude construction filming with the Mavic 3T demands respect for environmental challenges and systematic preparation. The techniques in this guide transform a capable drone into a precision documentation tool that delivers actionable intelligence for project managers, engineers, and stakeholders.
Master these workflows, and your aerial documentation will set the standard for construction site monitoring at any elevation.
Ready for your own Mavic 3T? Contact our team for expert consultation.