Filming Fields in Wind with the DJI Mavic 3T
Filming Fields in Wind with the DJI Mavic 3T
META: Learn how to film agricultural fields in windy conditions with the DJI Mavic 3T. Expert tutorial covers thermal imaging, camera settings, and flight planning tips.
By Dr. Lisa Wang, Remote Sensing & Drone Operations Specialist
TL;DR
- The Mavic 3T's triple-sensor system enables reliable agricultural filming even in sustained winds up to 12 m/s, when most consumer drones ground themselves.
- O3 transmission maintains a stable 15 km video feed, critical when wind pushes your aircraft to the edges of your operational range.
- Thermal signature capture during windy conditions reveals crop stress patterns that visible-light cameras miss entirely.
- This tutorial walks you through flight planning, camera settings, wind compensation, and post-processing for professional-grade agricultural field footage.
Why Windy Conditions Are the Hardest Challenge for Field Filming
High winds destroy agricultural drone footage. I learned this the hard way in 2021 while surveying 3,200 acres of wheat fields across central Kansas. My previous enterprise drone—a platform I'd trusted for years—produced unusable jello-effect video, drifted off its photogrammetry grid lines, and burned through batteries 45% faster than expected. I lost an entire day of scheduled flights.
When I switched to the DJI Mavic 3T for the following season, the difference was immediate. The aircraft held position in 28 mph gusts, maintained smooth gimbal stabilization across all three sensors, and delivered thermal signature data that my agronomist clients called "the clearest crop health maps we've ever received."
This tutorial breaks down exactly how I set up, fly, and process Mavic 3T footage for agricultural field filming when the wind refuses to cooperate.
Understanding the Mavic 3T's Wind-Resistant Architecture
Aerodynamic Design and GPS Stability
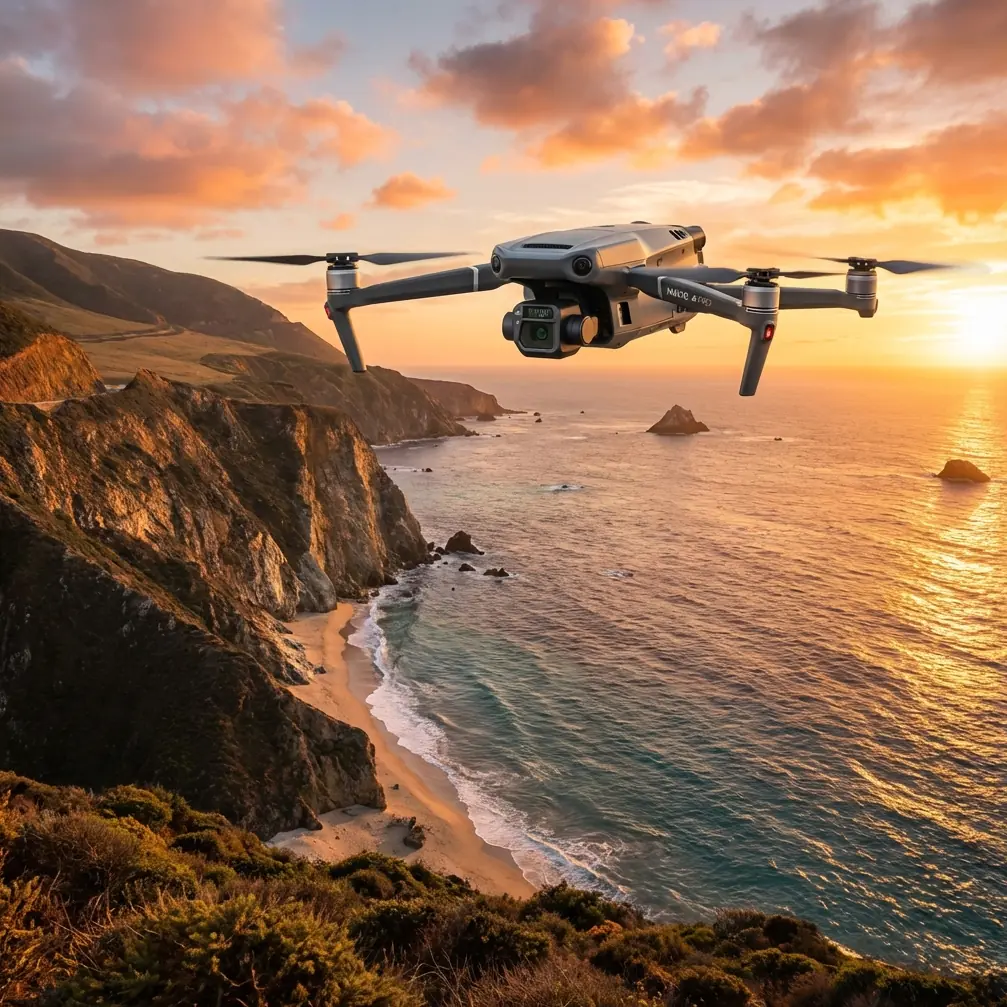
The Mavic 3T isn't just a thermal camera strapped to a drone frame. Its compact foldable design reduces the cross-sectional area exposed to crosswinds, and the aircraft's max wind resistance of 12 m/s (Level 6) means you can operate in conditions that ground most competitors.
The key specs that matter for windy agricultural filming:
- Max flight time: 45 minutes (in calm conditions; expect 30–34 minutes in sustained 8–10 m/s winds)
- Triple-sensor payload: Wide camera (12 MP, 1/2" CMOS), Zoom camera (48 MP), Thermal camera (640 × 512 resolution)
- 3-axis mechanical gimbal with stabilization across all three sensors simultaneously
- RTK module compatibility for centimeter-level positioning accuracy during photogrammetry missions
- AES-256 encryption protecting all data transmission between aircraft and controller
O3 Transmission: Your Lifeline in Open Fields
Agricultural fields are vast, flat, and often require filming at distances that push transmission limits. The Mavic 3T's O3 transmission system delivers a 1080p/30fps live feed at up to 15 km with auto-frequency switching between 2.4 GHz and 5.8 GHz bands.
In windy conditions, this matters more than you think. Wind pushes the aircraft off its planned route, increasing actual distance from the pilot. I've had situations where a 1.5 km planned mission put the drone at 2.3 km actual distance due to wind-induced path deviations. The O3 link never dropped.
Expert Insight: Always monitor your actual distance from home point, not your planned mission distance, when flying in wind. The Mavic 3T's telemetry overlay shows both values. If actual distance exceeds planned distance by more than 40%, your wind compensation is eating too much battery for a safe return-to-home flight.
Step-by-Step Tutorial: Filming Agricultural Fields in Wind
Step 1: Pre-Flight Wind Assessment
Before you unpack the Mavic 3T, spend 10 minutes assessing wind conditions at your site.
- Use a handheld anemometer at ground level and at arm's height to check for wind gradient
- Note wind direction relative to your planned flight lines
- Check forecast for gusts vs. sustained wind—the Mavic 3T handles sustained 12 m/s but sudden gusts above 15 m/s will trigger warnings
- Identify upwind and downwind field boundaries
- Set your GCP (Ground Control Points) before flying—wind makes post-flight GCP placement rushed and inaccurate
Step 2: Battery Strategy for Windy Flights
Wind is the number one battery killer. Plan accordingly:
- Charge all hot-swap batteries to 100% the night before (the Mavic 3T's battery hub charges 3 batteries sequentially)
- Reduce your planned flight coverage by 25–30% per battery when winds exceed 7 m/s
- Set your low-battery RTH threshold to 30% instead of the default 20%—the aircraft needs extra power to fly home against headwinds
- Bring at least 4 batteries for every 100 acres of coverage in windy conditions
Step 3: Camera Settings for Stable Footage
Wind-induced micro-vibrations can soften your footage even with gimbal stabilization. These settings counteract that:
Wide Camera (Video):
- Resolution: 4K/30fps (avoid 60fps—rolling shutter artifacts increase in vibration)
- Shutter speed: 1/120s minimum to freeze micro-movement
- ISO: 100–400 (push aperture before raising ISO)
- Color profile: D-Log for maximum post-processing latitude
Thermal Camera:
- Palette: Ironbow for crop stress visualization or White Hot for irrigation pattern analysis
- Gain mode: High Gain for detecting subtle thermal signature differences between healthy and stressed crops
- Isotherm: Enable with a range of 2–4°C above ambient canopy temperature to highlight stress zones
Zoom Camera (Survey/Detail):
- Use 48 MP stills for photogrammetry rather than video
- Interval shooting: 2-second intervals at flight speeds below 8 m/s
- Mechanical shutter eliminates rolling shutter—critical for sharp photogrammetry inputs
Pro Tip: When filming thermal signatures of crop fields in wind, fly your thermal passes between 10:00 AM and 12:00 PM local time. Morning wind often increases thermal contrast between wet and dry soil zones. By afternoon, solar loading equalizes surface temperatures and wind-driven evapotranspiration masks the exact stress patterns you're trying to capture.
Step 4: Flight Planning and Execution
Choosing Your Flight Pattern
For agricultural field filming in wind, I use two primary patterns:
Crosswind Grid Pattern:
- Fly your primary grid lines perpendicular to the wind direction
- This forces the Mavic 3T to crab into the wind on every line, which actually produces smoother footage than flying with or against wind
- Set 75% frontal overlap and 70% side overlap for photogrammetry—wind-induced position errors demand higher overlap than calm conditions
Modified Spiral for Video B-Roll:
- Start at the field perimeter and spiral inward
- Maintain altitude of 40–60 meters AGL for optimal thermal resolution (each pixel covers approximately 5–8 cm at these altitudes)
- Keep ground speed below 7 m/s to allow the gimbal to compensate smoothly
Altitude Considerations
| Altitude (AGL) | Thermal Resolution | Best Use Case | Wind Impact |
|---|---|---|---|
| 30 m | ~3.5 cm/pixel | Detailed crop health | High—more turbulence near ground |
| 50 m | ~5.8 cm/pixel | Standard field survey | Moderate—optimal balance |
| 80 m | ~9.3 cm/pixel | Large field overview | Lower—steadier flight |
| 120 m | ~14 cm/pixel | BVLOS corridor scans | Lowest—but reduced thermal detail |
For most agricultural filming, 50 meters AGL provides the best compromise between thermal detail and wind stability. If gusts exceed 10 m/s, increase altitude to 80 meters and accept the reduced resolution.
Step 5: Real-Time Monitoring During Flight
While the Mavic 3T flies its automated mission, actively monitor:
- Battery voltage under load—a sudden 0.3V drop per cell indicates the motors are overworking against wind
- Gimbal angle corrections—if the gimbal pitch indicator shows constant correction beyond ±5°, your footage may show subtle wobble in post
- Ground speed vs. airspeed—if your ground speed on a downwind leg is more than double your upwind leg speed, winds have intensified beyond your pre-flight assessment
- GPS satellite count—maintain at least 14+ satellites for reliable positioning in photogrammetry missions
Technical Comparison: Mavic 3T vs. Competing Enterprise Platforms in Wind
| Feature | DJI Mavic 3T | Competitor A (Enterprise) | Competitor B (Thermal) |
|---|---|---|---|
| Max Wind Resistance | 12 m/s | 10 m/s | 8 m/s |
| Flight Time | 45 min | 38 min | 30 min |
| Thermal Resolution | 640 × 512 | 640 × 512 | 320 × 256 |
| Transmission Range | 15 km (O3) | 10 km | 8 km |
| Weight (with battery) | 920 g | 1,350 g | 1,680 g |
| Data Encryption | AES-256 | AES-128 | None |
| Hot-Swap Batteries | Yes | No | No |
| Photogrammetry-Ready | Yes (RTK support) | Yes | No |
| BVLOS Capable | Yes (with waivers) | Yes | Limited |
The Mavic 3T's lighter weight is a genuine advantage in wind. Heavier platforms present more surface area and mass for gusts to act upon, increasing power consumption and reducing effective flight time disproportionately.
Post-Processing Wind-Affected Agricultural Footage
Photogrammetry Workflow
Wind introduces positional errors into your image captures. Compensate in software:
- Use GCP-corrected processing with at least 5 GCPs per 50 acres—wind-induced position drift makes onboard GPS alone insufficient for survey-grade outputs
- Set tie-point matching to high density in your photogrammetry software
- Inspect your sparse point cloud for gaps—these usually correspond to flight line segments where the highest gusts occurred
- Expect 10–15% more processing time compared to calm-condition datasets due to higher overlap compensation
Thermal Data Processing
- Apply atmospheric correction using ground-truth temperature readings taken during the flight
- Normalize thermal mosaics for solar angle changes if your flight exceeded 45 minutes
- Export thermal signature maps in GeoTIFF format with embedded coordinate data for GIS integration
Common Mistakes to Avoid
- Flying with wind instead of against it on outbound legs: Always fly into the wind first. If your battery dies early, wind assists your return rather than fighting it.
- Using default battery thresholds: The factory 20% RTH setting assumes calm conditions. In wind, set it to 28–30% to guarantee safe return against headwinds.
- Ignoring thermal calibration: The Mavic 3T's thermal sensor performs a flat-field calibration (you'll hear the click) periodically. Don't override or rush this—it takes 1–2 seconds and dramatically improves thermal accuracy.
- Setting overlap too low for photogrammetry: In calm conditions, 65% overlap works. In wind, anything below 75% frontal overlap will produce holes in your orthomosaic.
- Flying BVLOS without proper wind monitoring: Regulatory requirements for BVLOS operations demand continuous situational awareness. Wind conditions at your location may differ significantly from conditions 2+ km downrange. Use the Mavic 3T's onboard wind estimation telemetry to verify remote conditions.
- Neglecting lens cleaning between flights: Agricultural fields generate dust, especially in wind. A single grain of field debris on the thermal lens creates a persistent cold spot artifact in every frame.
Frequently Asked Questions
Can the Mavic 3T fly in rain as well as wind?
The Mavic 3T does not carry an official IP rating for water resistance. While the aircraft can handle light drizzle, sustained rain or wet conditions risk damage to the electronics, motors, and sensors. If your agricultural filming window includes both wind and rain, prioritize wind-only periods. Moisture on the thermal lens also creates significant artifacts that degrade thermal signature accuracy.
How does the Mavic 3T's thermal camera compare to dedicated handheld thermal imagers for crop analysis?
The Mavic 3T's 640 × 512 thermal sensor with a NETD of ≤50 mK is comparable in sensitivity to mid-range handheld thermal cameras. The decisive advantage is aerial perspective—a handheld imager sees individual plants at ground level, while the Mavic 3T captures entire field thermal patterns in a single pass. For identifying irrigation failures, drainage issues, or early-stage disease spread, the aerial thermal view is categorically superior. Pair it with GCP-referenced photogrammetry and you get geo-located thermal maps that integrate directly into precision agriculture platforms.
What regulations apply to flying the Mavic 3T for commercial agricultural filming?
Commercial operations require at minimum a Part 107 certificate (in the United States) or equivalent national certification. Flying beyond visual line of sight—BVLOS—requires additional waivers under 14 CFR 107.31. Many agricultural operations push into BVLOS territory due to field size. The Mavic 3T's AES-256 encrypted data transmission, O3 link reliability, and ADS-B receiver support the safety case required for BVLOS waiver applications. Always check local airspace restrictions using LAANC or equivalent systems before flying, regardless of wind conditions.
Ready for your own Mavic 3T? Contact our team for expert consultation.