Mavic 3T in High-Altitude Forest Work: How to Choose
Mavic 3T in High-Altitude Forest Work: How to Choose the Right Flight Height Without Losing Detail or Safety
META: Practical high-altitude forest flight guidance for Mavic 3T users, with altitude strategy, thermal considerations, throttle discipline, and safer mission planning for civilian imaging and inspection.
By Dr. Lisa Wang, Specialist
High-altitude forest operations punish lazy flight planning.
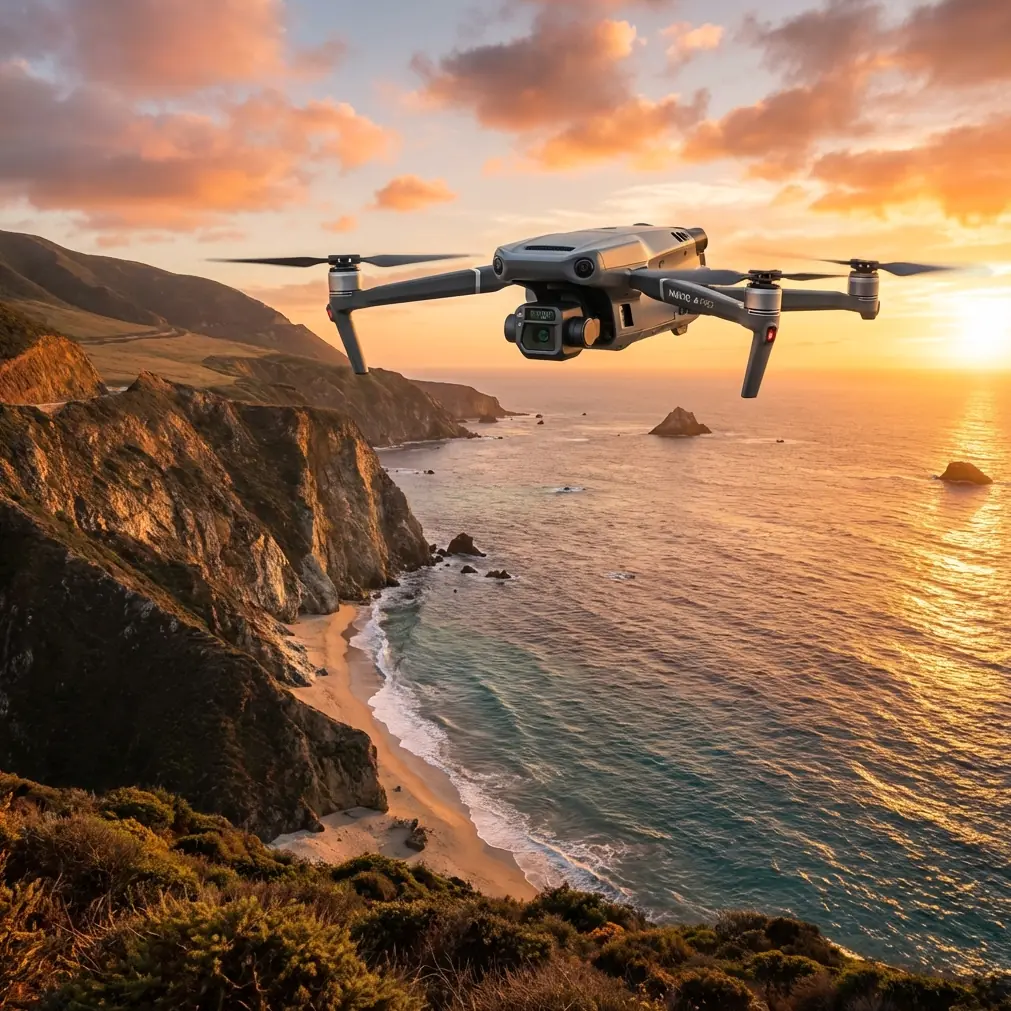
The Mavic 3T is often chosen for mountain woodland surveys, thermal scouting, infrastructure checks near ridgelines, and visual documentation in places where the terrain rises fast and the canopy does not forgive mistakes. In these environments, the question pilots ask first is usually about range or battery life. The better question is simpler: what is the right flight altitude for the job?
That choice controls image usefulness, thermal readability, obstacle margin, and how long you spend correcting the aircraft instead of collecting data.
For forest filming at elevation, there is no single “best” number. There is, however, a repeatable way to set flight height with the Mavic 3T so that the aircraft remains productive above uneven canopy, while your footage and thermal capture stay operationally meaningful.
Start with canopy clearance, not legal ceiling
In mountain forest work, the trees define your real minimum altitude long before the airspace limit does.
One of the more useful technical clues comes from helicopter rescue equipment design. In full-scale rotorcraft operations, a lifting height below 20 m is considered unsafe because strong downwash can endanger people below. That same reference also notes that when rescue work expands into tropical forests with trees exceeding 50 m, cable length and operating geometry must change accordingly.
The Mavic 3T is not a helicopter, and it does not generate the same downwash. Still, the operational lesson matters: dense vertical environments force you to think in terms of separation distance, not just mission altitude. Forest canopies distort airflow, create visual compression, and hide protruding branches that seem lower than they are from the pilot’s screen.
For Mavic 3T work in high-altitude forests, I recommend thinking in three altitude layers:
Low canopy-following layer for detail capture
Usually appropriate when your task is bark condition review, trail documentation, localized thermal signature checks, or low-speed cinematic work.Mid buffer layer for stable mapping or broad thermal sweeps
This is often the most efficient band for general forestry, environmental inspection, and photogrammetry.High situational layer for terrain reading and route confirmation
This is where you validate ridgelines, identify canopy height transitions, and reduce the risk of lateral surprises before descending to work altitude.
In practice, your optimal flight altitude is the lowest height that still gives you a comfortable clearance above the tallest trees in the active sector, while preserving the ground sample detail your output requires.
That sounds obvious. It rarely gets executed well.
Why forest altitude must be set relative to the tallest obstacle, not average terrain
The biggest planning mistake in mountain woodland flights is basing altitude on average canopy level.
A forest edge can sit 15 to 20 meters below a ridgeline crown. A valley opening can make the pilot feel comfortably high, then a stand of conifers appears ahead and suddenly the aircraft is too low relative to the rising terrain. This matters even more at high altitude, where visual depth cues are flatter and the aircraft may feel farther away than it is.
The helicopter design reference mentions rope lengths commonly controlled in the 30 to 40 m range, with 90 to 100 m considered globally adaptable in more demanding scenarios. Again, that is not a drone parameter. But operationally, it reinforces a principle that translates perfectly to Mavic 3T missions: as the vertical complexity of the environment increases, your working geometry must expand with it.
For drone pilots, “expanded geometry” means:
- more clearance above tallest canopy, not just average canopy
- wider lateral offset from emergent trees
- longer planning margin before turns
- smoother changes in altitude rather than abrupt climbs over obstacles
If you are filming forests at high altitude, your safest productive band is often set by the highest cluster of trees in front of your route, not by the open space directly beneath the aircraft.
A workable altitude method for Mavic 3T in high-altitude forests
Here is the method I use when defining a practical flight envelope.
1. Identify the tallest canopy segment first
Do this before launch if possible using terrain data, previous survey imagery, or visual assessment from the takeoff area. In many forest missions, the tallest trees are not centered in the work zone. They are often at transitions: ravine edges, moisture-rich pockets, or slope breaks.
Your goal is not to estimate average forest height. Your goal is to identify the height that can actually ruin the mission.
2. Build in a vertical buffer
Once you identify the likely top-of-canopy maximum, add a conservative working margin. In calm open terrain that margin can be modest. In mountain forests, the buffer should be larger because:
- terrain rises unevenly
- GPS-based altitude awareness can feel misleading over slopes
- wind shear near ridges can nudge the aircraft during lateral passes
- visual perspective from the controller underestimates branch height
For routine imaging, your operating altitude should feel boringly safe. If it feels aggressively low, it probably is.
3. Separate visual and thermal objectives
The Mavic 3T’s value in forests comes from being able to combine standard imaging with thermal signature interpretation. Those are not always best captured at the same height.
A lower pass may be ideal for visual texture, tree condition, and photogrammetry overlap. A slightly higher pass may produce a cleaner thermal scan because your scene coverage improves and your search pattern becomes more consistent. If you try to force one altitude to do everything, you usually compromise both outputs.
4. Fly a reconnaissance pass before the production pass
The old radio-control training principle still holds: don’t make major adjustments while you are still in the turn.
One of the training references says throttle should only be adjusted after the aircraft has fully exited the turn, entered a stable line, and demonstrated a sustained climb or descent over time. That advice was written for model aircraft training, but it applies beautifully to drone work in forests. If you are constantly tweaking height and speed while also changing direction around terrain, you create a chain of small errors.
With the Mavic 3T, complete one smooth reconnaissance leg on a stable heading. Watch whether the aircraft is consistently gaining or losing relative clearance against the canopy line. Then adjust. Do not diagnose your altitude plan in the middle of a sweeping turn around a slope.
That small discipline is one of the easiest ways to avoid overcorrection.
Throttle discipline matters more in thin-air environments than most pilots admit
High-altitude forest flights tempt people to fly reactively. The trees rise, the terrain narrows, and every correction feels urgent.
That is exactly when poor throttle discipline shows up.
The training source makes a sharp point: only adjust power when the aircraft proves it cannot maintain level flight and continues to climb or descend. Also, after one adjustment, let it fly long enough to confirm whether a second adjustment is truly necessary.
For Mavic 3T operators, this translates into a calm, repeatable control habit:
- straighten the line
- observe altitude trend
- make one measured input
- wait long enough to validate the result
In mountain forests, constant micro-corrections create unstable footage, uneven overlap for mapping, and unnecessary battery drain. They also increase pilot workload at the exact moment obstacle awareness should be your priority.
If you are filming a ridgeline corridor, a clean stable leg is worth far more than nervous stick activity.
The best altitude for thermal work is not always the best altitude for photogrammetry
This is where many Mavic 3T missions become inefficient.
Thermal signature work in forests often benefits from altitude that gives cleaner scene context and better target separation. Photogrammetry, by contrast, cares deeply about overlap, scale consistency, and the visibility of features that can support processing. If you use GCP workflows or need reliable orthomosaic output, your altitude choice affects whether the software has enough consistent information to reconstruct the area accurately.
A practical approach is to split the mission:
- First pass: thermal-oriented route for broad anomaly detection
- Second pass: visual mapping route with controlled overlap and photogrammetry settings
- Third pass if needed: low oblique documentation around specific findings
This is usually better than trying to make one “hybrid” altitude work for thermal, visual storytelling, and mapping at once.
O3 transmission and AES-256 help, but they do not solve terrain physics
The Mavic 3T platform brings operational confidence partly because of features such as O3 transmission and AES-256 data security. In forested mountain work, those matter.
O3 transmission helps maintain a more usable live view when the aircraft is working along uneven slopes or farther down a corridor. AES-256 matters for teams handling sensitive commercial data such as utility inspection imagery, environmental assessment records, or private land documentation.
Still, neither feature changes the basic truth of mountain forestry operations: line of sight degrades around terrain, canopies interfere with visual tracking, and valleys can make a healthy signal feel fragile. Even in workflows designed around BVLOS planning, route discipline and altitude selection remain the real foundation.
Technology supports judgment. It does not replace it.
Battery strategy changes with altitude layering
In high-altitude forest work, inefficient vertical movement quietly consumes mission value.
If you climb too high for every pass, descend too low for every detail shot, then repeat the cycle across multiple slopes, your sortie becomes a battery management exercise rather than a data-collection mission. This is where a layered altitude plan pays off. Group tasks by altitude band.
For example:
- high pass for terrain and route confirmation
- mid pass for broad visual or thermal capture
- low pass only for priority details
If your operation uses hot-swap batteries at the team level or across multiple airframes in a broader field workflow, altitude grouping also reduces turnaround friction because each sortie has a clearer purpose.
The point is not simply to stay airborne longer. The point is to spend your airborne time gathering the right information at the right height.
A practical altitude recommendation framework
If you need a starting framework for Mavic 3T forest filming at high altitude, use this logic rather than a fixed number:
Choose the lowest productive altitude that satisfies all four conditions:
- it clears the tallest likely canopy with a genuine safety buffer
- it keeps the aircraft stable on straight legs without repeated vertical corrections
- it preserves enough scene width for your thermal or visual objective
- it supports the overlap and consistency needed if photogrammetry is part of the mission
If one of those fails, the altitude is wrong.
Notice what is missing here: a universal “best altitude” figure. That omission is deliberate. In forests, a perfect number on one slope can be a poor number one valley over.
When to fly higher than you think you need to
There are specific moments when conservative altitude is the smarter choice:
- entering a new sector with unknown emergent trees
- crossing from open alpine ground into dense canopy
- working near ridge-backed turbulence
- transitioning from filming to thermal survey mode
- flying a route where return access is visually compressed by terrain
A short higher reconnaissance segment can prevent a much messier low-altitude recovery.
When to fly lower than you first planned
Lower passes make sense when:
- the canopy is uniform and well understood
- you need stronger bark, branch, or trail detail
- your thermal target is small and scene clutter is manageable
- your mapping objective requires better ground definition
- obstacle margins remain clearly generous throughout the route
The key is intent. Go lower because the output demands it, not because the image “looks more dramatic.”
One final field habit that saves missions
Before each production leg, hold the aircraft on a stable line for a few seconds and ask one question: is the drone truly maintaining its intended height relative to the landscape, or am I being fooled by slope angle and screen perspective?
That pause sounds trivial. In forests at elevation, it is often the difference between a controlled mission and a reactive one.
If your team wants to compare route profiles or discuss a specific mountain forest setup, share your mission scenario here: message our flight planning desk.
The Mavic 3T is extremely capable in high-altitude woodland environments, but capability only shows up when flight height is chosen with discipline. The best operators do not chase a magic altitude. They build one from canopy reality, mission purpose, and stable control inputs.
Ready for your own Mavic 3T? Contact our team for expert consultation.