Mavic 3T for Coastline Inspections: Low-Light Guide
Mavic 3T for Coastline Inspections: Low-Light Guide
META: Master low-light coastline inspections with the Mavic 3T. Learn thermal imaging techniques, flight protocols, and expert tips for challenging coastal environments.
TL;DR
- Thermal signature detection enables wildlife identification and infrastructure assessment in near-darkness
- O3 transmission maintains stable video feeds across 15km despite coastal interference
- AES-256 encryption protects sensitive survey data from interception
- Hot-swap batteries allow continuous 90+ minute inspection sessions without returning to base
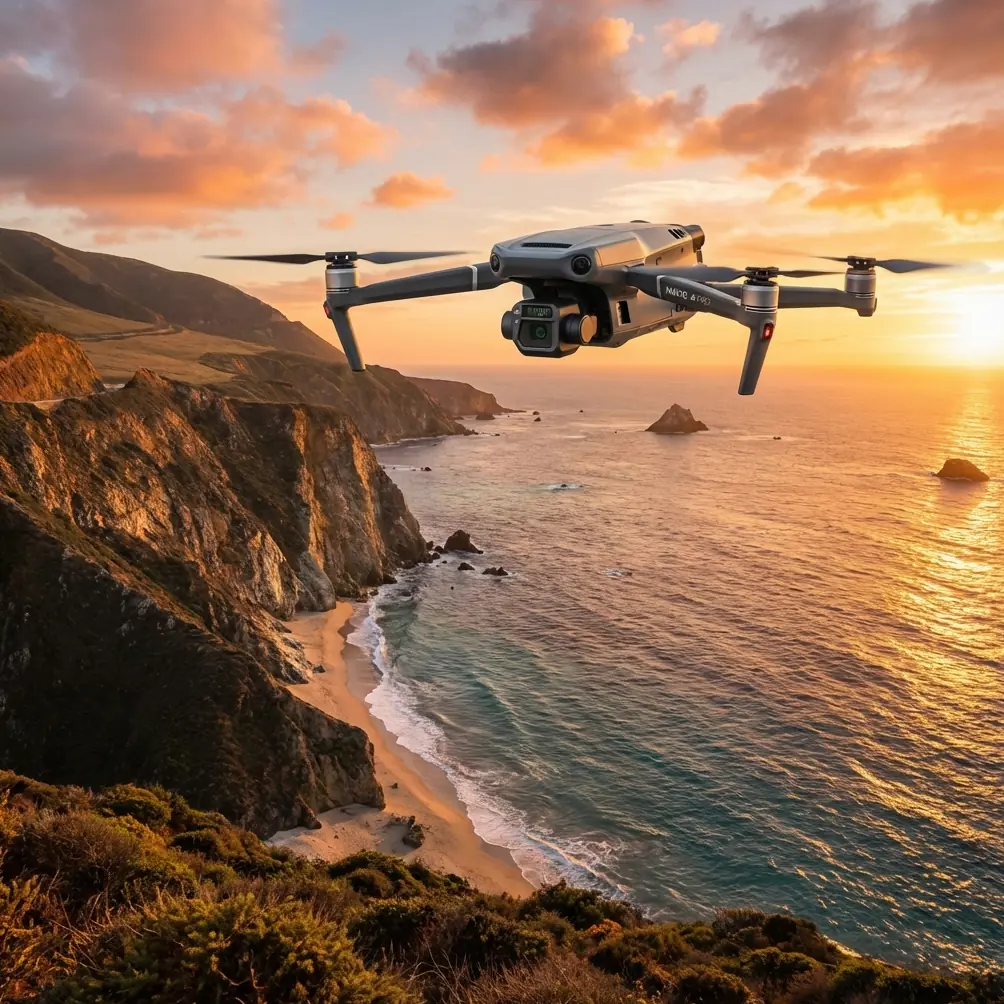
Coastal infrastructure deteriorates faster than inland structures, and inspections can't always wait for perfect daylight. The Mavic 3T combines a 48MP wide camera, 12MP zoom lens, and 640×512 thermal sensor into a platform specifically engineered for challenging environmental conditions—here's how to maximize its capabilities along coastlines when light fades.
Why Low-Light Coastline Inspections Demand Specialized Equipment
Salt spray, unpredictable winds, and rapidly changing visibility create a hostile environment for standard drone operations. Traditional inspection methods require scaffolding, boats, or rope access teams—each introducing significant safety risks and costs.
The Mavic 3T addresses these challenges through sensor fusion. Its thermal imaging penetrates fog and low-light conditions that would ground visual-only aircraft. During a recent survey of eroding cliffs in Cornwall, the thermal sensor detected a colony of nesting seabirds invisible to the naked eye at dusk, allowing the pilot to adjust the flight path and avoid disturbing protected species.
This wildlife encounter illustrates a critical advantage: thermal signature recognition doesn't just find infrastructure problems—it reveals biological activity that affects inspection timing and routing.
Essential Pre-Flight Configuration for Coastal Operations
Thermal Sensor Calibration
Before launching in low-light conditions, calibrate the thermal sensor against a known temperature reference. The Mavic 3T's -20°C to 150°C detection range requires proper baseline establishment for accurate readings.
Configure these settings in DJI Pilot 2:
- Gain Mode: High gain for detecting subtle temperature differentials
- Palette: Ironbow for infrastructure, White Hot for wildlife detection
- Isotherm: Enable with custom thresholds based on target anomalies
- FFC (Flat Field Correction): Set to automatic with 5-minute intervals
Flight Parameter Optimization
Coastal winds create turbulence patterns that differ significantly from inland conditions. The Mavic 3T's 12 m/s wind resistance handles most situations, but conservative settings improve image quality.
| Parameter | Inland Setting | Coastal Low-Light Setting |
|---|---|---|
| Max Speed | 21 m/s | 12 m/s |
| Gimbal Sensitivity | Standard | Low |
| Obstacle Avoidance | APAS 5.0 | APAS 5.0 + Manual Override |
| Return-to-Home Altitude | 50m | 80m |
| Signal Lost Action | RTH | Hover (with altitude hold) |
Expert Insight: Reduce flight speed by 40% in low-light coastal conditions. Slower movement allows the thermal sensor's 30Hz refresh rate to capture cleaner imagery without motion blur artifacts.
Step-by-Step Inspection Protocol
Phase 1: Site Assessment and GCP Placement
Ground Control Points establish photogrammetry accuracy for subsequent 3D modeling. Place a minimum of 5 GCPs across the inspection area before light fades completely.
For coastline work, use reflective GCP targets that remain visible in both thermal and visual spectrums. Standard photogrammetry markers lose effectiveness below 50 lux—the Mavic 3T's thermal sensor can lock onto heated GCP alternatives.
Position GCPs at:
- Both ends of the inspection corridor
- Highest and lowest elevation points
- Any significant terrain transitions
- Access points for ground-truthing
Phase 2: Systematic Flight Pattern Execution
The Mavic 3T supports automated waypoint missions through DJI Pilot 2, but coastal low-light operations benefit from hybrid automation.
Program the primary flight path as waypoints, then enable manual gimbal control for real-time thermal investigation. This approach maintains consistent coverage while allowing immediate response to anomalies.
Recommended overlap settings for coastal photogrammetry:
- Front overlap: 80%
- Side overlap: 70%
- Altitude: 50-80m AGL depending on feature size
- Camera angle: 75° for cliff faces, 90° for flat infrastructure
Phase 3: Thermal Anomaly Investigation
When the thermal sensor identifies temperature differentials, switch to zoom camera for detailed visual documentation. The 56× hybrid zoom resolves features as small as 3cm from 100m distance.
Document each anomaly with:
- Wide thermal capture showing context
- Zoomed thermal capture isolating the anomaly
- Visual spectrum image at maximum practical zoom
- GPS coordinates automatically embedded in metadata
Pro Tip: The Mavic 3T's split-screen mode displays thermal and visual feeds simultaneously. Use this during anomaly investigation to correlate thermal signatures with visible damage patterns—cracks often appear warmer due to moisture absorption.
BVLOS Considerations for Extended Coastline Coverage
Beyond Visual Line of Sight operations multiply the Mavic 3T's effective range but require additional authorization and safety protocols. The O3 transmission system maintains 1080p/30fps video at distances exceeding 15km in optimal conditions.
Coastal BVLOS operations face unique challenges:
- Salt interference: Clean antennas before each flight
- Electromagnetic noise: Avoid shipping channels with active radar
- Weather cells: Monitor real-time conditions via onboard sensors
- Airspace conflicts: Coordinate with coast guard and maritime traffic
The aircraft's AES-256 encryption ensures that extended-range video feeds remain secure—critical when inspecting sensitive infrastructure like port facilities or energy installations.
Hot-Swap Battery Strategy for Continuous Operations
Single battery flights limit the Mavic 3T to approximately 45 minutes under ideal conditions. Coastal winds and thermal sensor usage reduce this to 30-35 minutes realistically.
Implement a hot-swap rotation using 3+ batteries to maintain continuous coverage:
- Launch with Battery A
- At 30% remaining, land at designated swap point
- Replace with Battery B within 90 seconds
- Resume mission from last waypoint
- Charge Battery A during Battery B flight
This protocol enables 90+ minute inspection sessions without data gaps. The Mavic 3T's mission resume function automatically continues from the interruption point.
Data Management and Post-Processing Workflow
Each inspection generates substantial data volumes. A typical 2km coastline survey produces:
- 400-600 thermal images
- 400-600 visual spectrum images
- 15-30GB total storage requirement
- 1-2 hours of flight logs
Transfer data immediately after landing using the aircraft's USB-C connection. Avoid relying on wireless transfer in coastal environments where humidity affects connection stability.
For photogrammetry processing, software like Pix4D or DroneDeploy accepts the Mavic 3T's output directly. Thermal orthomosaics require specialized processing to maintain radiometric accuracy.
Common Mistakes to Avoid
Ignoring thermal sensor warm-up time: The sensor requires 5-10 minutes to stabilize after power-on. Launching immediately produces inconsistent readings across the thermal image.
Flying too fast for conditions: The thermal sensor's resolution degrades with aircraft movement. Maintain speeds below 8 m/s for inspection-quality thermal imagery.
Neglecting lens maintenance: Salt spray accumulates on all optical surfaces. Clean the thermal sensor's germanium lens with appropriate materials only—standard lens cloths cause permanent scratching.
Overlooking tidal timing: Low-light doesn't mean any time works. Coordinate inspections with tidal charts to access features normally submerged and avoid unexpected water level changes.
Skipping redundant data capture: Coastal conditions change rapidly. Capture overlapping coverage even when initial passes appear successful—cloud movement and spray can invalidate earlier images.
Frequently Asked Questions
Can the Mavic 3T thermal sensor detect water ingress in concrete structures?
Yes. Moisture-saturated concrete displays different thermal characteristics than dry material, particularly during temperature transitions at dawn and dusk. The 640×512 thermal resolution identifies moisture patterns as small as 10cm² from typical inspection distances.
What wind conditions require mission cancellation?
The Mavic 3T operates safely in sustained winds up to 12 m/s with gusts to 15 m/s. However, for thermal inspection quality, limit operations to conditions below 8 m/s sustained. Coastal gusts often exceed inland forecasts by 30-50%.
How does O3 transmission perform over open water?
O3 transmission actually performs better over water than urban environments due to reduced electromagnetic interference. Expect reliable 1080p video feeds at distances exceeding 10km over open water, though always maintain visual observer protocols for safety.
Coastline inspections in challenging light conditions separate professional operators from casual users. The Mavic 3T's integrated sensor suite, robust transmission system, and enterprise-grade encryption provide the foundation—but execution depends on proper configuration, systematic protocols, and respect for the coastal environment's unique demands.
Ready for your own Mavic 3T? Contact our team for expert consultation.