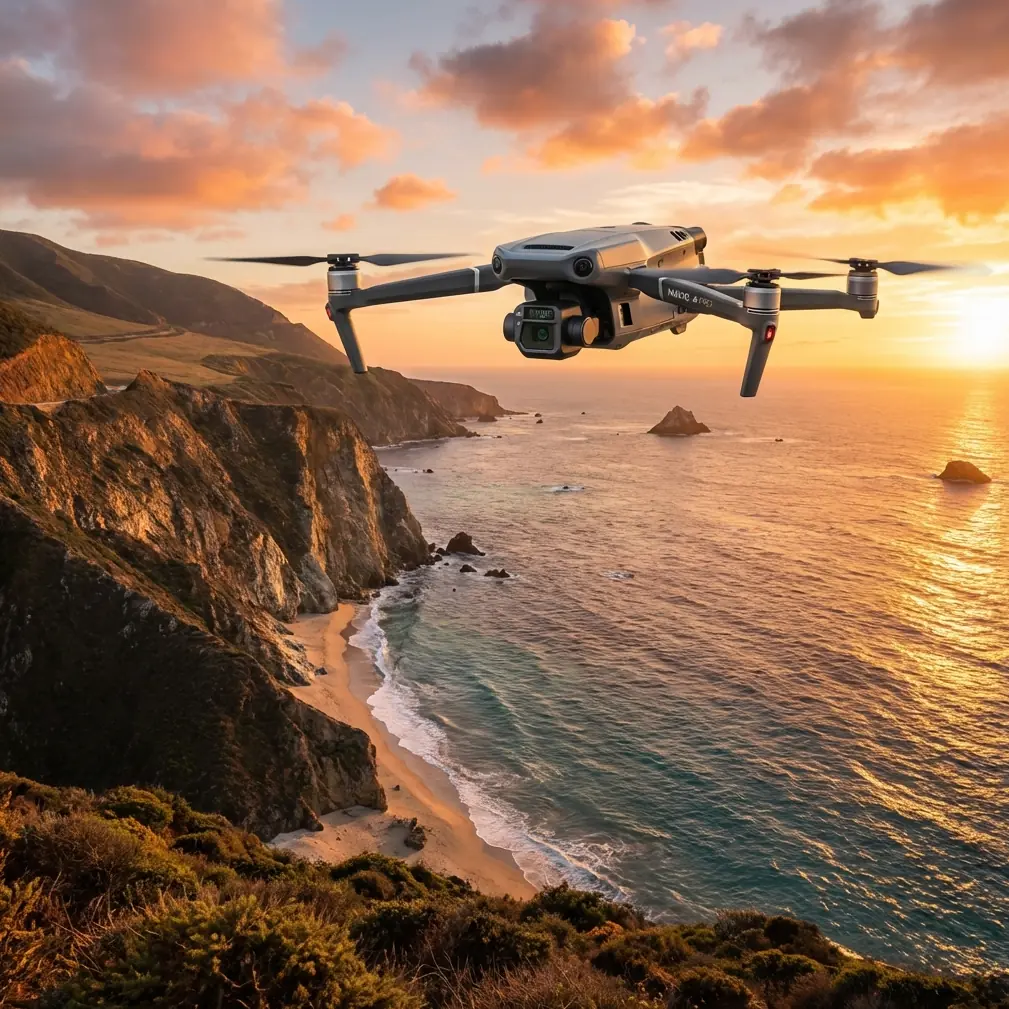
Mavic 3T for High-Altitude Construction Inspection
Mavic 3T for High-Altitude Construction Inspection: The Flight Altitude That Actually Works
META: A practical tutorial on using the DJI Mavic 3T to inspect high-altitude construction sites, with flight altitude guidance, thermal workflow tips, O3 transmission considerations, AES-256 security context, and site-ready capture strategy.
High-altitude construction inspection looks simple on paper. Fly up, collect images, spot defects, go home. In the field, it rarely behaves that cleanly.
Wind moves differently around unfinished towers. Steel, glass, and temporary site infrastructure interfere with line of sight and signal planning. Temperature swings can distort what the thermal sensor seems to be showing. And if you fly too high to “play it safe,” you often lose the very detail that makes the Mavic 3T worth bringing to site in the first place.
This is where the Mavic 3T becomes more than a compact aircraft with a thermal payload. Used properly, it gives site teams a fast inspection tool that can move between general visual review, targeted thermal signature checks, and documentation flights without dragging in a larger platform. For high-altitude construction work, though, the question that matters most is not whether the aircraft can fly high enough. It is: what altitude gives you the best inspection result?
My answer, after structuring workflows for complex job sites, is this: for most high-rise construction inspection tasks with the Mavic 3T, the best operational altitude is usually not a single number but a working band of roughly 15 to 40 meters from the face or feature being inspected, not simply a high AGL figure over the whole site.
That distinction changes everything.
Stop thinking in site altitude. Think in stand-off distance.
On mountain projects, elevated plateaus, and towers built far above surrounding grade, operators often obsess over the site’s elevation above sea level. The aircraft cares about performance margins, but the inspection result depends more on your distance from the target.
If you are inspecting facade tie-ins, waterproofing edges, curtain wall transitions, roof penetrations, temporary mechanical equipment, or concrete curing inconsistencies, the Mavic 3T performs best when you hold a controlled stand-off distance close enough for useful visual and thermal interpretation, but far enough to stay clear of cranes, cables, dust plumes, and unpredictable rotor wash effects near surfaces.
For most construction inspections, a good starting point is:
- 15 to 25 meters from the target for detail-oriented review
- 25 to 40 meters from the target for broader thermal scanning and contextual imaging
- Higher overview passes only when you need situational awareness, progress documentation, or route planning
Why this matters: thermal anomalies are easy to misread when the aircraft is too far away. A small heat leak, a wet insulation zone, or an overheated temporary power component can blend into surrounding materials if each feature occupies too few pixels. On the visual side, flying too far back also flattens defects that are obvious when seen from a more deliberate angle.
In other words, your “optimal altitude” for a construction inspection is often the altitude that keeps your stand-off distance consistent as you climb the building face in sections.
The Mavic 3T is strongest when you break the building into layers
The mistake I see most often is trying to inspect an entire tall structure in one continuous orbit at a comfortable height. That produces attractive footage, but weak inspection data.
A better method with the Mavic 3T is to divide the structure into vertical zones:
- Podium and lower envelope
- Mid-elevation facade and service runs
- Upper structural or cladding sections
- Roofline, plant area, parapets, and penetrations
For each zone, fly at a height that keeps the aircraft within that 15 to 40 meter inspection band relative to the target. This keeps thermal and RGB imagery more comparable from section to section. It also reduces the temptation to over-zoom or stretch interpretation from poor capture geometry.
This layered approach is especially useful on high-altitude sites where thin air, stronger gusts, and terrain effects can increase pilot workload. Smaller, repeatable flight segments are easier to execute well than one oversized mission.
How thermal signature changes with altitude on a construction site
Thermal work is where operators either produce real value or generate confusion.
The Mavic 3T is often brought to site to identify moisture intrusion, insulation gaps, HVAC irregularities, electrical hotspots, or temperature inconsistency across building elements. But thermal signature is sensitive to more than distance. Surface material, solar loading, wind exposure, time of day, and angle all matter.
Still, altitude remains one of the controllable variables that has the fastest impact on data quality.
Here is the practical rule: if the thermal feature you care about is small, fly lower. Not recklessly low. Just close enough that the anomaly occupies meaningful image area.
For example:
- A broad roof insulation issue may be visible from 30 to 40 meters.
- A suspect electrical junction box on temporary site power is better checked closer, often around 15 to 20 meters stand-off.
- Concrete curing differences on a slab edge or facade patch can require a careful mid-range pass rather than a distant overview.
At high-altitude construction locations, wind can cool surfaces quickly and reduce contrast. That means thermal anomalies may appear weaker than expected. If you also fly too far back, you compound the problem. This is why many teams report “the thermal camera didn’t show much,” when the real issue was flight geometry and environmental timing, not the sensor itself.
O3 transmission matters more on mountain and tower sites than many teams realize
One of the practical strengths in the Mavic 3 series ecosystem is O3 transmission. On a busy construction site at elevation, that matters for more than pilot comfort.
Signal stability affects inspection quality. If your feed degrades near steel structures, temporary lifts, reinforced concrete cores, or when the aircraft drops behind partial obstructions, you are less likely to hold the precise framing needed for thermal comparison and defect documentation. A stable transmission link lets you slow down, adjust angle, and confirm what you are actually seeing before moving on.
That is especially relevant when inspecting upper levels where visual line of sight can be interrupted by the structure itself. I am not advocating BVLOS operations here. Site teams should follow local rules and company procedures. The point is simpler: high-altitude construction creates more signal complexity than an open field, and O3 gives the Mavic 3T a genuine operational advantage in maintaining workable image feedback during inspection passes.
The result is not just a safer flight. It is better evidence.
Security is not an abstract checkbox on construction projects
Many construction inspections involve sensitive progress data, subcontractor coordination issues, or pre-handover defect documentation. That is where AES-256 becomes more than a spec sheet term.
On high-value commercial builds, image transmission and stored project data can have contractual and reputational consequences. A secure workflow helps reduce unnecessary exposure when teams are reviewing thermal findings, structural progress images, or asset placement records.
For site managers, this means the Mavic 3T fits more comfortably into professional documentation workflows where data handling matters. It is not only about capturing imagery. It is about capturing imagery that project stakeholders are actually willing to use in formal reporting and internal review.
When photogrammetry helps, and when it does not
The Mavic 3T is frequently discussed as if every mission should produce a map. On construction sites, that is the wrong instinct.
Photogrammetry is useful when you need measurable site context: stockpile tracking, earthwork progress, access planning, roof layout reference, or broad progress records. If you are mapping a large elevated site, GCP placement can significantly improve consistency and help align outputs with existing site control.
But for high-rise inspection, photogrammetry is usually not the lead act. It is the support layer.
Here is the smart split:
- Use photogrammetry when you need a repeatable spatial record of the site or upper surfaces.
- Use targeted Mavic 3T inspection passes for facade, roof edge, service equipment, thermal anomalies, and defect verification.
Trying to force a mapping workflow to answer close inspection questions leads to mediocre outcomes. The Mavic 3T is most effective when you let thermal, visual inspection, and site modeling each do their own job.
A practical altitude workflow for Mavic 3T on high-altitude projects
If I were briefing a construction team tomorrow, this is the altitude workflow I would recommend.
1. Start with a high overview, but do not inspect from there
Use an initial pass to understand crane position, material staging, personnel movement, and wind behavior around the structure. This is a planning flight, not the inspection itself.
2. Identify the inspection objective before choosing altitude
Do you need to detect heat loss around a rooftop plant enclosure? Verify facade consistency? Check temporary electrical equipment? Review membrane installation? The answer determines distance.
3. Fly the target, not the site
Set altitude based on the component you are inspecting. Keep your stand-off distance in the 15 to 40 meter band unless conditions clearly justify a different approach.
4. Use lower passes for smaller anomalies
If the feature is compact, reduce distance. This improves both thermal interpretation and visual confirmation.
5. Capture context and detail together
For every anomaly, collect:
- one wider contextual image
- one medium framing shot
- one close inspection view
- a thermal image from a stable angle
This sequence makes reporting far easier.
6. Watch wind at the corners and roofline
High-altitude sites create turbulence where air accelerates around edges. Do not pick an altitude only because it seems numerically convenient. Choose one you can hold steadily.
7. Repeat at consistent distances
If the project needs periodic inspection, replicate your stand-off distances and camera angles across visits. That consistency often matters more than chasing a perfectly identical route.
What about batteries and site tempo?
The Mavic 3T is a compact field tool, which is part of its appeal on active construction projects. Teams can move quickly between zones instead of mobilizing a heavier system. In practice, this becomes much more useful if your workflow accounts for hot-swap batteries at the planning level, even if your ground procedure is simply efficient battery rotation and rapid relaunch rather than literal airborne swap capability.
Why mention this? Because high-altitude construction inspection often rewards short, focused flights. One battery for roof mechanical review. Another for facade thermal checks. Another for overview documentation. Treating battery changes as mission segmentation points helps preserve capture discipline and reduces the common habit of squeezing “just one more pass” into a flight that should already be ending.
A note on BVLOS language
The term BVLOS gets thrown around in enterprise drone conversations, but on construction inspection it is often a distraction. For the Mavic 3T in this scenario, the real value is not stretching farther out of sight. It is making disciplined, legally compliant flights that keep image quality high and the aircraft positioned where thermal and visual data remain trustworthy.
That means better planning, not simply greater range.
The best altitude for Mavic 3T construction inspection
If you want one answer, here it is.
For high-altitude construction inspections with the Mavic 3T, the most productive operating position is usually 15 to 40 meters from the inspection target, with the lower end reserved for detail and the upper end used for broader scanning and context capture. Do not rely on a single high orbit to inspect an entire building. Break the structure into zones and fly each one at a distance that preserves thermal clarity and visual usefulness.
That is the difference between collecting footage and producing inspection evidence.
The Mavic 3T earns its place on these sites because it can move fluidly between thermal signature analysis, visual documentation, and selective site modeling. O3 transmission helps maintain control in signal-challenging environments. AES-256 supports more professional data handling. GCP-backed photogrammetry can complement the workflow when site-wide spatial records are needed. But none of those advantages compensate for poor altitude choice.
Get the distance right, and the aircraft starts telling the truth.
If your team is building out a site workflow and needs a second opinion on altitude planning, thermal capture structure, or repeatable inspection templates, you can message a Mavic 3T workflow specialist here.
Ready for your own Mavic 3T? Contact our team for expert consultation.