Mavic 3T Field Inspections: Low-Light Best Practices
Mavic 3T Field Inspections: Low-Light Best Practices
META: Learn how to inspect fields in low light using the DJI Mavic 3T. Expert how-to guide covering thermal signatures, camera settings, and BVLOS best practices.
By James Mitchell, Drone Inspection Specialist
TL;DR
- The Mavic 3T's thermal and wide-angle cameras allow you to detect crop stress, drainage issues, and wildlife activity in fields even after sunset or before dawn.
- Proper pre-flight calibration and GCP placement are non-negotiable for accurate photogrammetry outputs in low-light agricultural inspections.
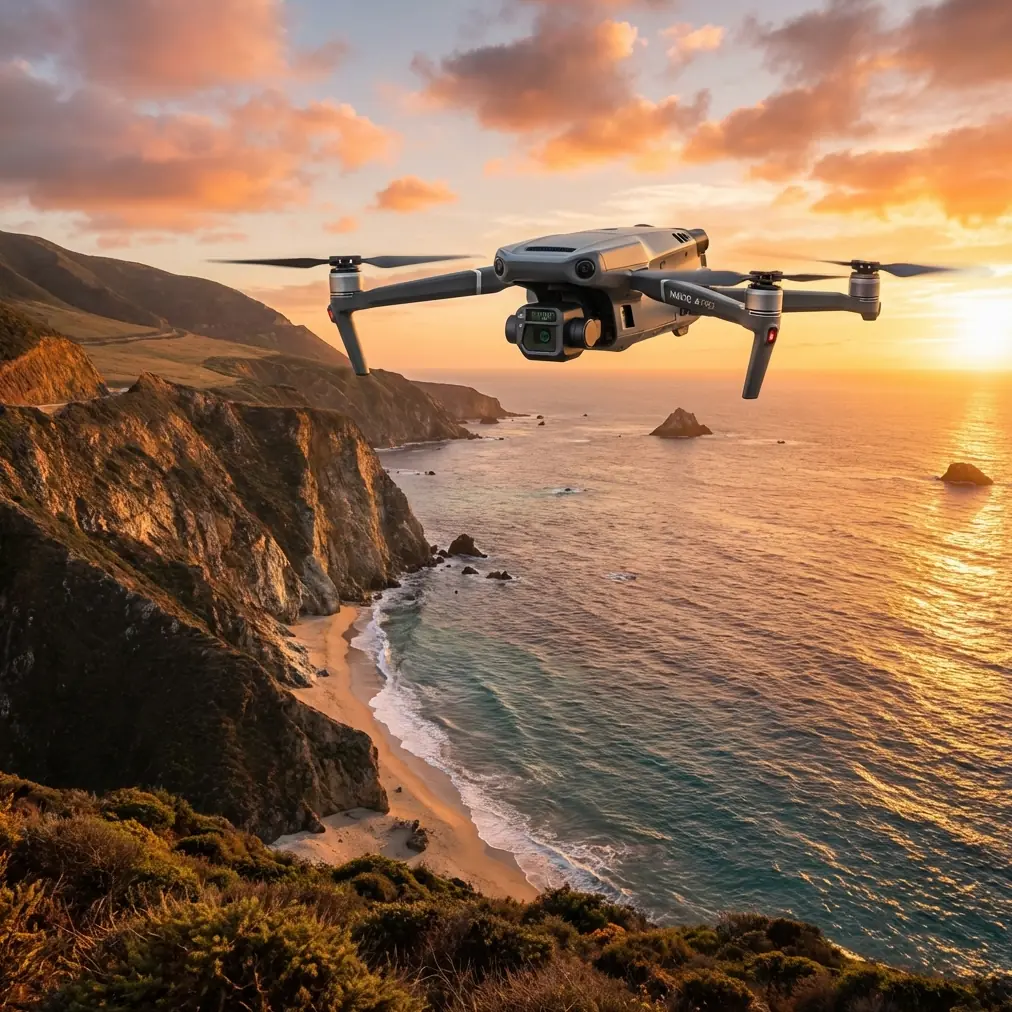
- O3 transmission technology maintains a stable video feed up to 15 km, giving you reliable situational awareness during twilight BVLOS operations.
- A third-party IR illuminator accessory can dramatically improve obstacle avoidance and visual camera performance in near-total darkness.
Why Low-Light Field Inspections Matter
Crop diseases, irrigation leaks, and pest infestations don't wait for perfect daylight. Many thermal signatures are actually easier to detect during cooler periods—early morning, dusk, or nighttime—when ambient heat dissipates and temperature differentials between healthy and stressed vegetation become more pronounced. The DJI Mavic 3T is purpose-built for exactly these scenarios, but only if you know how to configure and operate it correctly.
This guide walks you through every step of planning, executing, and post-processing a low-light field inspection with the Mavic 3T. You'll learn the specific settings, workflows, and common pitfalls that separate a usable data set from a wasted flight.
Understanding the Mavic 3T's Sensor Suite for Low Light
The Mavic 3T packs three sensors into a compact, foldable airframe:
- Wide-angle camera: 1/2-inch CMOS, 48 MP, f/2.8 aperture
- Zoom camera: 1/2-inch CMOS, 48 MP, up to 56× hybrid zoom
- Thermal camera: 640 × 512 resolution, NETD ≤ 30 mK, supporting spot metering, area metering, and isothermal overlays
The thermal camera is the star performer in low-light field work. Its 30 mK sensitivity means it can distinguish temperature differences as small as 0.03°C, which is critical for identifying early-stage crop disease before it's visible to the naked eye or even a standard RGB camera.
Why the Wide Camera Still Matters at Night
Don't dismiss the wide-angle RGB sensor during twilight ops. At f/2.8 with an adjustable ISO range up to 6400 on manual settings, it captures surprisingly usable imagery during civil twilight—roughly 30 minutes before sunrise or after sunset. Pairing this with the thermal overlay in split-screen mode gives you context that thermal alone cannot provide.
Expert Insight: Set the wide camera to manual exposure with an ISO between 800 and 1600 and a shutter speed no faster than 1/60s during twilight. This balances noise reduction with motion blur prevention at standard survey speeds of 5–7 m/s.
Step-by-Step: Planning a Low-Light Field Inspection
Step 1 — Define Your Inspection Objective
Before powering anything on, clarify what you're looking for. Different objectives demand different altitudes, overlap percentages, and thermal palettes:
- Irrigation leak detection: Fly at 30–40 m AGL, use the "Ironbow" or "White Hot" palette
- Crop stress mapping: Fly at 50–60 m AGL, use isothermal mode to highlight a specific temperature range
- Wildlife/pest activity surveys: Fly at 40–50 m AGL, use "White Hot" for maximum contrast against cooler ground
Step 2 — Place Ground Control Points (GCPs)
Even in low light, GCPs are essential if you plan to generate georeferenced photogrammetry outputs. Standard GCP targets are nearly invisible to both thermal and RGB cameras at night.
Use reflective GCP markers with a known thermal signature. A practical method is to place aluminum panels (at least 0.5 m × 0.5 m) at your control points several hours before the flight. Aluminum radiates absorbed heat differently than soil or vegetation, making it detectable on the thermal sensor.
- Place a minimum of 5 GCPs for fields up to 20 hectares
- Survey each point with an RTK GNSS receiver for centimeter-level accuracy
- Mark each GCP location in your flight planning software before launch
Step 3 — Configure DJI Pilot 2 for Waypoint Flight
Manual stick flying is impractical for systematic field surveys, especially in low light when visual references are limited. Use the Waypoint Flight mission mode in DJI Pilot 2:
- Set altitude based on your objective (see Step 1)
- Configure front overlap at 80% and side overlap at 70% for photogrammetry-quality data
- Enable simultaneous photo capture on all three cameras
- Set the thermal camera's emissivity to 0.95 for vegetation (adjust to 0.92 for bare soil)
Step 4 — Pre-Flight Thermal Calibration
The Mavic 3T performs an automatic flat-field correction (FFC) on startup, but environmental conditions at dusk and dawn shift rapidly. Force a manual FFC by briefly covering the thermal lens with your palm or a lens cap for 3 seconds and then uncovering it. The camera recalibrates to current ambient conditions.
Do this immediately before takeoff. If your flight exceeds 15 minutes, the camera will auto-calibrate mid-flight, which causes a brief pause in thermal image capture—plan your waypoints so this doesn't occur over critical areas.
Pro Tip: Bring hot-swap batteries to eliminate downtime between flights. The Mavic 3T's 46-minute max flight time is generous, but large fields may require multiple sorties. Having two or three charged batteries on rotation ensures you complete the entire survey within the optimal thermal window, which often lasts only 60–90 minutes around sunset.
Enhancing Capabilities: The IR Illuminator Advantage
During a recent 200-hectare wheat field inspection in central Kansas, I encountered a challenge: the Mavic 3T's obstacle avoidance sensors struggled in near-total darkness after astronomical twilight. The thermal camera worked flawlessly, but the forward-facing vision sensors—which rely on visible or near-infrared light—had limited effectiveness.
The solution was the Lumecube Strobe Mount Kit, a third-party accessory that attaches a lightweight IR beacon to the drone's underside. While it doesn't project enough light to illuminate the ground for the RGB camera, it provides just enough near-infrared reflectance for the downward and forward vision sensors to maintain reliable obstacle detection.
This accessory weighs only 28 g, which has a negligible impact on flight time. It transformed what would have been a risky manual operation into a confident, sensor-assisted survey.
Data Security and Transmission
Field inspection data often contains proprietary agricultural intelligence. The Mavic 3T addresses this with:
- AES-256 encryption on all locally stored data
- O3 transmission with automatic frequency hopping across 2.4 GHz and 5.8 GHz bands
- Local data mode that prevents any data transmission to external servers
For BVLOS operations—which many agricultural inspections increasingly require under evolving regulatory frameworks—the O3 link provides a stable 1080p/30fps live feed at distances exceeding 10 km in open field environments. This is essential for remote pilot-in-command (RPIC) oversight when the aircraft is beyond visual line of sight.
Technical Comparison: Mavic 3T vs. Competing Inspection Platforms
| Feature | Mavic 3T | Autel EVO II Dual 640T V3 | Skydio X10 |
|---|---|---|---|
| Thermal Resolution | 640 × 512 | 640 × 512 | 320 × 256 |
| Thermal Sensitivity (NETD) | ≤ 30 mK | ≤ 30 mK | ≤ 50 mK |
| RGB Sensor | 48 MP (wide) + 48 MP (zoom) | 50 MP | 48 MP |
| Max Flight Time | 46 min | 42 min | 40 min |
| Transmission Range | 15 km (O3) | 15 km | 10 km |
| Encryption Standard | AES-256 | AES-256 | AES-256 |
| Weight (with battery) | 920 g | 1,050 g | 1,530 g |
| Obstacle Sensing Directions | 6 (omnidirectional) | 4 | 6 (omnidirectional) |
| Zoom Capability | 56× hybrid | 32× hybrid | 40× hybrid |
The Mavic 3T's combination of triple-sensor payload, lowest weight class, and longest flight time makes it the most field-portable option for agricultural inspections where operators often work alone and far from vehicle access.
Post-Processing Low-Light Thermal Data
Once your flights are complete, processing the data correctly is just as important as capturing it:
- Import thermal RJPEG files into DJI Terra or Pix4Dfields for orthomosaic generation
- Use the embedded radiometric data to create absolute temperature maps, not just relative heat maps
- Apply GCP corrections during the alignment phase to achieve sub-5 cm positional accuracy
- Export isothermal layers as GeoTIFFs for integration into your farm management platform
Avoid processing RGB and thermal data as a single merged dataset. Generate separate orthomosaics and overlay them in GIS software for the most accurate analysis.
Common Mistakes to Avoid
- Flying too fast: Survey speed above 8 m/s introduces thermal blur on the 640 × 512 sensor. Keep it at 5–7 m/s for clean data.
- Ignoring emissivity settings: Leaving emissivity at the default 0.90 when surveying vegetation (which requires 0.95) produces inaccurate absolute temperature readings, undermining the entire dataset.
- Skipping FFC before launch: Relying solely on the automatic flat-field correction from startup—potentially 10–15 minutes before actual flight—means your thermal baseline reflects hangar or vehicle temperatures, not field conditions.
- Neglecting regulatory compliance: BVLOS operations require specific waivers in most jurisdictions. Flying beyond visual line of sight without proper authorization exposes you to enforcement action and invalidates insurance coverage.
- Overcomplicating the thermal palette: "Rainbow" and "Lava" palettes look dramatic but obscure subtle temperature gradients. Use "White Hot" or "Ironbow" for field inspections where small differentials matter.
Frequently Asked Questions
Can the Mavic 3T detect crop disease at night?
Yes, and often more effectively than during the day. At night, soil and canopy temperatures stabilize, making the 0.03°C thermal sensitivity of the Mavic 3T's sensor capable of revealing stress-induced temperature anomalies that solar heating masks during daytime flights. Fungal infections, root zone waterlogging, and nutrient deficiencies all produce detectable thermal signatures after sunset.
How many batteries do I need for a 100-hectare field inspection?
At a survey altitude of 50 m AGL with 80/70 overlap settings and a flight speed of 6 m/s, the Mavic 3T covers approximately 40–50 hectares per battery. Plan for 3 batteries total: two for the survey and one as a reserve. Hot-swap batteries keep your downtime to under 90 seconds between sorties, which is critical during the narrow optimal thermal window.
Is the Mavic 3T approved for BVLOS agricultural inspections?
The aircraft itself is technically capable of BVLOS operations thanks to its O3 transmission range and omnidirectional obstacle sensing. However, regulatory approval depends entirely on your jurisdiction. In the United States, you need an FAA Part 107 waiver for BVLOS. Several agricultural operators have successfully obtained these waivers using the Mavic 3T as their platform, citing its redundant communication links and ADS-B receiver as mitigating safety features.
Ready for your own Mavic 3T? Contact our team for expert consultation.