How I Inspect Coastal Fields with the Mavic 3T When Weather
How I Inspect Coastal Fields with the Mavic 3T When Weather, Moisture, and Workflow All Fight Back
META: A field-tested Mavic 3T workflow for coastal agricultural inspection, covering thermal interpretation, flight safety logic, icing-related altitude thinking, and fault-tolerant operating habits.
Coastal field inspection sounds simple until you actually do it for a season.
Salt haze softens visibility. Wet ground changes thermal behavior. Wind arrives sideways, not head-on. And if you are responsible for turning drone data into decisions that matter to growers, land managers, or drainage contractors, the hardest part is rarely flying the mission. The hard part is trusting what you see when the environment keeps distorting the picture.
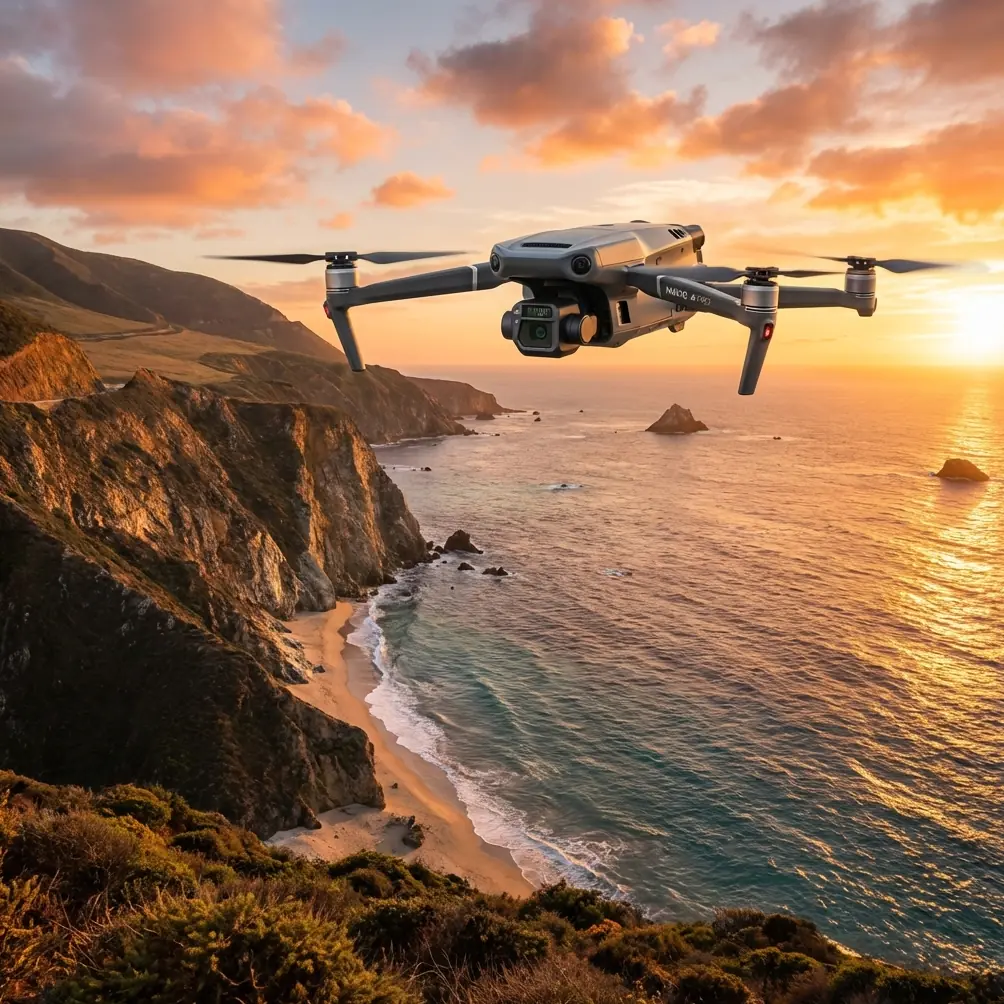
That is where the Mavic 3T has earned its place in my kit.
I am not saying that because it is fashionable or because thermal payloads look impressive in marketing images. I say it because coastal inspection punishes weak workflow design. It exposes every shortcut. The Mavic 3T helps most when you stop thinking of it as just a camera drone and start treating it as a compact inspection system: one that has to stay readable, stable, and operational when moisture, low cloud, uneven surface temperatures, and communication demands pile on at once.
This article is not a generic overview. It is the method I use when inspecting coastal fields, shaped by one recurring challenge: trying to separate real field stress from false thermal contrast in damp, unstable conditions.
The coastal problem most people underestimate
My first serious headache with coastal crop inspection was not battery life or mapping speed. It was misinterpretation.
Inland, thermal anomalies often present with cleaner contrast. In coastal zones, the same field can show patchy signatures because of evaporative cooling, standing water, saline intrusion, variable soil density, and wind exposure across open ground. Early in my work, I found myself revisiting sites too often because the first pass was technically successful yet operationally inconclusive.
That is the distinction that matters. A drone can fly well and still fail the mission.
The Mavic 3T made this easier not because it removed environmental complexity, but because it let me build a repeatable two-layer workflow. First, I scan for thermal signature patterns. Then I verify shape, context, and boundary logic with visual data and ground checks. If needed, I run photogrammetry on the problem zone rather than the entire property. That sounds obvious, but on coastal sites it saves time and reduces false confidence.
Why the Mavic 3T fits this job better than many larger setups
For coastal field work, I value fast deployment more than theoretical payload superiority. Conditions shift fast near shorelines. A larger platform with more setup friction can miss the narrow weather window when thermal contrast is actually useful.
The Mavic 3T is effective here because it gets airborne quickly, holds a reliable link with O3 transmission, and gives me thermal plus visual context in one aircraft. That matters when I need to move from a broad scan to a low, targeted pass without changing platforms or repacking sensors.
Just as important, it supports secure handling practices that matter for commercial operators managing client site data. If you inspect agricultural assets, drainage corridors, pump stations, storage areas, or trial plots, transmission security is not an abstract feature. AES-256 support is part of the reason I am comfortable using the platform in professional workflows where location data, imagery, and site conditions should not float around casually.
Security does not make a bad mission good. But weak security can turn a good mission into a liability.
The lesson I borrowed from aircraft system design
Some of the best discipline in drone operations comes from manned aviation thinking, even when the aircraft categories are completely different.
One reference principle that has influenced my Mavic 3T field process is this: if a fault could create an unsafe outcome and the operator might not immediately notice it, the system should provide a clear warning without requiring constant operator attention. In traditional aircraft control system design, warning logic is not treated as decoration. It is there because unnoticed faults are the dangerous ones.
That mindset is useful with the Mavic 3T in coastal inspection. I do not assume the aircraft will save me from every issue. I assume my workflow must leave room for clear alerts, simple corrective actions, and no dependence on heroic reactions.
A second principle is even more practical: the operator’s first response to a fault should not require special strength or unusual skill. In other words, if something degrades, the recovery path should stay straightforward.
This is exactly how I structure Mavic 3T missions over fields. I keep routes conservative, avoid overcomplicating automated patterns near tree edges or utility lines, and make sure I can interrupt the mission and regain manual control cleanly. You do not build safety by pretending faults are unlikely. You build it by making the first response boring.
Step 1: Plan the mission around moisture, not just acreage
Most agricultural drone guides begin with field size. Coastal work should begin with moisture behavior.
Before launch, I divide the site into thermal expectation zones:
- waterlogged or recently irrigated sections
- elevated or wind-exposed rows
- low-lying drainage channels
- edges near roads, sea walls, ditches, or storage areas
- transition bands where salinity or soil composition may shift
This matters because thermal interpretation in wet coastal terrain is never one-dimensional. A cold patch may mean standing moisture, irrigation imbalance, drainage failure, or simply a temporary surface cooling effect from wind and evaporation.
With the Mavic 3T, I run an initial thermal scan high enough to establish field-scale relationships, then descend selectively for verification. The goal is not just anomaly detection. It is anomaly ranking.
If two cold zones appear similar in the thermal view but one aligns with a visible drainage depression and the other sits in a structurally uniform area, they do not deserve the same follow-up priority.
Step 2: Treat altitude as a data-quality variable
There is an overlooked engineering insight from aircraft anti-icing design that translates surprisingly well into coastal drone fieldwork: environmental limits matter, and they are often tied to altitude in ways operators ignore.
One reference point from the source material notes that hot-air anti-icing design has to account for the maximum icing altitude, typically around 6100 to 6706 meters. Obviously, a Mavic 3T is not operating anywhere near that envelope during field inspection. But the operational lesson is still relevant: altitude is not neutral. It changes the environmental load on the aircraft and the behavior of the system.
For Mavic 3T coastal work, I apply that logic at much lower levels. If I climb just to “see more,” I may gain coverage but lose interpretability. Wind can increase image instability. Haze can flatten visible contrast. Thermal blending can hide narrow drainage lines or patchy plant stress. In humid conditions, a little extra altitude can produce a lot more ambiguity.
So I choose altitude based on the decision I need to make, not on the maximum area I can cover in one pass.
If the goal is broad screening, I fly a moderate-height thermal grid. If the goal is confirming whether a cool strip is a blocked drain, uneven germination, or salinity drift, I come lower and tighten the angle.
That sounds simple. It is not common enough.
Step 3: Read thermal patterns the way heat actually spreads
Another technical clue from the source material comes from anti-icing heater design. The document notes that for more uniform surface temperature, heater strip width should be at least 5 times the allowed spacing between strips, and ideally 10 times. That is a highly specific engineering ratio, but its real significance is broader: heat distribution is never perfectly local. Geometry shapes what appears uniform and what appears patchy.
That idea is directly useful when interpreting Mavic 3T thermal imagery over fields.
Operators often look at a thermal frame as though every boundary in the image maps cleanly to a physical boundary on the ground. Coastal fields rarely behave that way. Surface temperature gradients can spread beyond the true source because moisture, density, residue cover, and airflow smear the signature.
So when I inspect with the Mavic 3T, I avoid overreacting to narrow thermal edges unless they repeat consistently across angles or align with visible structure. A linear cool band may be a drainage issue. It may also be the thermal spill effect of adjacent wet ground. A warm patch near an access road may indicate compaction-related runoff behavior, but I want visual confirmation before assigning cause.
The Mavic 3T helps because it allows quick cross-checking between thermal interpretation and optical context without changing aircraft. That speed is not a luxury. It prevents bad diagnosis while the field conditions are still stable enough to verify.
Step 4: Build fault tolerance into the mission itself
Another source principle worth carrying over is the requirement that an aircraft remain controllable even after major power loss or system trouble. Again, that comes from a different aviation category, but the operating philosophy is gold.
With the Mavic 3T, I do not plan routes that assume a perfect aircraft, perfect wind, or perfect telemetry. I plan routes that remain manageable if I need to cut the mission short.
That means:
- no unnecessary overextension to the farthest field corner on a marginal battery
- no stacked objectives that force me to complete thermal, orthographic, and low-altitude spot checks in one sortie
- no dependence on a single long leg when terrain or signal conditions suggest splitting the site into segments
If I know I may need multiple takeoffs, I prefer using hot-swap batteries in a rotation that keeps my pace steady and my decisions clear. The phrase “hot-swap” often gets used casually, but operationally it means less downtime in the field and fewer rushed relaunches after the weather has shifted.
On coastal jobs, time gaps matter. Surface temperature changes fast after sun angle changes or cloud cover moves through. A smooth battery rotation is not just convenient. It protects data continuity.
Step 5: Verify with photogrammetry only where it adds value
Not every coastal inspection needs full mapping output. That is how teams waste time.
I use the Mavic 3T as a screening platform first. Once thermal signatures reveal suspect areas, I decide whether photogrammetry will solve the actual question. If the issue concerns pooling, rutting, washout, or channel shape, then a local photogrammetry mission with good overlap can be worth the effort. If the issue is clearly vegetative stress with no terrain component, orthomosaic detail may matter more than a dense model.
When I need measurements I can defend, I place GCPs in the problem zone, not across the whole property unless the client needs site-wide survey-grade consistency. Coastal environments can be messy for control placement, so selective discipline beats blanket effort.
This is one reason the Mavic 3T works well in practice. It lets me move from rapid thermal reconnaissance to targeted documentation without turning a two-hour field visit into an all-day data burden.
Step 6: Use communications discipline, especially for BVLOS-adjacent planning
Some coastal agricultural sites tempt operators into stretching range because the terrain is open and the horizon feels forgiving. That is exactly where sloppy habits start.
I will not advise careless BVLOS operations. What I will say is that if your workflow is evolving toward regulated BVLOS-ready thinking, the Mavic 3T trains good habits when you use its transmission capability responsibly. O3 transmission is not a license to overreach. It is a tool that supports stable situational awareness within compliant operations.
For real field teams, this matters because reliable link quality reduces hesitation during inspection passes. You spend less effort fighting the connection and more effort interpreting the site. Add secure data handling through AES-256, and the aircraft becomes easier to fit into professional asset-inspection programs where data governance matters as much as image quality.
If you are building a field workflow and want to compare mission structures or payload logic, I sometimes share practical checklists directly through this WhatsApp line for inspection planning.
What changed most for me after switching to this workflow
The biggest improvement was not prettier imagery.
It was decision speed with fewer false positives.
Before I refined my Mavic 3T coastal method, I often left sites with “interesting findings” that still needed too much interpretation back at the desk. Now I try to leave with a narrower set of defensible conclusions:
- this section likely has drainage restriction
- this patch needs ground verification for salinity or root stress
- this cooling pattern is probably environmental noise, not crop condition
- this embankment or channel should be modeled with local photogrammetry
- this area is stable enough that no second sortie is needed today
That is what clients actually need. Not a folder full of colorful heat maps. They need reduced uncertainty.
The real value of the Mavic 3T in coastal field inspection
The Mavic 3T is at its best when you use it like an operator who respects environmental physics and system discipline.
The aircraft does not eliminate ambiguity. Nothing does. But it makes ambiguity easier to manage because it combines rapid deployment, thermal and visual cross-checking, dependable transmission, and a workflow that can stay orderly under changing field conditions.
And the deeper lesson from the reference material is worth keeping in mind. Good aviation systems are designed around three realities: environmental limits, warning clarity, and graceful degradation when things go wrong. Those principles scale down beautifully to professional drone inspection.
For coastal fields, that means flying with a plan that respects moisture patterns, choosing altitude for interpretation rather than ego, cross-checking thermal spread before assigning cause, and structuring every mission so that a fault or interruption does not collapse the whole job.
That is where the Mavic 3T stops being a gadget and becomes a reliable working instrument.
Ready for your own Mavic 3T? Contact our team for expert consultation.