Mavic 3T Coastal Field Inspection: Best Practices That
Mavic 3T Coastal Field Inspection: Best Practices That Actually Hold Up in Salt, Wind, and Long Workdays
META: Expert how-to guide for using the Mavic 3T in coastal field inspections, with practical flight altitude advice, thermal workflow tips, and maintenance-focused operating practices.
Coastal field inspection looks simple from the road. Wide open land, clear sightlines, nothing blocking the aircraft. Then you start flying and the real variables show up all at once: salt haze softens contrast, wind shifts faster than inland crews expect, reflective wet ground distorts thermal interpretation, and long walking distances punish any weak maintenance routine.
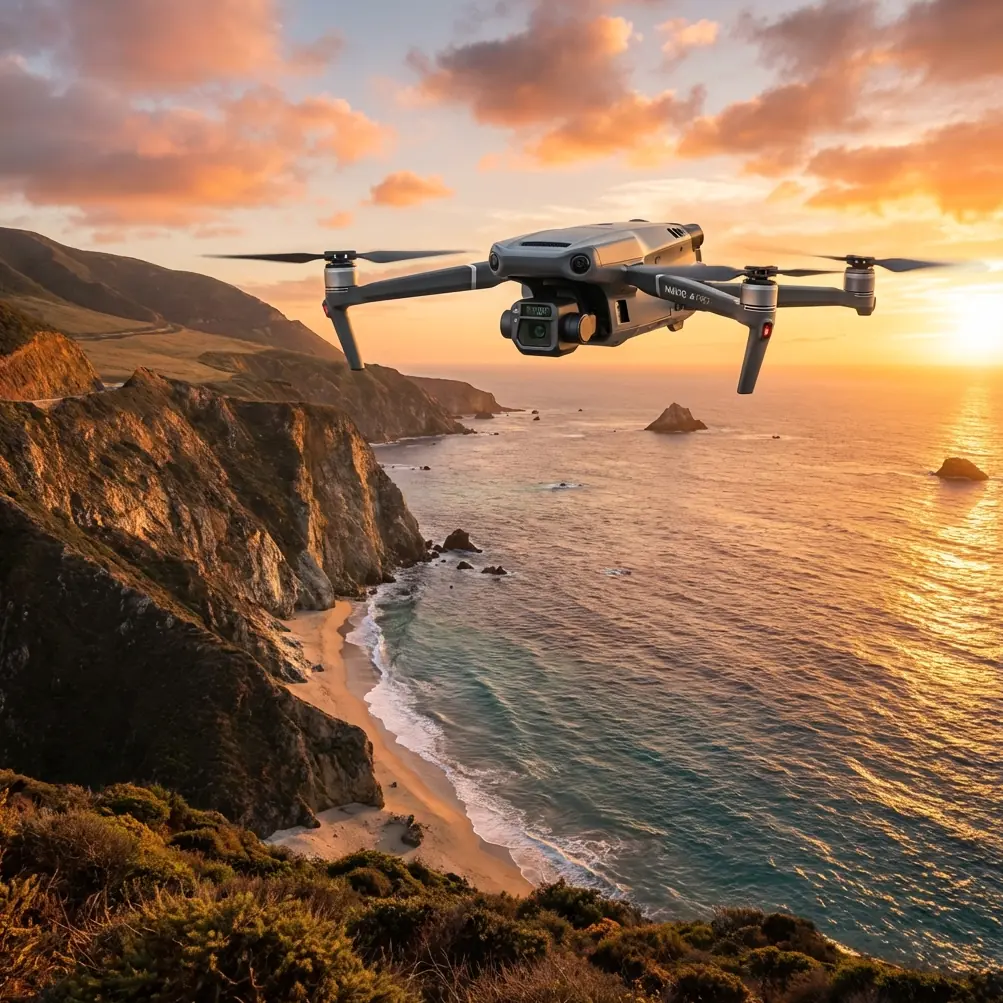
That is where the Mavic 3T earns its place. Not because it is merely compact, but because it allows one operator to move quickly between visual assessment, thermal signature review, and site documentation without dragging a larger platform through wet edges, sandy access tracks, and exposed ground. For coastal agriculture, drainage inspection, irrigation checks, infrastructure around field perimeters, and environmental monitoring, that flexibility matters more than spec-sheet theater.
This guide is built around one practical question: how do you get reliable inspection results from a Mavic 3T in coastal fields without letting environmental stress or sloppy handling undermine the data?
The answer starts with altitude, but it does not end there.
Start with the right altitude, not the maximum view
In coastal fields, the best inspection altitude is usually lower than many pilots first assume.
For broad first-pass reconnaissance, I prefer starting around 50 to 70 meters AGL. That range usually gives the Mavic 3T enough coverage to identify drainage lines, crop stress bands, standing water pockets, access track washout, and heat anomalies without flattening detail into a vague map of color shifts. If you climb too high too early, thermal differences that matter operationally begin to compress. You still see a pattern, but not one you can trust for action.
For closer thermal work, especially when you are checking irrigation inconsistency, embankment seepage, electrical equipment near pumps, or stressed field zones along saline edges, 30 to 45 meters AGL is often the more useful band. At that height, the thermal image retains enough spatial separation to distinguish one hotspot from the next instead of blending multiple features together.
For visible-light documentation and photogrammetry passes, altitude should follow the output requirement. If the goal is a management overview, 60 meters may be fine. If you need sharper edge definition for drainage channels, damaged rows, culvert entries, or erosion features, step lower and tighten overlap. In coastal sites, wind can turn a lazy mapping plan into a blurred one quickly, so your ideal altitude is the one that preserves image quality under actual conditions, not the one that looks efficient on paper.
A useful rule: fly the broad scan high enough to understand the site, then descend for decisions. The Mavic 3T is at its best when used in layers.
Why coastal conditions demand a maintenance mindset, not just a pilot mindset
Most field guides focus on flying skill. Coastal work needs something else: disciplined maintainability in the field.
One of the reference materials behind this article comes from an aircraft design handbook section on maintenance error prevention and human factors engineering. That may sound far removed from a compact commercial UAV, but the logic applies directly. The handbook emphasizes that maintenance efficiency depends heavily on the human being doing the work, and that systems should be designed and used in ways that reduce preventable errors. It also highlights the need for clear markings, accurate labels, and attention points placed where they are easy to see.
Operationally, that matters a lot with a Mavic 3T in coastal field inspection.
Salt, moisture, glare, fatigue, and repeated battery changes create the exact kind of environment where small errors stack up: wrong battery sequence, missed propeller damage, residue on sensors, hurried SD card handling, incomplete lens cleaning, incorrect payload settings, or poor post-flight drying. None of those look dramatic in the moment. Together, they produce data you cannot defend.
So the first best practice is simple: make your field routine visibly mistake-resistant.
Build a preflight setup that removes ambiguity
Use a case layout where each battery, prop set, cloth, landing pad, and card location is fixed. The handbook’s broader point about preventing installation and handling errors translates neatly here: if two items are functionally different but visually similar, they should be unmistakable in your workflow. Mark batteries by cycle group or inspection sequence. Keep clean and used lens cloths separate. If you rotate microSD cards, label them in a way that cannot be confused under glare or at the end of a long day.
Put critical checks where your eyes naturally land
The same reference stresses that warning labels and instructional markings should be placed in positions that are easy to observe. In practice, your own checklist should follow that logic. Don’t bury your coastal-specific checks in an app note. Put them on the case lid or controller cover:
- prop edge inspection after sandy takeoff zones
- gimbal glass check for salt mist residue
- battery contact inspection
- landing gear and body wipe-down before packing
- vent and port inspection after humid operations
The Mavic 3T is easy to deploy. That convenience can encourage casual habits. Coastal work punishes casual habits.
Human factors are not theory when one person is carrying the whole mission
The same aircraft handbook includes a concrete ergonomic detail: components moved by one person should not exceed 16 kg, and for two people, 32 kg, with lifting measures required beyond that. A Mavic 3T setup is obviously far below those thresholds, but the significance is still real.
A compact platform changes who can inspect and how long they can stay effective.
In exposed coastal fields, the operator often walks levees, irrigation boundaries, and uneven ground while carrying aircraft, batteries, controller, markers, and sometimes GCP equipment. Because the Mavic 3T system remains manageable for a single person, fatigue shows up less as brute lifting strain and more as decision fatigue. That shifts the risk profile. You are less likely to injure yourself carrying the kit, but more likely to skip a small check after the fifth launch because the system is so easy to redeploy.
That is why I recommend treating every battery swap like a hard reset of attention. If your operation uses hot-swap style turnaround discipline across multiple packs, pause long enough to verify lens condition, home point relevance, wind trend, and mission objective before launching again. Efficiency is useful. Unbroken momentum can be dangerous to data quality.
Thermal interpretation in coastal fields: what the Mavic 3T can show, and what salt air can hide
The Mavic 3T is strong at identifying thermal signature differences across mixed field conditions, but coastal environments introduce false confidence.
Wet soil can retain and release heat differently from dry inland ground. Saline margins can stress vegetation in irregular patterns. Standing water reflects environmental temperature in ways that can look like a system fault when it is really a timing issue. Early morning and late afternoon can each work, but they answer different questions. If you are hunting irrigation irregularity or subsurface seepage, consistency of timing matters more than simply “good light.”
Here is the practical workflow I use:
Run a visual pass first.
Confirm surface context before believing any thermal anomaly. Mud tracks, pooled water, disturbed soil, exposed pipework, and patchy canopy all change thermal meaning.Fly the thermal scan at 30 to 45 meters AGL for anomaly separation.
This is usually where localized differences stop blending together.Re-check suspect areas from a second angle or lower altitude.
In coastal zones, wind-driven surface effects and reflected energy can make one pass misleading.Document with RGB immediately after thermal.
Pairing the thermal signature with visible context saves time when reporting back to agronomists, engineers, or site managers.
If you are using the aircraft for recurring inspections, stick to repeatable altitude, time-of-day, and route geometry. Trends matter more than one dramatic image.
Photogrammetry in coastal fields: use it selectively, not automatically
Mavic 3T users sometimes try to turn every inspection into a mapping mission. That is rarely the best move in coastal field work.
Photogrammetry is extremely useful when the problem benefits from spatial measurement: erosion edges, drainage reconstruction, access-route damage, berm deformation, pond expansion, or stockpile change. In those cases, add GCPs if the final deliverable needs stronger positional confidence. Coastal landscapes can be visually repetitive, so control points help prevent the map from looking precise while quietly drifting.
But if the job is identifying stressed vegetation bands, pump heat irregularities, or wet-zone behavior after tide influence or heavy rain, thermal reconnaissance and targeted visual evidence are often the faster, more honest products.
The point is not to force the Mavic 3T into one mission type. It is to exploit the fact that it can move between modes without changing aircraft.
Protect the transmission chain as carefully as the airframe
Coastal inspection often means broad properties, sparse infrastructure, and variable signal conditions. That makes stable transmission more than a convenience. With O3 transmission, the Mavic 3T can maintain a dependable live feed across substantial ground, but coastal openness can mislead crews into thinking signal management no longer matters.
It still does.
Keep your antenna orientation intentional. Watch for false security when flying over flat fields where line of sight appears perfect but humidity, terrain undulation, vegetation edges, and operator body position still affect the link. If you are handling sensitive commercial imagery, AES-256 matters less as a bullet point and more as part of chain-of-custody discipline. Agricultural operators, utilities, and environmental contractors increasingly care about where inspection data goes and who can access it.
A clean workflow is part of inspection quality. Secure transmission and disciplined file handling protect both the client and your own reporting credibility.
Battery strategy in salt-air operations
Long coastal sites tempt pilots to stretch every battery. Don’t. Build battery use around reserve, not optimism.
Wind on the outbound leg may not match the return leg. Hovering for thermal confirmation consumes time faster than crews expect. Repositioning for low-altitude detail work adds more starts and stops than a neat route plan suggests.
My preference is to dedicate packs by mission phase:
- one for the overview and orientation pass
- one for detailed thermal review
- one for follow-up RGB documentation or photogrammetry
That structure prevents the common mistake of using most of a battery on broad reconnaissance, then trying to squeeze precision work into the remaining charge. Precision work should begin with mental and electrical margin.
After landing, wipe down the aircraft before the residue dries. Salt contamination is not always dramatic or visible. Over time, it affects connectors, moving parts, and confidence.
If you want a second opinion on battery rotation, maintenance rhythm, or mission setup for your site, you can message our field team here: https://wa.me/85255379740
A note on durability: why material fatigue logic still matters to a drone operator
The second reference source is a materials handbook section discussing fatigue behavior under temperature and test conditions, including data points such as 800K, 600, and a notch factor Kt = 3.3 for a specific bar specimen. That data is not about the Mavic 3T directly, and it would be sloppy to pretend otherwise.
What does carry over is the engineering lesson: small geometric stress raisers and harsh environments can change service life in ways that are not obvious from casual inspection.
For a coastal drone operator, that means paying closer attention to the little things:
- propeller nicks from sand or shell fragments
- repeated hard-case vibration during transport on rough tracks
- minor landing gear knocks on packed soil
- micro-residue around moving assemblies
- thermal cycling from cool mornings to hot reflective afternoons
The handbook’s underlying message is that durability is rarely lost in one dramatic event. It is often consumed incrementally, especially where local stress concentrates. In the field, that translates to replacing marginal props early, not late; checking hinges and mounts before looseness becomes vibration; and documenting recurring wear patterns instead of treating each one as random.
This is one of the reasons professional Mavic 3T operators produce steadier results than casual crews using the same aircraft. They do not wait for a failure to reveal the weak point.
A practical coastal mission template for the Mavic 3T
If I were setting up a standard inspection for coastal fields, I would use this sequence:
1. Site arrival and environmental read
Check wind trend, surface moisture, tide or drainage influence, glare direction, and likely takeoff zones.
2. Short visual preflight with error-proof routine
Confirm props, optics, ports, battery seating, card status, home point logic, and return path clearances.
3. High-level orientation pass at 50 to 70 meters AGL
Identify the major zones: wet edges, stressed vegetation, drainage channels, pumping assets, damaged routes.
4. Thermal investigation at 30 to 45 meters AGL
Focus only on anomalies that affect action: seepage, blocked flow, stressed strips, heat-producing equipment, persistent wet signatures.
5. RGB confirmation and close documentation
Collect visible evidence immediately after thermal review while site conditions are unchanged.
6. Mapping only where measurement is required
Use photogrammetry and GCP support if the deliverable needs geometry, not just observation.
7. Post-flight residue and damage check before packing
Do not postpone this until back at the office. Coastal contamination hardens into tomorrow’s preventable problem.
What makes the Mavic 3T especially effective here
The Mavic 3T fits coastal field inspection because it supports layered decision-making. You can survey the whole property, narrow in on thermal signature anomalies, validate them visually, and if needed, create a measurement-ready record without switching platforms. That keeps the workflow fast, but speed alone is not the advantage.
The real advantage is that one operator can maintain context from start to finish.
That continuity matters when inspecting fields where visual cues, heat behavior, drainage patterns, and access limitations all interact. The aircraft gives you enough reach to cover ground, enough imaging flexibility to separate signal from noise, and enough portability to keep moving when terrain and weather are not cooperative.
Just do not mistake portability for simplicity. Coastal work rewards crews who think like maintainers as much as pilots. The references behind this article—one focused on human factors and maintenance error prevention, the other on how stress and environment shape material life—both point to the same operational truth: reliability is built before the mission goes wrong.
With the Mavic 3T, that means flying at an altitude that preserves decision value, handling batteries and components in a way that resists mistakes, and treating every small wear sign as data.
That is how you keep your inspection results credible when the coast starts working against you.
Ready for your own Mavic 3T? Contact our team for expert consultation.