Mavic 3T for Windy Highway Inspection: A Field Tutorial
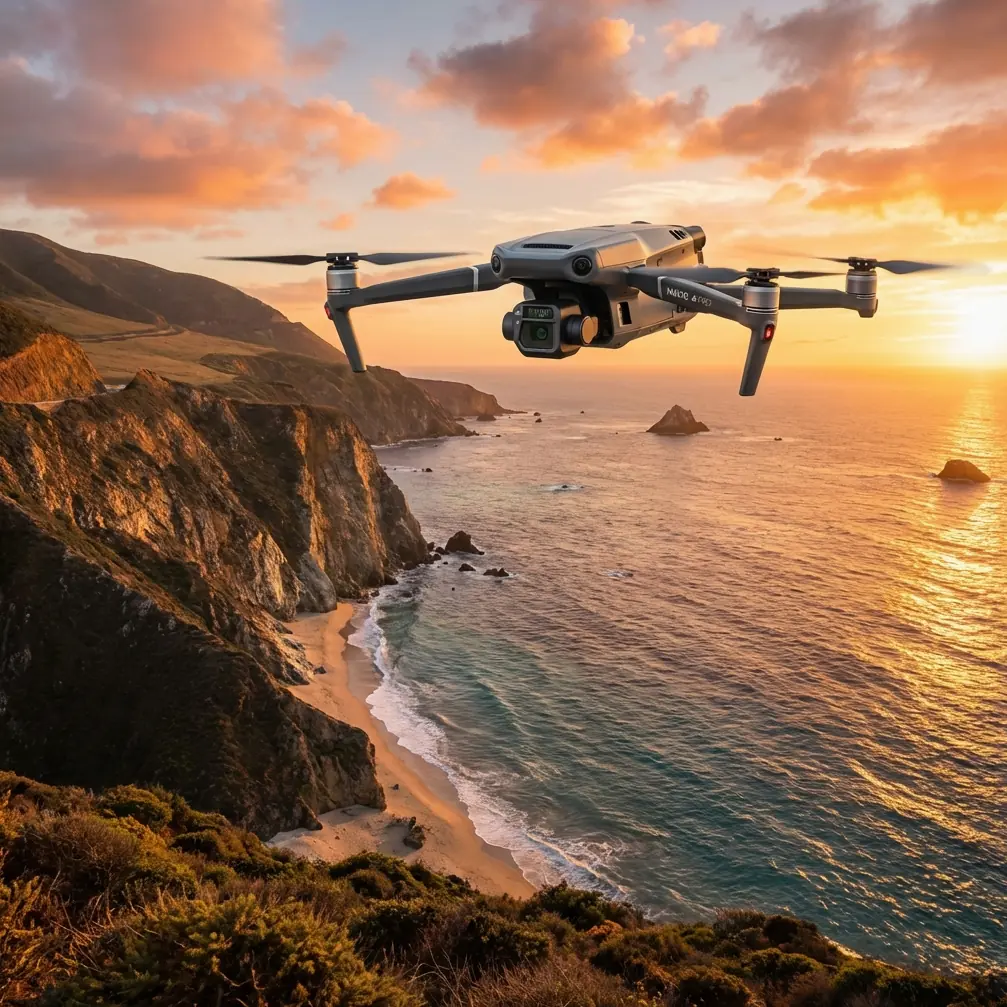
Mavic 3T for Windy Highway Inspection: A Field Tutorial Built Around Load, Light, and Real-World Limits
META: Practical Mavic 3T tutorial for highway inspection in wind, covering thermal workflows, flight planning, lighting logic, payload implications, and accessory choices that improve safety and data quality.
Highway inspection sounds simple until the wind starts working against you.
Long corridors create their own turbulence. Guardrails kick up rotor wash. Heat shimmer off asphalt degrades visual confidence. Traffic infrastructure demands repeatable documentation, not a one-off pretty image. If you’re using the Mavic 3T in that environment, the aircraft is only part of the answer. The rest comes from how you manage payload effects, visibility, and data discipline under less-than-ideal conditions.
I’m Dr. Lisa Wang, and when teams ask me how to get better results from the Mavic 3T on highway jobs, I usually steer them away from the marketing specs and toward field mechanics: how load affects efficiency, how lighting control affects recoverability, and how a small accessory can change whether a mission is productive or frustrating.
This tutorial is built around those operational truths.
Why windy highway inspection is harder than it looks
A highway inspection mission often combines several jobs in one sortie:
- thermal screening of pavement anomalies, drainage issues, overheated electrical cabinets, or bridge joints
- visual imaging of barriers, signage, embankments, culverts, and expansion features
- georeferenced documentation for maintenance planning
- repeatable corridor coverage for before-and-after comparison
In calm conditions, the Mavic 3T is already well suited to this mix because it lets one aircraft collect thermal and visual data without forcing a platform change. In wind, though, the mission shifts from “capture everything” to “protect data quality while preserving control authority.”
That distinction matters. Wind doesn’t just move the drone. It changes how the gimbal settles, how much battery margin you retain for a safe return, and how consistently you can hold overlap if you’re trying to support photogrammetry. It also affects thermal interpretation. A hot spot seen at one angle can weaken or spread when airflow cools the surface or the aircraft yaws off axis.
So the first best practice is simple: don’t think of windy inspection as normal inspection with more stick input. Treat it as a different operating condition with different priorities.
Start with load awareness, not just battery percentage
One of the most useful ideas from classical aircraft propulsion design is that efficiency is tied to disc loading and how the propeller absorbs power. In the reference material, takeoff disc load is treated as a key parameter, and blade effectiveness is expressed through an action factor, or AF, with typical values in the 80 to 180 range for a single blade factor. That may sound far removed from a compact enterprise drone, but the engineering lesson carries over directly: rotor geometry and load shape how efficiently thrust is produced.
For Mavic 3T operators, the practical takeaway is this: every accessory decision has an aerodynamic price.
The aircraft may seem barely changed when you add a strobe, loudspeaker mount, beacon bracket, or third-party landing gear extension. But in gusty corridor work, those additions alter drag and disturb airflow around the propulsion system. On paper the difference looks minor. In the field it often shows up as:
- shorter effective endurance in headwind legs
- more aggressive attitude corrections during hover
- reduced consistency in image framing
- faster battery depletion during crosswind holds near overpasses or slopes
This is especially relevant when teams build out the Mavic 3T for BVLOS-style planning logic, even if the actual operation remains within regulatory visual constraints. Once your route is long and linear, reserve energy becomes mission-critical. A few extra watts spent fighting drag can decide whether you finish the final thermal pass or break off early with incomplete coverage.
My advice: weigh and test the aircraft with the exact accessory configuration you intend to fly. Don’t evaluate endurance on a clean setup and assume it transfers. The old propeller design logic reminds us why: shape and load absorption are inseparable.
The accessory that actually helped in wind
Most add-ons promise more capability. Very few improve inspection quality without creating new problems.
One third-party accessory I’ve seen work well on windy highway sites is a high-visibility strobe integrated with a low-profile top mount, chosen specifically to preserve clean airflow rather than just maximize brightness. The value is not cosmetic. It improves aircraft tracking against gray pavement and concrete backgrounds, especially during lateral transitions near median structures and embankment edges.
That helps in three ways.
First, the pilot maintains better visual orientation during changing light and dust conditions.
Second, the visual observer can confirm aircraft attitude more reliably when the drone is small against a long road corridor.
Third, during handoff moments between thermal scan legs and visual detail capture, the team spends less time reacquiring the aircraft.
The key is restraint. A bulky accessory can cost more than it gives back. A low-profile unit that supports visibility without meaningfully increasing drag is the sweet spot.
If you’re comparing options and want a second opinion from teams who configure these setups regularly, you can message a Mavic 3T configuration specialist here.
Use thermal with discipline, not as a shortcut
The Mavic 3T’s thermal capability is the reason many highway asset teams choose it in the first place. But thermal signature interpretation on roads is easy to overstate and easier to misuse.
On a windy day, surface temperatures become less stable. Shaded sections cool differently from exposed asphalt. Moisture trapped near joints or patched sections may present as subtle temperature differences, then disappear as wind strips away the contrast. Metal rails, drainage grates, and sign structures can create misleading hotspots depending on sun angle and recent traffic conditions.
That means thermal should be treated as a screening layer, not a standalone verdict.
A good windy-day workflow looks like this:
- Fly the thermal pass early while temperature contrast is still useful and before rising convection worsens image stability.
- Mark suspect points immediately in your mission notes.
- Return with visual confirmation passes at a lower, controlled speed.
- Tie findings to map coordinates or GCP-supported references if the results will feed engineering decisions.
This is where the Mavic 3T earns its place. You’re not changing aircraft to verify what you found. You can shift from thermal screening to visual inspection in the same sortie and maintain context.
Operationally, that saves more than time. It reduces the chance that wind conditions will change between separate flights and invalidate your comparison.
Corridor mapping in wind: overlap is harder than people admit
Many operators say they are “doing photogrammetry” when they are really collecting general reference imagery. Wind exposes the difference.
If your highway mission includes measurable outputs, maintain discipline around overlap, angle consistency, and control references. The Mavic 3T can support corridor documentation, but windy conditions can degrade repeatability fast. A few meters of lateral drift may not bother a visual report. It absolutely matters when you’re trying to build a useful reconstruction.
This is where GCP planning still matters, even with a capable aircraft. Ground control points don’t compensate for sloppy flying, but they do anchor the dataset when wind introduces variation. For highway shoulders, retaining walls, culvert mouths, and access ramps, that extra positional confidence makes the final deliverable more defensible.
A practical sequence is:
- establish GCPs in safe, visible positions before launch
- plan shorter corridor segments rather than one oversized route
- fly into the wind on the outbound leg when possible
- reserve enough battery to avoid rushed downwind corrections on return
- use the visual camera for reconstruction-grade passes, then thermal for anomaly tagging
Too many teams reverse that logic and end up with thermal-rich data that cannot be tied cleanly into maintenance records.
O3 transmission and encrypted workflow matter more on highways
Highway corridors create a communications problem that open fields do not. Traffic signage, utility structures, passing trucks, concrete barriers, and terrain cuts can all interfere with line quality and visual situational awareness. In that setting, a stable control and video link is not just convenient. It’s what makes inspection practical.
This is where O3 transmission becomes operationally meaningful. On long linear routes, you need more than headline range. You need usable image confidence while the aircraft shifts through changing geometry and reflective environments. Reliable live view helps the pilot decide whether the thermal anomaly is worth a second pass or whether it was just surface glare.
The same goes for AES-256 protected data pathways. On infrastructure jobs, image content often includes sensitive layouts, utility tie-ins, and maintenance conditions that should not be casually exposed. Encryption is not a spec-sheet ornament for these missions. It supports responsible handling of commercially sensitive infrastructure records.
If your workflow involves cloud syncing, subcontractor review, or client-side archive transfer, document how encrypted data is preserved from capture through export. Mature clients increasingly ask.
Battery logic in wind should be conservative, not optimistic
A highway mission tempts people into stretching each flight. The corridor keeps going. The next bridge bay is “just ahead.” The thermal point of interest is “only one more pass.”
That mindset causes poor decisions.
In windy work, battery planning should account for asymmetric effort. The aircraft may cruise comfortably one direction and then draw significantly more power on the return. If you have hot-swap batteries available in your broader field kit, use them to structure shorter, cleaner missions rather than trying to maximize airborne time on every pack. Even when the Mavic 3T itself is not a large-format hot-swap platform, adopting the same field discipline as teams who use hot-swap systems improves mission quality: land, review, relaunch with intent.
Think in inspection blocks:
- one battery for thermal corridor sweep
- one battery for detail verification
- one battery for contingencies or rework
That produces better deliverables than trying to make one long sortie do everything.
Lighting logic from larger aircraft still teaches a useful lesson
The second reference document focuses on lighting control in aircraft electrical systems. One detail stands out: landing lights and taxi lights should be controlled separately rather than always together. Another is even more interesting: in retractable systems, the lamp operation and the extension/retraction circuit should be separated so the bulb can still be energized if ice causes a mechanical issue.
Again, this is fixed-wing design logic, not a literal Mavic 3T feature set. But the operational lesson transfers neatly: separate functions so one failure doesn’t take down the whole task.
For drone inspection teams, that means avoiding all-in-one dependencies. Don’t let a single accessory rail carry your strobe, supplemental illumination, and another mission-critical add-on if one connector issue can disable all of them. Don’t tie visibility strategy to one device mode. Don’t rely on a single display workflow for both navigation and defect annotation.
The larger design principle is resilience through separation. It’s one reason experienced field crews recover from windy, messy, real-world days better than spec-driven beginners.
The same source also includes a concrete geometry requirement for a lighting system: certain light panels have a luminous length of at least 910 mm, with gaps between adjacent illuminated sections of no more than 16 mm. The Mavic 3T obviously doesn’t use aircraft formation lights, but the significance is still useful. Visibility is not just about brightness. It is about continuity, recognition, and making orientation obvious to nearby observers. For drone operations near long transport corridors, your visibility tools should support immediate recognition, not just raw intensity.
A practical field workflow for Mavic 3T on windy highways
Here’s the workflow I recommend when conditions are breezy and the job involves mixed thermal and visual inspection.
1. Define the inspection objective before launch
Don’t launch to “see what looks interesting.” Decide whether the primary objective is thermal screening, structural visual documentation, corridor mapping, or follow-up verification.
2. Build the lightest configuration that still solves the job
Use only essential accessories. If you need a strobe, choose a low-profile one. If you don’t need a mount, remove it.
3. Segment the route
Break a long highway section into manageable blocks. This improves battery discipline and keeps wind drift from compounding over distance.
4. Fly the most energy-expensive leg first
Start with the upwind or crosswind segment while your battery margin is strongest.
5. Capture thermal data early and annotate fast
Use thermal signature differences to flag anomalies, but confirm them visually before assigning maintenance significance.
6. Protect reconstruction quality
If the deliverable includes mapping or measurable imagery, use GCPs and preserve overlap. Wind does not excuse weak geometry.
7. Monitor link quality like a flight variable
Use O3 transmission strength and image stability as active go/no-go cues, not background information.
8. Preserve data security from capture onward
Keep AES-256 protected workflow settings aligned with client expectations, especially for transport infrastructure documentation.
9. Land before battery stress becomes decision stress
A planned relaunch is professional. A low-battery improvisation over a traffic corridor is not.
What separates average results from reliable inspection
With the Mavic 3T, the difference usually isn’t the sensor itself. It’s the operator’s willingness to think like an aircraft designer for a moment.
Disc loading concepts remind us that added drag and altered airflow are not abstract concerns. They directly affect control and endurance. Lighting system design reminds us that separate control paths create resilience when conditions get messy. Those are not trivia points from old manuals. They are enduring aviation ideas, and they fit drone fieldwork better than many people realize.
For windy highway inspection, that mindset leads to better choices:
- lighter configurations
- clearer visibility strategy
- more disciplined thermal interpretation
- cleaner corridor segmentation
- safer battery margins
- stronger data integrity
That is how the Mavic 3T becomes more than a convenient sensor package. It becomes a dependable inspection tool.
Ready for your own Mavic 3T? Contact our team for expert consultation.