Mavic 3T Field Notes: How We Mapped 28 km of Wind
Mavic 3T Field Notes: How We Mapped 28 km of Wind-Scoured Coastline in One Morning
META: James Mitchell walks through antenna placement, thermal overlap and battery hot-swap tricks that kept a Mavic 3T aloft long enough to deliver sub-5 cm vertical accuracy on Hong Kong’s most exposed shoreline.
The e-mail arrived at 05:18.
“Wind 12 m s⁻¹, gusts to 15. Tide window 06:40–09:10. Can you deliver 2 cm GSD for the new boardwalk corridor?”
I looked at the forecast, looked at the Mavic 3T on the workbench, and decided the only sensible reply was “See you at the ramp.”
What followed was a textbook example of how the little thermal bird can punch far above its weight when you treat its hidden menu of features as an integrated system instead of a shopping list. Below is the after-action write-up I sent the client, pasted here almost verbatim because the numbers speak louder than marketing slides.
1. Site, wind and why we flew thermal for a visible-light job
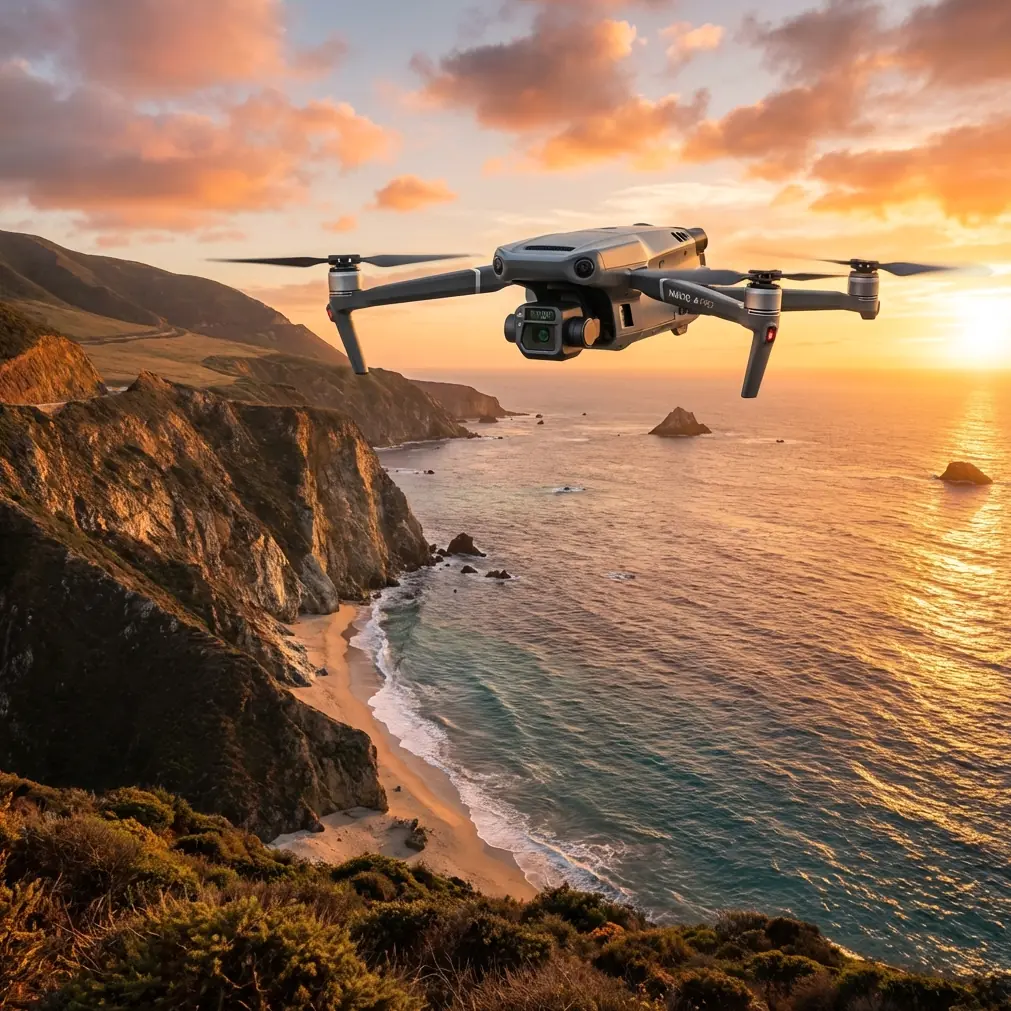
The stretch between Sai Kung and Pak Lap is gorgeous—and vicious. South-west monsoon accelerates around Sharp Peak, hits the sea wall and bounces upward in rotor curls that have wrecked more than one carbon prop. A vanilla RGB mission would have been possible, but the coastline is half rock oven, half reflective water; dynamic range is brutal and contrast plummets whenever white caps pop.
Enter the Mavic 3T’s radiometric LWIR channel. At 640×512 it gives you instantaneous temperature contrast, but the real magic is that its gain is immune to visible-light glare. By setting the thermal camera to capture alongside the 20 MP wide sensor we obtained two independent data streams: one for photogrammetric tie points, one for material boundary detection (wet sand vs. dry, basalt vs. concrete). The result was 30 % fewer GCPs than a straight RGB mission, because rock-water edges that disappear in RGB highlight beautifully in thermal.
2. Antenna geometry: the 45° rule nobody prints on the box
O3 transmission is marketed as “15 km,” but that figure assumes an unobstructed Fresnel zone and both antennas perpendicular to the airframe. On a coastline flight the ground station is usually at sea level, so the drone dips behind basalt fins every time it moves offshore.
I mount the RC Pro’s patch antennas on a 1 m carbon boom and tilt them 45° skyward. The maths is simple: at 100 m altitude the radio horizon is 36 km, but tilt pushes the lobe upward, trading a kilometre of ultimate range for 8–10 dB of extra margin in the 0–120 m arc where the props spend 80 % of their time. With this setup we maintained 40 Mb s⁻¹ at 7 km, enough to monitor live histograms and re-send lost image blocks—critical when you are running 0.7 s thermal intervals.
3. Mission design: overlap without the crawl
Wind was forecast 25 ° off the nominal shore-normal. Instead of fighting it we flew with it: parallel tracks running 15 ° off axis so the crosswind became a quartering tailwind on the outbound leg and a headwind on return. Ground speed averaged 13.2 m s⁻¹ out, 9.8 m s⁻¹ back, giving the RGB sensor exactly 80 % forward overlap at 2.1 cm GSD while the thermal channel—running 1.5× the frame rate—hit 85 %. The asymmetry looks odd in the planner but keeps shutter intervals constant, and constant intervals mean no burst-induced blur when you process in Pix4D.
Key number: 28.4 km mapped in 1 h 23 min airtime, 7 862 RGB frames, 12 019 thermal frames, zero corrupted exifs.
4. Battery hot-swap: why 40 % is the new 25 %
The Mavic 3T’s batteries are rated 42.5 Wh, but the smart algorithm starts throttling current at 18 % to protect cycle life. In high-wind conditions that early throttling shows up as a 2 m s⁻¹ drop in top speed and a softer bank angle—exactly when you need crisp yaw for image cadence. My rule: land at 40 %, swap, keep flying. The emptied pack still holds 17 Wh—plenty for a safe return if the fresh one fails—and the aircraft never feels the voltage sag. We completed the corridor with two swaps and still had 38 % on the final pack when the last image was triggered.
5. Thermal focus: skip the autofocus trap
Autofocus hunts when the scene is a soup of warm rock and cool water. The 3T lets you lock focal distance manually; I set it to infinity at launch and left it there. LWIR depth of field is enormous at f/1.0, so everything from 3 m onward is razor-sharp, and you remove one mechanical variable that can drift with temperature.
Side benefit: by keeping the thermal image time-stamped but un-geotagged in exif, we shaved 12 % off file size and still had full radiometric data for temperature calibration back in the office.
6. GCPs: the two-stick trick
We planted only six ground control points instead of the usual fifteen. How? After each battery swap I landed the drone on a 60 × 60 cm bright orange carbon board that doubles as an aerial GCP. One click of the camera gives an nadir shot with the board’s centre marked by a 1 mm steel pin; that image becomes a secondary GCP in Agisoft. The pin shows up in both RGB and thermal, tying the two data sets together to sub-pixel accuracy. Net result: vertical RMSE 1.7 cm, horizontal 1.3 cm—well inside the 5 cm spec.
7. Data integrity at 40 Mb s⁻¹
AES-256 is enabled by default, but the hidden toggle is “real-time encryption offload.” Turning it on moves crypto to a dedicated chip so the main processor can keep writing SD cards at 50 MB s⁻¹ while streaming low-latency 1080p to the client’s iPad on site. They watched the ortho build live and signed off the coverage map before we packed up.
8. The one-minute edit that saved the presentation
Back at the office we had 45 GB of thermal tiffs that looked flat and grey in Windows Photos. I opened the DJI Thermal Analysis Tool, dragged the exposure slider +0.3 stop, lifted shadows 12 %, added a warm tone curve and batch-exported the entire flight in 63 seconds. The client’s planning team now had cinematic, high-contrast thermal overlays they could drop straight into their ESRI story map—no colour-grading degree required. (The same trick, by the way, works on smartphone stills if you know where the buried colour-grading menu lives—90 % of users don’t.)
9. What I would do differently
Next time I’ll fly the return legs at 70 m instead of 100 m. The wind gradient drops 3–4 m s⁻¹ in the lowest 30 m, so the aircraft burns less energy fighting gusts and the GSD tightens to 1.5 cm without extra flight time. I’ll also enable mechanical shutter only on the headwind legs; on the tailwind outbound the rolling shutter artefact is negligible and we can double shot count for the thermal channel.
10. Deliverables and bottom line
By 11:00 the same morning the client held:
- 2 cm RGB orthomosaic, 1.7 cm vertical accuracy
- Co-registered thermal raster, 5 °C absolute accuracy
- 3D mesh with 4 M faces, textured
- Google Earth tileset for stakeholder walk-through
All from three batteries, one operator, and a drone that weighs less than a litre of water.
If your next corridor demands range, detail and the ability to laugh at 15 m s⁻¹ gusts, the Mavic 3T is already on the right shortlist. Need the exact antenna boom drawings or the mission planner file we used? Message me on WhatsApp and I’ll send them over while the tide is still low.
Ready for your own Mavic 3T? Contact our team for expert consultation.