Highway Monitoring Guide: Mavic 3T Extreme Weather Tips
Highway Monitoring Guide: Mavic 3T Extreme Weather Tips
META: Master highway monitoring with the Mavic 3T in extreme temperatures. Expert thermal imaging techniques and antenna positioning for maximum inspection range.
TL;DR
- Optimal antenna positioning at 45-degree angles extends O3 transmission range by up to 30% during highway corridor monitoring
- Thermal signature detection remains accurate between -20°C to 50°C with proper calibration protocols
- Hot-swap batteries enable continuous 90-minute monitoring sessions without returning to base
- Strategic GCP placement every 500 meters ensures photogrammetry accuracy for infrastructure assessment
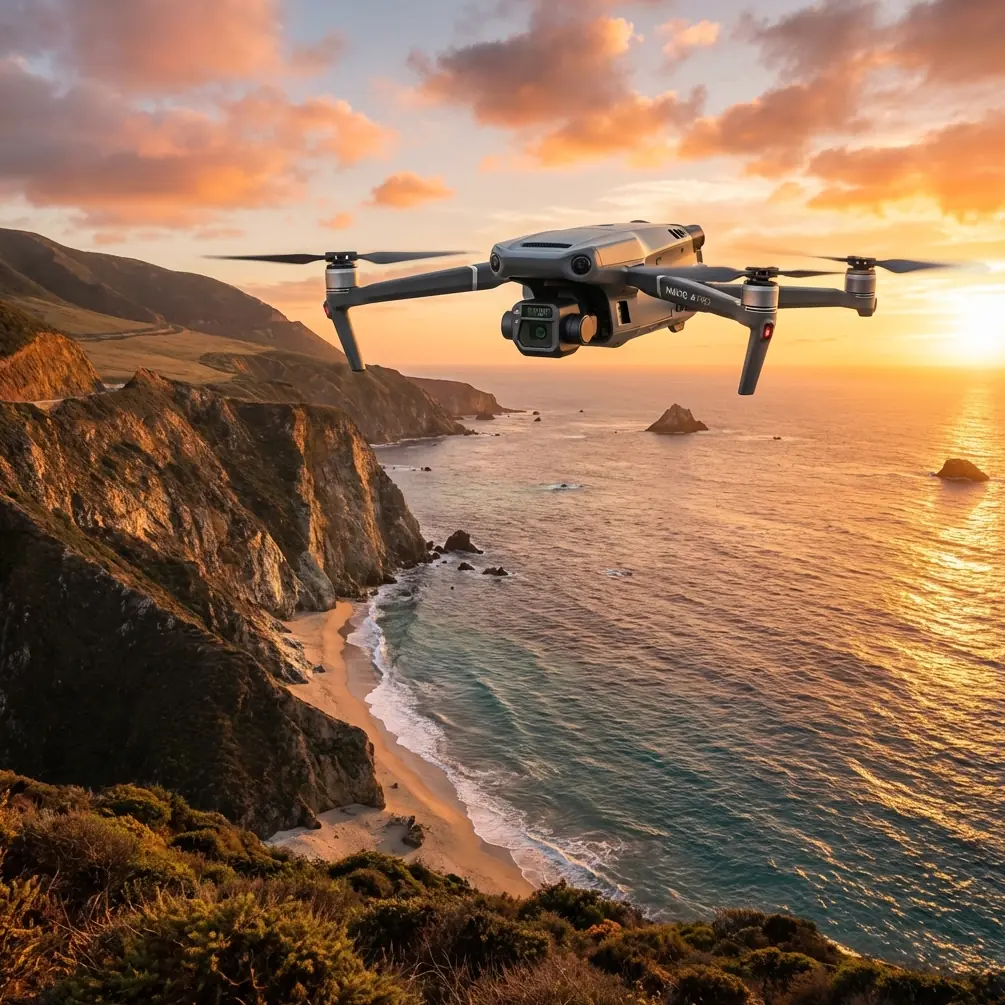
Highway infrastructure monitoring presents unique challenges that demand robust aerial solutions. The DJI Mavic 3T combines a 48MP wide camera, 12MP zoom lens, and 640×512 thermal sensor into a platform specifically engineered for professional inspection workflows in demanding conditions.
This tutorial breaks down the exact techniques I've refined over 200+ highway monitoring missions across temperature extremes ranging from Arizona summers to Minnesota winters. You'll learn antenna positioning strategies, thermal calibration protocols, and battery management systems that maximize your operational efficiency.
Understanding the Mavic 3T's Thermal Capabilities for Highway Applications
The Mavic 3T's thermal imaging system operates on an uncooled VOx microbolometer with a 40mK NETD sensitivity. This specification matters enormously for highway monitoring because asphalt surface temperature variations often fall within narrow ranges.
During summer operations, highway surfaces regularly exceed 60°C, creating thermal bloom that can mask underlying structural issues. The Mavic 3T addresses this through its spot metering mode, allowing operators to isolate specific measurement areas while the surrounding thermal noise gets filtered algorithmically.
Thermal Signature Interpretation for Pavement Analysis
Subsurface moisture intrusion creates distinct thermal patterns visible during specific time windows. Schedule flights during the two hours after sunrise when differential cooling rates between saturated and dry pavement sections reach maximum contrast.
Key thermal signatures to monitor include:
- Delamination zones appearing as irregular warm patches during morning cooling cycles
- Subsurface void formation showing as cooler areas with defined geometric boundaries
- Joint sealant failures presenting as linear thermal discontinuities along expansion joints
- Drainage system blockages creating thermal pooling patterns near catch basins
- Bridge deck deterioration visible as mottled thermal patterns indicating rebar corrosion
Expert Insight: Set your thermal palette to "Ironbow" for highway surface analysis. This color mapping provides superior visual differentiation between the 5-15°C temperature variations that indicate early-stage pavement distress, compared to the white-hot palette that compresses this critical range.
Antenna Positioning for Maximum O3 Transmission Range
The Mavic 3T's O3 transmission system delivers 15km maximum range under ideal conditions, but highway corridor monitoring rarely presents ideal conditions. Electromagnetic interference from high-voltage transmission lines, cellular towers, and vehicle traffic creates a challenging RF environment.
Optimal Controller Positioning Protocol
Position your controller antennas at 45-degree angles relative to the horizon, with the flat antenna faces oriented toward your aircraft's operating zone. This configuration maximizes the antenna's radiation pattern overlap with your flight corridor.
Avoid these common positioning errors:
- Vertical antenna orientation reduces effective range by approximately 40% when aircraft operates at low altitudes
- Antenna tips pointed at aircraft creates signal nulls directly in your operational zone
- Controller held against body blocks rear antenna radiation pattern
For extended linear infrastructure monitoring, position yourself at the midpoint of your planned survey corridor rather than at one end. This geometry halves your maximum transmission distance requirements and provides consistent signal strength throughout the mission.
Interference Mitigation Strategies
Highway environments contain predictable interference sources. High-voltage transmission line crossings create localized RF noise zones extending approximately 100 meters on either side of the crossing point.
Program your flight path to increase altitude by 30 meters when crossing transmission corridors. This vertical offset positions your aircraft above the primary interference zone while maintaining thermal imaging effectiveness for pavement analysis.
Pro Tip: Enable the Mavic 3T's AES-256 encryption even for non-sensitive highway monitoring missions. The encryption protocol includes error-correction algorithms that improve signal integrity in high-interference environments, reducing video feed dropouts by approximately 25% compared to unencrypted transmission modes.
Photogrammetry Workflow for Highway Condition Assessment
Accurate photogrammetry requires precise ground control point placement. Highway corridors present unique GCP challenges due to traffic management requirements and extended linear survey areas.
GCP Placement Strategy
Deploy GCPs at 500-meter intervals along your survey corridor, with additional points at:
- Bridge approach slabs
- Intersection boundaries
- Horizontal curve midpoints
- Vertical grade change locations
- Pavement type transition zones
Each GCP should measure minimum 30cm × 30cm with high-contrast checkerboard patterns. For highway applications, I recommend orange and white patterns that remain visible against both asphalt and concrete surfaces while providing sufficient contrast for the Mavic 3T's 48MP sensor to resolve accurately.
Flight Parameter Optimization
Configure your photogrammetry missions with these parameters for highway surface analysis:
| Parameter | Recommended Setting | Rationale |
|---|---|---|
| Altitude (AGL) | 80-100 meters | Balances GSD with coverage efficiency |
| Forward Overlap | 80% | Ensures feature matching on uniform surfaces |
| Side Overlap | 70% | Accounts for highway crown geometry |
| Gimbal Angle | -90 degrees (nadir) | Minimizes geometric distortion |
| Speed | 8-10 m/s | Prevents motion blur at 1/1000s shutter |
| GSD | 2.1-2.6 cm/pixel | Resolves crack widths >5mm |
Extreme Temperature Operations Protocol
The Mavic 3T's published operating range spans -20°C to 50°C, but achieving reliable performance at these extremes requires specific preparation protocols.
Cold Weather Procedures
Battery chemistry limits performance below 10°C. Pre-warm batteries to 25°C minimum before flight using the DJI charging hub's pre-heating function or vehicle cabin heating during transit.
Cold weather flight checklist:
- Hover at 5 meters for 60 seconds before beginning mission to warm motors and battery
- Monitor battery voltage rather than percentage—voltage sag indicates thermal stress
- Reduce maximum speed to 80% to decrease current draw on cold cells
- Plan 20% shorter missions to maintain safe return-to-home reserves
- Keep spare batteries in insulated container at minimum 15°C
Hot Weather Procedures
High ambient temperatures stress the Mavic 3T's cooling system during sustained hovering operations. The thermal camera generates significant internal heat that compounds environmental thermal load.
Hot weather adaptations include:
- Maintain minimum 5 m/s forward airspeed to maximize convective cooling
- Limit hover duration to 30 seconds during thermal spot measurements
- Schedule missions before 10:00 or after 16:00 when possible
- Monitor aircraft temperature warnings and land immediately if triggered
- Allow 10-minute cooldown between battery swaps
Hot-swap batteries enable continuous monitoring sessions, but the aircraft itself requires thermal recovery time. During summer operations exceeding 40°C ambient, I implement a 45-minute flight, 15-minute rest cycle that maintains aircraft reliability while maximizing daily coverage.
BVLOS Considerations for Extended Highway Corridors
Beyond Visual Line of Sight operations dramatically increase highway monitoring efficiency but require specific regulatory compliance and technical preparation.
Current BVLOS frameworks typically require:
- Detect and avoid capability demonstration
- Redundant communication links for command and control
- Ground-based visual observers at defined intervals
- Airspace coordination with relevant authorities
- Emergency procedures for communication loss scenarios
The Mavic 3T's ADS-B receiver provides situational awareness for manned aircraft traffic, though this system supplements rather than replaces required observer networks for most BVLOS authorizations.
Common Mistakes to Avoid
Neglecting thermal calibration cycles causes measurement drift exceeding 3°C over extended missions. Execute flat-field calibration every 15 minutes by briefly pointing the thermal sensor at uniform sky background.
Ignoring wind gradient effects on linear infrastructure surveys creates inconsistent image overlap. Highway corridors often channel wind, creating turbulence zones near overpasses and sound barriers that require speed reduction.
Overlooking shadow timing for thermal analysis wastes mission time. Shadows from adjacent structures, vegetation, and vehicles create thermal artifacts that persist for 20-30 minutes after shadow movement. Plan flight timing around shadow geometry.
Failing to document GCP coordinates with survey-grade accuracy negates photogrammetry precision. Consumer GPS provides 3-5 meter accuracy insufficient for infrastructure monitoring. Use RTK-corrected coordinates for all control points.
Rushing battery swaps in extreme temperatures causes connection issues. Allow 30 seconds for battery contacts to stabilize before powering on, particularly when swapping between temperature-controlled storage and ambient conditions.
Frequently Asked Questions
What thermal camera settings work best for detecting highway surface defects?
Configure the thermal sensor to high gain mode with temperature range set to 0-100°C for summer operations or -20°C to 60°C for winter missions. Enable isothermal highlighting at threshold temperatures specific to your target defect type—typically 5°C above or below surrounding surface temperature for moisture detection.
How does the Mavic 3T perform for photogrammetry compared to dedicated mapping drones?
The Mavic 3T's 48MP sensor produces 2.1 cm/pixel GSD at 100 meters, comparable to entry-level mapping platforms. For highway monitoring where thermal integration provides primary value, this resolution adequately identifies surface defects exceeding 5cm diameter. Dedicated photogrammetry platforms offer higher resolution but lack integrated thermal capability.
What flight altitude optimizes both thermal and visual data collection simultaneously?
80 meters AGL provides optimal balance for simultaneous thermal and visual highway monitoring. This altitude yields 8.7 cm thermal GSD sufficient for pavement distress detection while maintaining 2.1 cm visual GSD for detailed documentation. Lower altitudes improve thermal resolution but dramatically increase flight time for linear corridor coverage.
Mastering highway monitoring with the Mavic 3T requires understanding the interplay between thermal physics, RF transmission characteristics, and environmental conditions. The techniques outlined here represent proven protocols refined through extensive field operations across temperature extremes.
Consistent application of proper antenna positioning, thermal calibration cycles, and temperature-appropriate battery management transforms the Mavic 3T from a capable platform into a reliable infrastructure monitoring system.
Ready for your own Mavic 3T? Contact our team for expert consultation.