Mavic 3T Best Practices for Windy Highway Monitoring
Mavic 3T Best Practices for Windy Highway Monitoring
META: A field-focused Mavic 3T highway monitoring guide covering wind strategy, thermal signature workflows, O3 transmission reliability, boundary-condition thinking, and antenna-inspired setup discipline.
Highway monitoring in wind is where tidy spec-sheet thinking tends to fall apart.
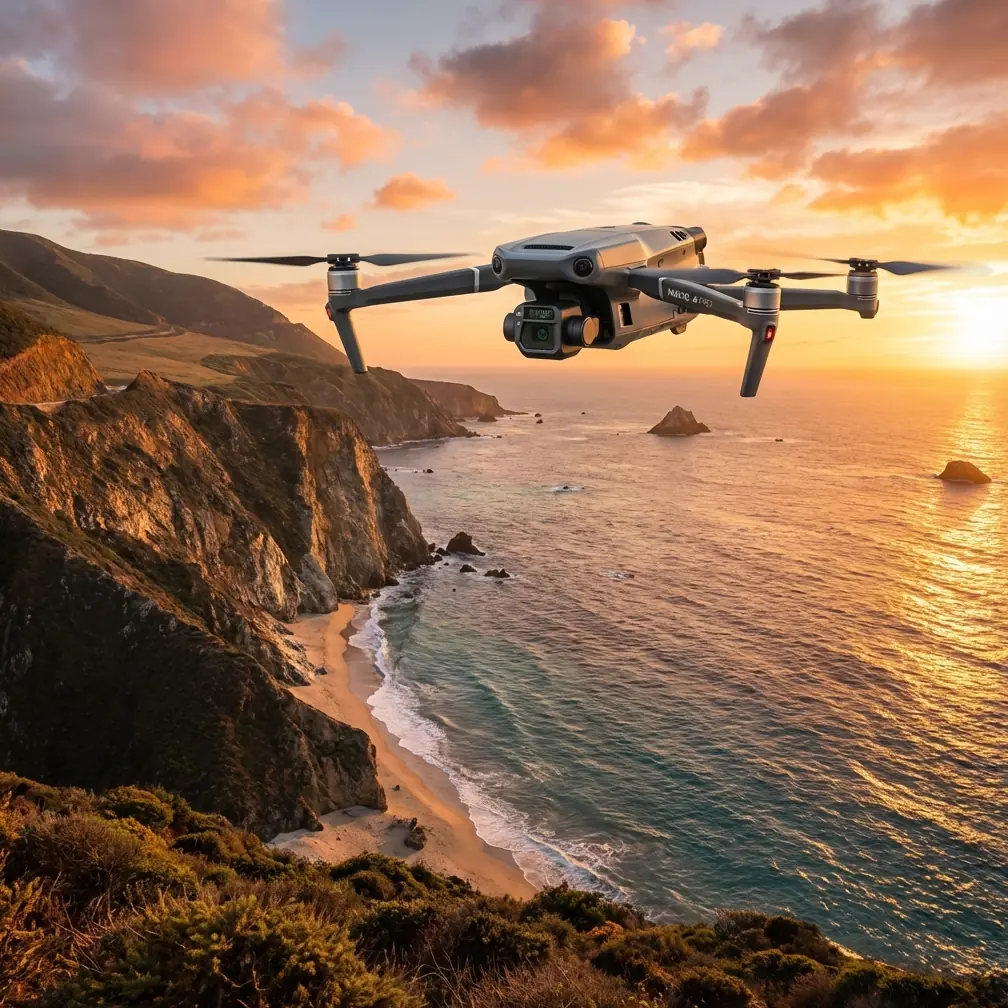
A drone that looks perfect on paper can become awkward once it is asked to hold a thermal view over a long corridor, maintain a clean transmission path near moving vehicles and roadside structures, and return consistent imagery when gusts start pushing the aircraft off line. That is exactly why the Mavic 3T has become such a practical choice for civil infrastructure work. Not because it is fashionable, but because its toolset suits the real job: repeatable observation, stable data capture, and enough flexibility to handle changing field conditions without turning every sortie into a compromise.
I approach this from the standpoint of highway asset monitoring, not generic drone flying. If your mission is checking pavement anomalies, drainage behavior, roadside heat signatures, shoulder encroachment, work-zone progress, vegetation stress, or utility issues along transport corridors, the Mavic 3T can do serious work. But only if you build the workflow correctly.
What follows is a field method for using the Mavic 3T in windy highway environments, with a few engineering lessons drawn from old aerospace design logic that still matter today.
Why the Mavic 3T stands out in this scenario
On highways, wind exposure is rarely uniform. Open stretches, bridge approaches, cut slopes, embankments, noise barriers, gantries, and heavy vehicle wake all create local turbulence. This is where the Mavic 3T tends to outperform many smaller thermal drones that can capture a decent image in calm air but struggle to keep data quality consistent once lateral gusts start stacking errors into the mission.
The Mavic 3T’s advantage is not just that it flies. It is that it supports a combined workflow: visible observation, thermal signature review, and repeatable route execution over a long linear asset. For corridor work, that combination matters more than isolated headline specs.
The biggest practical edge over weaker competitors is operational continuity. You are not switching platforms to handle one thermal pass and another visual inspection pass. You are also not forcing a tiny airframe to fight a windy right-of-way while pretending the imagery is still survey-grade. That reduction in workflow friction saves time, but more importantly, it reduces interpretive error.
Start with the right mission logic: highways are corridor systems, not point targets
A common mistake is to fly highways as if they were a collection of disconnected inspection spots. That works for a damaged signpost or a single culvert. It fails when your objective is trend detection over distance.
The better model is to divide the road into behavior zones:
- open straightaways
- interchanges
- bridge and overpass sections
- drainage crossings
- retaining wall segments
- active work zones
- median and shoulder vegetation bands
Each zone behaves differently in wind and produces different thermal patterns. The Mavic 3T helps because it lets you compare those zones without constantly changing payload strategy.
This is where one of the reference engineering ideas becomes surprisingly relevant. In the aircraft structure handbook, there is a discussion of boundary conditions and the danger of forcing displacement at constrained points to zero, which can distort the apparent deformation of the structure. That sounds far removed from drone operations, but the lesson is useful: if you over-constrain your model, you create false conclusions.
The same thing happens in highway drone monitoring. If you force a one-size-fits-all flight pattern across every highway segment, you distort the data. A windy bridge deck should not be treated the same as a sheltered cutting. Operationally, that means your mission boundaries need to reflect real environmental behavior, not just what is convenient in planning software.
Wind planning: don’t just check speed, map direction against the corridor
Most pilots look at a wind number and stop there. For highway work, direction is often more important than raw speed.
A headwind or tailwind aligned with the road can be manageable if you structure the route around battery efficiency and reserve margins. A crosswind is usually the bigger challenge because it affects lateral tracking, thermal framing, and image overlap if you are collecting photogrammetry data for orthomosaic or measurement use.
With the Mavic 3T, I recommend planning three route concepts before launch:
- Primary corridor run aligned with the highway axis
- Offset visual/thermal passes for problem sections
- Short contingency loops near safe recovery points
This matters in wind because linear assets tempt pilots into overcommitting distance. If conditions worsen halfway through a corridor, a flexible route tree gives you options without sacrificing the integrity of the inspection.
If your team is building repeat missions, use GCP-supported sections where precise comparison matters, especially near pavement repair zones or slope movement areas. The Mavic 3T is not just a thermal observer in these jobs; it can support disciplined visual capture that feeds measurable outputs when the workflow is designed properly.
Transmission discipline matters more on highways than many crews expect
Highways are cluttered RF environments. Passing trucks, roadside metal structures, service compounds, overhead utilities, and changing line-of-sight conditions can all interfere with confidence, even if the link does not fully drop.
This is one reason O3 transmission is more than a brochure feature in corridor monitoring. On a practical level, it gives operators stronger situational resilience when the aircraft is moving through a visually and electrically noisy environment.
Still, better transmission does not excuse sloppy setup. Another reference detail from the avionics handbook is useful here. It notes that the distance between certain antenna connection points and adjacent aircraft structures should be not less than 500 mm. That exact number belongs to a manned-aircraft antenna installation context, but the engineering message is universal: spacing, placement, and structural interference affect signal behavior.
For Mavic 3T highway operations, the translation is simple:
- choose a launch point with clean line of sight above guardrails and parked vehicles
- do not stand tucked beside large metal barriers unless there is no alternative
- keep your remote station clear of antenna-shadowing obstructions
- avoid setting up directly under overhead structures when starting a long run
Good transmission performance is partly a product feature and partly a field discipline problem. The best crews understand both.
Thermal work in wind: interpret signatures, don’t worship them
A thermal image taken over a windy highway can lie to you in subtle ways.
Surface cooling changes apparent contrast. Passing vehicles inject temporary heat. Wind can flatten or smear thermal differences across pavement edges, expansion joints, roadside electrical enclosures, or drainage outlets. The Mavic 3T gives you the ability to see these patterns quickly, but the operator still needs a method for interpretation.
I recommend a three-pass thermal logic:
1. Recon pass
Fly for broad anomaly detection. Do not stop to overanalyze every hot or cold spot.
2. Verification pass
Return to anomalies from a different angle or altitude. This is especially useful near culverts, bridge joints, and utility cabinets where false positives are common.
3. Context pass
Capture supporting visible imagery immediately after thermal review. This is where the Mavic 3T’s multi-sensor workflow becomes operationally efficient.
This sequence reduces one of the biggest problems in thermal highway work: isolated interpretation. A hotspot without visual context is often not actionable.
Borrow a structural-analysis mindset: use local detail only after the big picture is stable
The structural handbook reference also discusses using displacement results from a global analysis as boundary conditions for a secondary local stress analysis. In plain terms, you understand the whole structure first, then zoom into a smaller region with better constraints.
That is exactly how serious Mavic 3T highway inspections should be run.
Do not begin with low-altitude hovering over a suspected defect unless the corridor context is already understood. Start with a broad pass. Learn how wind is affecting the scene. Observe whether the anomaly is isolated or part of a longer trend. Then perform the closer inspection.
Operational significance:
- you reduce wasted battery time on false alarms
- you avoid overreacting to thermal artifacts caused by gusting airflow
- you preserve a consistent evidence chain for reporting
This is one of the quiet reasons the Mavic 3T performs so well in infrastructure work. It supports layered inspection logic rather than forcing a narrow single-sensor workflow.
Photogrammetry in wind: know when “good enough” is actually poor
Many teams assume that if the drone completed the route, the map is usable. Wind says otherwise.
Crosswind can degrade overlap quality, alter camera geometry, and introduce inconsistencies that later show up as stitching noise or weak reconstruction, especially over repetitive highway textures. If you are producing corridor mapping products alongside inspection outputs, be selective.
Use photogrammetry when:
- the corridor section is geometrically manageable
- wind is stable enough for repeatable track holding
- GCPs can anchor accuracy where needed
- the client genuinely needs a measurable surface product
Do not force a mapping mission into unsuitable wind just because the aircraft stayed aloft. In many cases, the Mavic 3T is best used to combine targeted thermal and visual inspection, while a separate dedicated mapping window is scheduled when conditions improve.
That kind of restraint is what separates a professional result from a busy-looking one.
Battery strategy on long highways
Highway missions create a psychological trap: the route always seems just a little longer than you planned.
Build your battery plan around segments, not total corridor ambition. If your team uses hot-swap batteries as part of an efficient field routine, keep segment continuity clean. Every battery change should correspond to a logical boundary such as a bridge group, interchange zone, or drainage cluster.
This helps with:
- report organization
- repeat inspections
- thermal comparison over time
- risk control in shifting wind
A clean battery segmentation plan also prevents mid-task improvisation, which is where data quality usually degrades first.
Data security and reporting discipline
Transport agencies, contractors, and infrastructure operators increasingly care about who can access flight data, imagery, and inspection records. AES-256 matters here not as marketing shorthand, but as part of a professional data-handling posture.
For highway monitoring, especially where construction phasing, utility placement, or traffic management layouts are involved, secure transmission and controlled data workflows are part of trust. If you are operating for a third party, document your handling process as carefully as your flight process.
A practical field routine for windy highway monitoring
Here is the sequence I give crews using the Mavic 3T:
Pre-launch
- Review wind direction relative to the corridor, not just forecast speed
- Select launch/recovery points with clean line of sight
- Break the route into short operational blocks
- Define thermal targets and visual confirmation rules
- If mapping is required, identify GCP-backed sections separately
First flight
- Fly a broad visual pass to read turbulence behavior
- Confirm transmission stability using the actual highway environment, not assumptions
- Note vehicle wake effects and problematic structures
Second flight
- Conduct thermal reconnaissance on the highest-priority segment
- Mark anomalies but avoid immediate over-interpretation
- Maintain consistent altitude through each comparison zone
Third flight
- Revisit anomalies for close visual confirmation
- Capture enough context for reporting, not just a tight crop of the issue
- Log wind changes and any deviations from planned route
Post-flight
- Group findings by highway behavior zone
- Separate thermal observations from verified defects
- Flag areas needing repeat inspection in calmer conditions
- Preserve data security and transmission logs when required
If your operation needs help refining route templates or integrating the Mavic 3T into a corridor-monitoring workflow, you can message our field team directly.
Where the Mavic 3T really excels against alternatives
Plenty of drones can produce a decent image. Fewer can sustain useful inspection logic under windy corridor conditions.
The Mavic 3T excels because it reduces the number of compromises you have to accept at once:
- fewer sensor-switching disruptions
- stronger corridor awareness through combined visual and thermal capture
- better transmission confidence with O3 in cluttered linear environments
- smoother transition from broad scan to local verification
- practical fit for repeatable civil infrastructure workflows
That last point matters most. Highways are not cinematic subjects. They are operational systems. A drone platform succeeds here when it helps crews produce evidence, not just footage.
The strongest lesson from the reference material is that engineering quality often comes down to how you handle constraints. In structural analysis, a bad boundary condition distorts the answer. In avionics, poor antenna installation weakens performance. In windy highway drone work, the same principle applies. Poor mission constraints and sloppy field positioning can make a capable aircraft look average.
Handled correctly, the Mavic 3T is anything but average.
Ready for your own Mavic 3T? Contact our team for expert consultation.