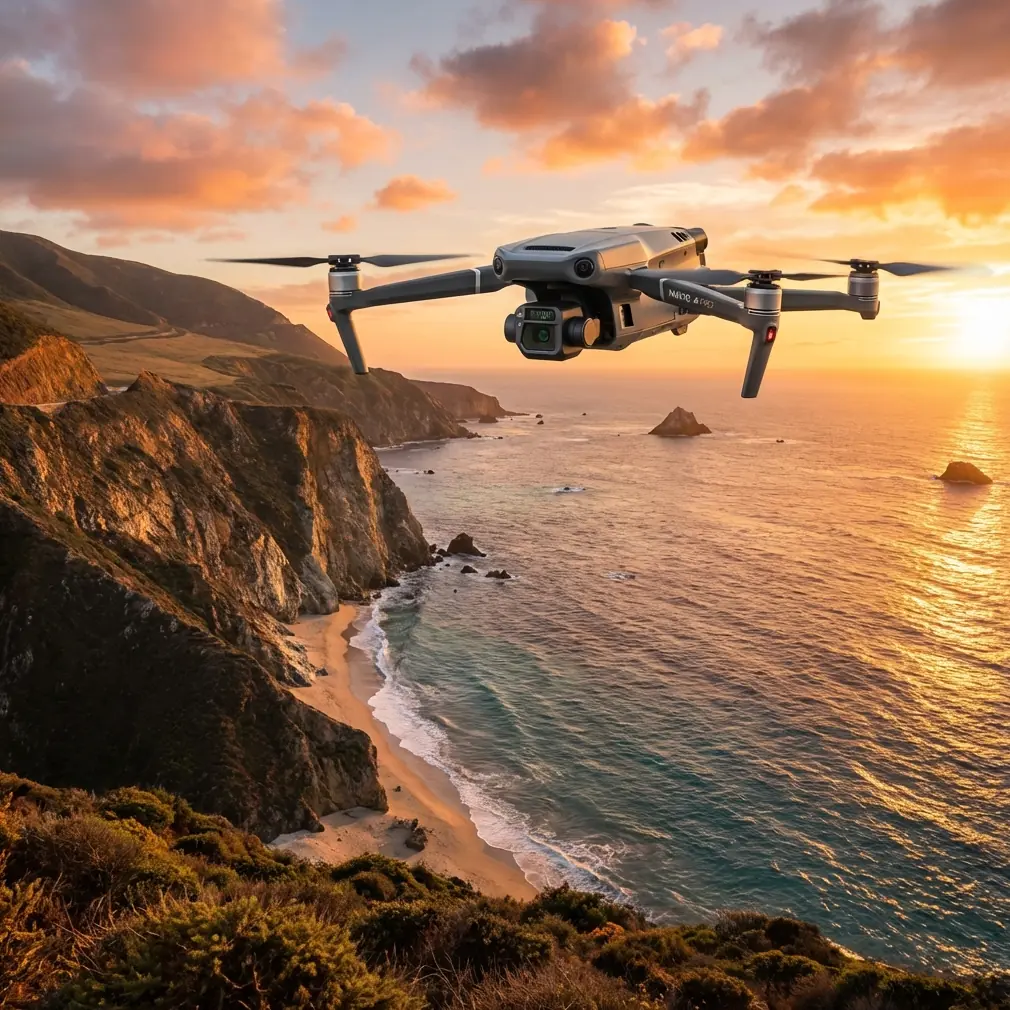
How to Survey Coastlines with the Mavic 3T Drone
How to Survey Coastlines with the Mavic 3T Drone
META: Learn how to survey complex coastlines with the DJI Mavic 3T. Expert guide covers optimal flight altitudes, thermal imaging, photogrammetry workflows, and more.
By Dr. Lisa Wang, Coastal Survey Specialist | Updated January 2025
TL;DR
- Fly at 80–120 meters AGL for optimal coastal survey resolution while maintaining safe BVLOS margins in complex terrain.
- The Mavic 3T's thermal sensor and wide-angle camera enable simultaneous RGB and thermal signature capture in a single pass.
- Use GCP networks every 200–300 meters along irregular coastlines to maintain photogrammetry accuracy below 5 cm RMSE.
- O3 transmission and AES-256 encryption ensure reliable, secure data links even across open water with heavy RF interference.
Why Coastal Surveying Demands a Specialized Drone
Coastal terrain is punishing for standard survey drones. You're dealing with salt spray, unpredictable wind shear along cliff faces, rapidly changing tidal windows, and terrain that shifts between rocky headlands, sandy beaches, and dense vegetation—sometimes within a single flight mission.
Traditional manned surveys of these environments are expensive, slow, and dangerous. Satellite imagery lacks the resolution to capture erosion patterns at the centimeter level. The Mavic 3T sits at the intersection of portability and enterprise-grade capability, making it one of the most practical tools available for complex coastline work.
This guide walks you through a complete methodology for coastal surveying with the Mavic 3T—from mission planning and flight altitude selection to photogrammetry processing and thermal analysis.
Understanding the Mavic 3T's Sensor Suite for Coastal Work
The Mavic 3T carries a triple-sensor payload that makes it uniquely suited for multi-layer coastal data collection:
- Wide-angle camera: 12 MP, 1/2.3" CMOS with a 108° FOV—ideal for capturing broad swaths of coastline per frame
- Zoom camera: 48 MP, 1/2" CMOS with 56× max hybrid zoom—critical for inspecting cliff faces and sea walls without flying dangerously close
- Thermal camera: 640 × 512 resolution, uncooled VOx microbolometer sensitive in the 8–14 μm spectral band
This combination lets you acquire RGB orthomosaics, detailed structural inspection imagery, and thermal signature data in a single sortie. For coastal scientists, that means capturing underground freshwater seepage, identifying vegetation stress zones, and detecting structural defects in breakwaters—all without landing.
Expert Insight: At coastal sites, I always run a quick thermal pre-scan before launching the full photogrammetry mission. Thermal signatures from subsurface water flow or erosion cavities show up clearly in the early morning hours when the temperature differential between wet substrate and dry rock is at its peak. This 10-minute pre-scan often reshapes my entire flight plan.
Step-by-Step: Planning Your Coastal Survey Mission
Step 1: Define Your Survey Corridor and Tidal Window
Coastal surveys are time-critical. You need to match your flight window to the tide cycle to ensure consistent waterline positioning across your dataset.
- Use tide tables to identify a 2–3 hour low-tide window
- Define your survey corridor as a strip 50–200 meters inland from the mean high-water mark, depending on project scope
- Buffer your corridor by 20% to account for GPS drift and wind-related flight path deviation
Step 2: Establish Your GCP Network
Ground control points are non-negotiable for survey-grade coastal photogrammetry. The irregular geometry of coastlines—curves, inlets, headlands—amplifies positional error if GCPs are spaced too far apart.
- Place GCPs every 200–300 meters along the survey corridor
- Use high-visibility targets (minimum 30 cm × 30 cm) that contrast with sand, rock, and vegetation
- Survey each GCP with an RTK GNSS receiver to achieve < 2 cm horizontal accuracy
- Add at least 3 checkpoints (not used in processing) for independent accuracy validation
Step 3: Select Your Flight Altitude
This is the single most consequential decision in your mission plan—and where most operators get it wrong.
Pro Tip: For complex coastlines, I consistently find that 80–120 meters AGL is the sweet spot. Below 80 meters, you sacrifice efficiency and risk terrain collisions on cliff faces. Above 120 meters, your ground sampling distance (GSD) on the wide-angle camera exceeds 5 cm/pixel, which falls below the threshold needed for erosion monitoring. At 100 meters AGL, the Mavic 3T's wide camera delivers approximately 4.6 cm/pixel GSD—precise enough for volumetric change detection between survey epochs.
Step 4: Configure Flight Parameters
Set up your automated mission using DJI Pilot 2 or compatible third-party flight planning software:
- Front overlap: 80% (minimum)
- Side overlap: 70% (minimum; increase to 75% for cliff areas with significant vertical relief)
- Flight speed: 8–10 m/s to prevent motion blur while maintaining battery efficiency
- Gimbal angle: -90° (nadir) for orthomosaic strips; add a second pass at -45° for cliff faces and vertical structures
- Photo mode: Timed interval, calibrated to your speed and overlap requirements
Step 5: Execute the Flight with BVLOS Considerations
Many coastal survey corridors extend beyond visual line of sight. If your jurisdiction permits BVLOS operations (and you hold the required waivers), the Mavic 3T's O3 transmission system provides a critical advantage:
- Max transmission range: 15 km (FCC-compliant environments)
- Dual-band frequency hopping: Automatically switches between 2.4 GHz and 5.8 GHz to maintain link stability
- AES-256 encryption: Ensures your command-and-control data stream and video downlink remain secure—essential for government-contracted coastal infrastructure surveys
- Auto-return failsafe: If signal drops below threshold, the aircraft returns to home point at a configurable safe altitude
Thermal Imaging for Coastal Analysis
The Mavic 3T's thermal camera opens analytical doors that RGB alone cannot:
- Freshwater seepage detection: Groundwater discharge points along cliffs and beaches show as distinct cold thermal signatures against warmer ambient rock
- Structural assessment: Concrete sea walls, groins, and revetments reveal subsurface voids and moisture intrusion through thermal gradient anomalies
- Wildlife habitat mapping: Nesting seabird colonies produce detectable heat signatures, enabling population counts without physical disturbance
- Pollution tracking: Thermal plumes from stormwater outfalls or industrial discharge are clearly delineated against ambient sea surface temperature
For best results, configure the thermal camera to use a high-gain mode with a manually set temperature span that brackets your expected scene range (typically 5–35°C for temperate coastlines).
Technical Comparison: Mavic 3T vs. Alternative Survey Platforms
| Feature | Mavic 3T | Fixed-Wing Survey Drone | Traditional Manned Survey |
|---|---|---|---|
| Deployment time | < 10 minutes | 20–30 minutes | Hours to days |
| Thermal sensor | Integrated 640 × 512 | Usually add-on payload | Separate handheld unit |
| Portability | Backpack-portable | Vehicle required | Heavy equipment |
| Flight endurance | 45 minutes | 60–90 minutes | N/A |
| Cliff face inspection | Yes (hover + zoom) | No (cannot hover) | Rope access required |
| Hot-swap batteries | Yes—swap in < 30 sec | Often requires tools | N/A |
| Wind resistance | Up to 12 m/s | Higher tolerance | Weather-dependent |
| Data security | AES-256 encrypted | Varies | Physical data handling |
| Cost per km surveyed | Low | Medium | Very high |
The Mavic 3T's ability to hover, capture oblique imagery of cliff faces, and swap batteries in seconds between flights makes it categorically superior to fixed-wing platforms for irregular, complex coastlines—even though fixed-wings cover more linear distance per flight.
Post-Processing Your Coastal Survey Data
Photogrammetry Workflow
Once your flight data is collected, process it through a standard photogrammetry pipeline:
- Import imagery into software such as Pix4Dmapper, Agisoft Metashape, or DJI Terra
- Tag GCPs in the imagery using your surveyed coordinates
- Run alignment and dense point cloud generation at high or ultra-high quality settings
- Generate outputs: Digital Surface Model (DSM), orthomosaic, and 3D mesh
- Validate accuracy against your independent checkpoints—target < 5 cm RMSE horizontally and < 8 cm RMSE vertically
Thermal Data Processing
Thermal frames can be processed as a separate orthomosaic layer, then co-registered with the RGB dataset using shared GCPs. This produces a georeferenced thermal map that can be draped over your 3D terrain model for intuitive visualization of seepage zones, structural anomalies, and habitat signatures.
Common Mistakes to Avoid
- Flying too low over cliff edges: Updrafts along cliff faces can exceed the Mavic 3T's wind resistance threshold. Maintain at least 20 meters of vertical clearance above cliff tops and approach from the landward side.
- Ignoring tidal timing: A 1-meter tidal change can shift the waterline by 10–50 meters on shallow-gradient beaches, making multi-sortie datasets impossible to merge accurately.
- Skipping GCPs on short surveys: Even a "quick" 500-meter coastal scan needs a minimum of 5 GCPs to prevent bowl-effect deformation in your photogrammetry model.
- Using default thermal settings: Auto-range thermal palettes compress contrast and mask subtle temperature gradients. Always set your span manually based on the scene.
- Neglecting battery management in cold/windy conditions: Salt air and wind drain batteries faster than inland flights. Plan for 30 minutes of effective flight time per battery, not the rated 45 minutes, and keep hot-swap batteries warm in an insulated bag.
Frequently Asked Questions
What is the best flight altitude for coastal photogrammetry with the Mavic 3T?
For most coastal survey applications, 80–120 meters AGL provides the optimal balance between coverage efficiency and ground sampling distance. At 100 meters, the wide-angle camera achieves approximately 4.6 cm/pixel GSD, which is sufficient for erosion monitoring, volumetric analysis, and infrastructure assessment. Fly lower only when sub-centimeter detail is required for specific structures.
Can the Mavic 3T operate safely in coastal wind conditions?
The Mavic 3T is rated for sustained winds up to 12 m/s (Level 6). Coastal environments frequently produce gusts beyond this, especially near cliff faces and headlands. Always check local wind forecasts, use a ground-level anemometer before launch, and build a 30% wind margin into your go/no-go threshold. If sustained winds exceed 9 m/s with gusts above 12 m/s, postpone the mission.
How do I ensure data security during government-contracted coastal surveys?
The Mavic 3T supports AES-256 encryption on its O3 transmission link, which meets most government data security requirements for unclassified survey work. Enable Local Data Mode in DJI Pilot 2 to prevent any telemetry from reaching external servers. For additional security, remove the SD card immediately after each flight and transfer data to an encrypted drive. Always verify that your operational security protocols align with your contracting agency's requirements before the first flight.
Ready for your own Mavic 3T? Contact our team for expert consultation.