Mavic 3T Guide: Surveying Dusty Fields With Precision
Mavic 3T Guide: Surveying Dusty Fields With Precision
META: Master agricultural field surveying with the Mavic 3T in dusty conditions. Expert tips on thermal imaging, antenna positioning, and photogrammetry workflows.
TL;DR
- O3 transmission maintains stable connections up to 15km even in dust-heavy environments with proper antenna positioning
- Thermal signature detection identifies irrigation issues and crop stress invisible to standard RGB cameras
- Hot-swap batteries enable continuous surveying sessions covering 200+ hectares per day
- Strategic GCP placement and flight planning overcome dusty condition challenges for accurate photogrammetry results
Why Dusty Field Conditions Demand Specialized Equipment
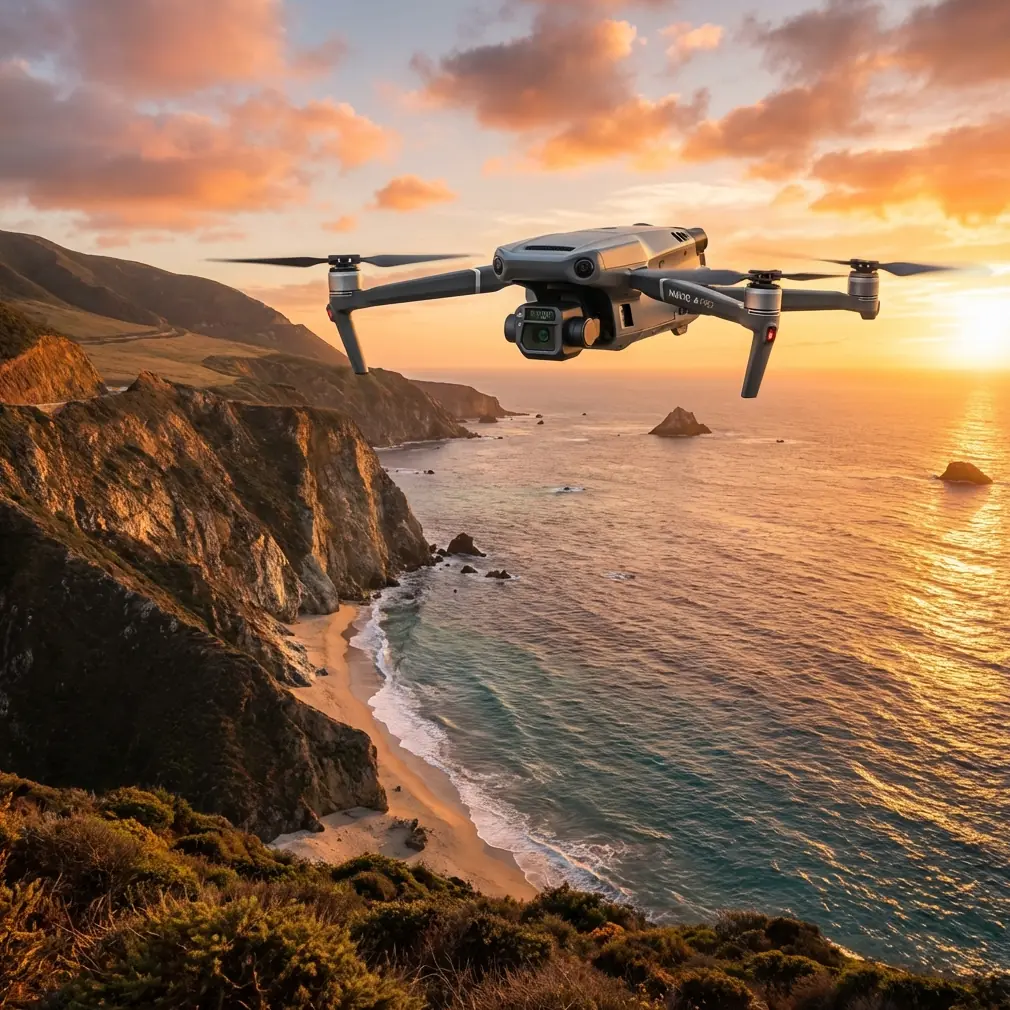
Agricultural surveying in arid and semi-arid regions presents unique challenges that ground-based methods simply cannot address efficiently. The Mavic 3T combines a 48MP wide camera, 12MP zoom lens, and 640×512 thermal sensor in a compact package weighing just 920g—making it the go-to platform for precision agriculture professionals working in demanding environments.
Dust particles scatter light, reduce visibility, and can interfere with radio signals. Understanding how to optimize your Mavic 3T setup specifically for these conditions separates successful survey missions from frustrating failures.
This tutorial walks you through every step of planning, executing, and processing field surveys when dust is your constant companion.
Understanding the Mavic 3T Sensor Suite for Agriculture
The Thermal Advantage
Thermal signature analysis reveals what visible light cannot. Crop water stress, underground irrigation leaks, and drainage problems all create temperature differentials detectable by the Mavic 3T's thermal sensor.
The DFOV (Dual Field of View) thermal camera captures both wide and telephoto thermal imagery simultaneously. For field surveying, this means:
- Wide thermal view for overall field health assessment
- Zoomed thermal for investigating specific problem areas
- ±2°C temperature accuracy for reliable stress detection
- 30Hz frame rate for smooth thermal video documentation
RGB Photogrammetry Capabilities
The 4/3 CMOS sensor delivers exceptional detail for creating orthomosaic maps and 3D terrain models. With a mechanical shutter eliminating rolling shutter distortion, you'll capture sharp imagery even during continuous flight operations.
Key specifications for photogrammetry work:
- 0.7m GSD at 100m altitude
- Mechanical shutter with 1/2000s minimum speed
- 84° FOV for efficient area coverage
- Support for JPEG and DNG raw formats
Expert Insight: In dusty conditions, I recommend shooting in DNG format. The additional dynamic range allows recovery of details lost to atmospheric haze during post-processing. The file size increase is worth the flexibility.
Antenna Positioning for Maximum Range in Dusty Environments
Dust particles in the air absorb and scatter radio frequencies, potentially reducing your effective transmission range. The Mavic 3T's O3 transmission system operates on both 2.4GHz and 5.8GHz bands with automatic switching, but proper antenna positioning maximizes signal strength.
The Perpendicular Rule
Position the RC Pro controller antennas perpendicular to the drone's location—not pointed directly at it. The antennas emit signal in a donut-shaped pattern, with the weakest transmission coming from the tips.
Height Matters
Elevate your ground station position when possible. Even standing on a vehicle bed or small platform reduces ground-level dust interference between you and the aircraft.
Practical Positioning Protocol
- Face the general direction of your survey area
- Angle antennas 45-60 degrees from vertical
- Keep antennas parallel to each other
- Avoid metal objects within 2 meters of your position
- Monitor signal strength indicators continuously
Pro Tip: Before launching in dusty conditions, I always perform a signal test by walking 50 meters away with the drone powered on but grounded. This baseline check reveals any local interference issues before your aircraft is airborne.
Pre-Flight Planning for Dusty Field Surveys
Weather Assessment
Wind speeds directly correlate with dust density. The Mavic 3T handles winds up to 12m/s, but dust considerations may require more conservative limits.
| Wind Speed | Dust Level | Recommended Action |
|---|---|---|
| 0-3 m/s | Minimal | Optimal survey conditions |
| 3-6 m/s | Moderate | Proceed with enhanced cleaning protocol |
| 6-9 m/s | Heavy | Reduce flight altitude, increase overlap |
| 9+ m/s | Severe | Postpone mission if possible |
GCP Strategy for Dusty Terrain
Ground Control Points ensure photogrammetry accuracy, but dust-covered surfaces challenge traditional GCP visibility. Implement these strategies:
- Use high-contrast targets (black and white checkerboard pattern)
- Place GCPs on elevated surfaces when available
- Clean GCP surfaces immediately before flight
- Capture dedicated GCP images at lower altitude (30-50m)
- Document GCP coordinates using RTK GPS for centimeter accuracy
Flight Path Optimization
Plan your survey to minimize time over the dustiest areas. Consider:
- Crosswind flight lines to avoid flying through your own rotor wash dust
- Higher altitude (100-120m) reduces dust interference but decreases GSD
- 75-80% front overlap and 70-75% side overlap compensates for occasional dust-obscured frames
- Start from downwind edge, working upwind throughout the mission
Executing the Survey Mission
Launch Protocol
Dust ingestion during takeoff poses the greatest contamination risk. Follow this sequence:
- Select a launch point with minimal loose soil
- Place a landing pad or tarp to create a clean surface
- Power on and complete pre-flight checks before removing gimbal cover
- Launch immediately after gimbal cover removal
- Ascend quickly to 10+ meters before beginning horizontal movement
In-Flight Monitoring
The Mavic 3T's AES-256 encryption ensures secure data transmission, but you should actively monitor:
- Battery temperature (dust can affect cooling)
- Signal strength fluctuations
- Gimbal status for dust-related errors
- Thermal sensor calibration warnings
Thermal Survey Techniques
For accurate thermal signature capture during field surveys:
- Fly during early morning or late afternoon for maximum thermal contrast
- Allow 15-20 minutes after sunrise for ground temperature stabilization
- Maintain consistent altitude throughout thermal passes
- Capture thermal and RGB simultaneously for data correlation
BVLOS Considerations for Large Field Operations
Beyond Visual Line of Sight operations dramatically increase survey efficiency for large agricultural properties. The Mavic 3T's capabilities support BVLOS when regulations permit:
- 15km maximum transmission range provides operational flexibility
- ADS-B receiver alerts you to nearby manned aircraft
- Return-to-home functions include multiple failsafe options
- 45-minute flight time enables extensive coverage per battery
Always verify local regulations before conducting BVLOS operations. Many jurisdictions require specific waivers, observer networks, or additional equipment.
Post-Flight Procedures
Immediate Cleaning Protocol
Dust accumulation degrades performance over time. After every dusty field mission:
- Use compressed air to clear vents and motor housings
- Clean lens surfaces with appropriate optical wipes
- Inspect propellers for dust buildup affecting balance
- Check gimbal movement for any resistance
- Clear charging port contacts before connecting batteries
Hot-Swap Battery Management
The Mavic 3T's hot-swap battery design enables continuous operations, but dusty conditions require extra attention:
- Keep spare batteries in sealed containers until needed
- Clean battery contacts before each insertion
- Monitor charging temperatures—dust can insulate and cause overheating
- Rotate batteries evenly to maintain balanced wear
Common Mistakes to Avoid
Launching from bare soil: The rotor downwash creates a dust cloud that immediately coats your sensors. Always use a launch pad or find a hard surface.
Ignoring wind direction changes: Dust conditions shift rapidly. What started as a clear flight path can become obscured if wind patterns change mid-mission.
Insufficient overlap settings: Standard overlap percentages assume clear conditions. Dusty environments require 10-15% additional overlap to ensure usable coverage.
Skipping GCP verification: Dust can shift GCP targets or obscure them entirely. Always verify GCP visibility in your captured imagery before leaving the site.
Neglecting thermal calibration: The thermal sensor requires periodic flat-field calibration. Dusty conditions can trigger false readings if calibration is overdue.
Processing Survey Data
Photogrammetry Workflow
Import your RGB imagery into processing software with these dusty-condition adjustments:
- Enable haze removal during initial processing
- Set higher keypoint density to compensate for reduced contrast
- Manually verify GCP identification—automatic detection may struggle
- Review orthomosaic for dust-related artifacts requiring manual correction
Thermal Data Analysis
Thermal signature interpretation requires understanding environmental factors:
- Soil moisture appears cooler than dry areas
- Crop stress shows as elevated canopy temperatures
- Irrigation system leaks create distinct cool linear patterns
- Equipment tracks may show thermal artifacts from compaction
Frequently Asked Questions
How does dust affect the Mavic 3T's obstacle avoidance sensors?
The omnidirectional obstacle sensing system uses both visual and infrared sensors. Heavy dust can reduce detection range by 20-40%. In severely dusty conditions, consider increasing minimum obstacle distance settings or switching to manual flight mode for critical operations.
What maintenance schedule should I follow for dusty environment operations?
For regular dusty field work, perform detailed cleaning after every flight day. Send the aircraft for professional sensor cleaning every 50-75 flight hours. Replace propellers every 100 hours rather than the standard 200 hours due to accelerated wear from dust abrasion.
Can I use the Mavic 3T's thermal camera to detect underground irrigation problems?
Yes, thermal signature analysis excels at identifying subsurface moisture issues. Underground leaks create surface temperature differentials visible to the thermal sensor, typically appearing as cooler linear or circular patterns. Best results occur during morning hours when temperature gradients are most pronounced.
Mastering agricultural field surveys in dusty conditions requires understanding both your equipment capabilities and environmental challenges. The Mavic 3T provides the sensor suite, transmission reliability, and flight endurance needed for professional results—when operated with proper technique.
Ready for your own Mavic 3T? Contact our team for expert consultation.