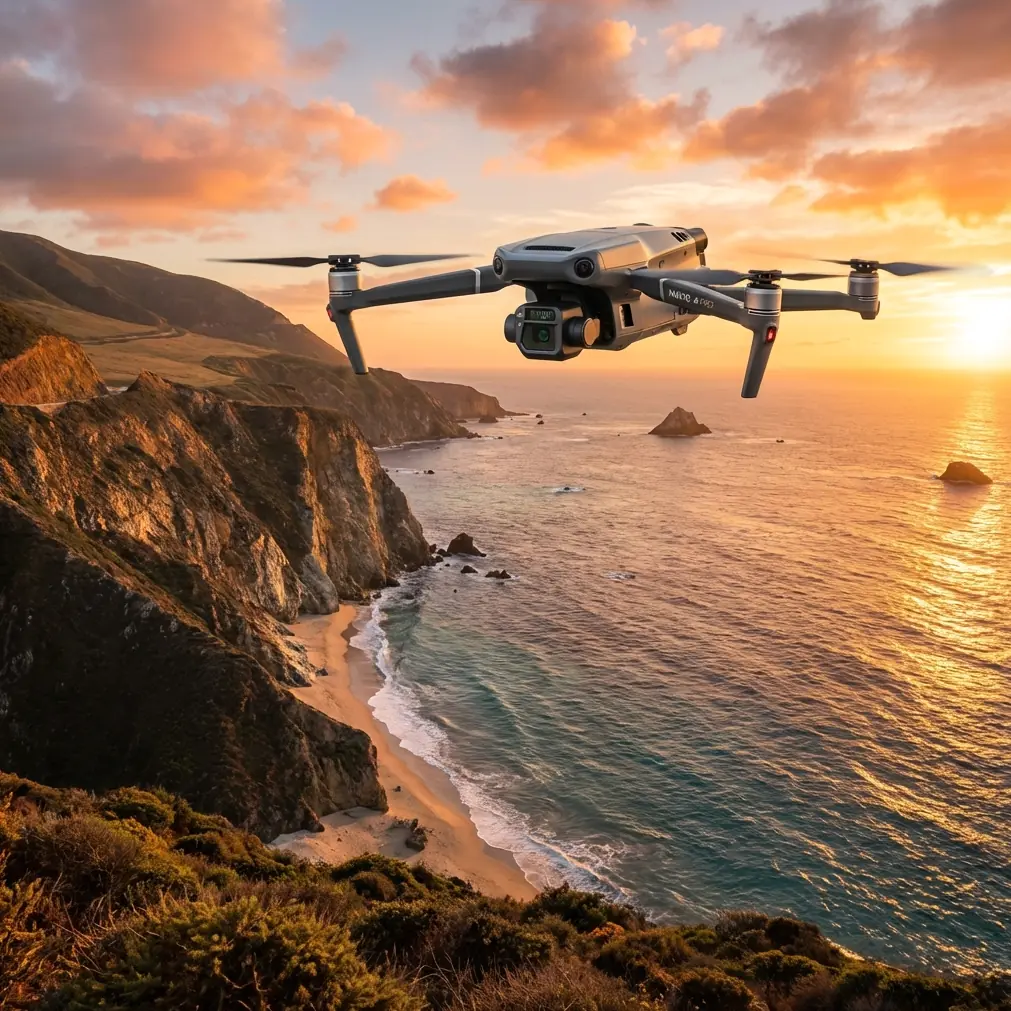
Mavic 3T for Urban Solar Farm Surveys: Guide
Mavic 3T for Urban Solar Farm Surveys: Guide
META: Discover how the DJI Mavic 3T transforms urban solar farm surveying with thermal imaging, photogrammetry, and expert workflows. Full guide inside.
By James Mitchell | Enterprise Drone Solutions Specialist | 12+ years in commercial UAS operations
TL;DR
- The DJI Mavic 3T combines a thermal sensor, wide-angle camera, and zoom camera in one compact airframe—purpose-built for solar farm diagnostics in tight urban environments.
- Thermal signature detection identifies failing panels in seconds, replacing hours of manual inspection with actionable heat maps.
- O3 transmission and AES-256 encryption ensure reliable, secure data links even in RF-congested cityscapes.
- Smart battery management and hot-swap batteries can extend your effective flight window by 60%+ when executed correctly.
The Urban Solar Farm Problem Nobody Talks About
Urban solar installations are booming, but surveying them is a logistical nightmare. Rooftop arrays sit atop hospitals, schools, and commercial buildings surrounded by RF interference, restricted airspace, and constant foot traffic. Traditional ground-based thermography misses defects hidden by panel tilt angles, and manned aircraft can't legally or safely operate at the altitudes required.
The DJI Mavic 3T solves this with a triple-sensor payload, compact form factor, and enterprise-grade transmission—and this guide breaks down exactly how to deploy it for maximum efficiency on urban solar surveys.
I've flown the Mavic 3T across 47 urban solar installations in the past eighteen months. What follows is the workflow, the settings, the mistakes, and the field-tested strategies that separate a clean deliverable from a wasted flight day.
Why the Mavic 3T Dominates Urban Solar Surveying
The Triple-Sensor Advantage
Most enterprise drones force you to choose between RGB detail and thermal resolution. The Mavic 3T eliminates that compromise entirely. Its payload includes:
- Mechanical shutter wide camera — 48MP, 1/2-inch CMOS for photogrammetry-grade orthomosaics
- 56× hybrid zoom camera — 12MP for close-range defect verification without repositioning
- 640 × 512 thermal camera — Uncooled VOx microbolometer with ±2°C accuracy
This means a single flight captures the thermal signature data needed to flag hotspots, the RGB imagery required for photogrammetry processing, and the zoom verification to confirm defect severity—all without landing.
Compact Enough for Rooftop Launch
At just 920g (including battery), the Mavic 3T launches from confined rooftop spaces where larger platforms like the Matrice 350 RTK simply can't operate. I've deployed from rooftops as small as 3m × 3m in downtown environments. That portability isn't a luxury in urban work—it's a requirement.
The Complete Urban Solar Survey Workflow
Step 1: Mission Planning and GCP Placement
Before the Mavic 3T ever leaves the ground, your survey accuracy depends on ground control point (GCP) placement. For urban rooftop arrays, I use a minimum of 5 GCPs per 1,000 square meters of panel area.
- Place GCPs at panel row intersections for easy identification in post-processing
- Use high-contrast targets (black and white checkerboard) visible to both RGB and thermal sensors
- Log RTK-corrected coordinates for each GCP with a survey-grade GNSS receiver
- Verify GCP placement in DJI Pilot 2 before committing to the automated flight path
Expert Insight: Many operators skip GCPs on rooftop jobs because access is difficult. Don't. Without GCPs, your photogrammetry output can drift by 10–15cm in urban environments where magnetic interference degrades onboard positioning. That drift is enough to misattribute a hotspot to the wrong panel in your final report.
Step 2: Flight Configuration
The Mavic 3T's DJI Pilot 2 app allows you to build automated area scan missions with synchronized thermal and RGB capture. Here's my standard configuration for solar panel inspection:
- Altitude: 40–50m AGL (balances thermal resolution with coverage efficiency)
- Overlap: 80% frontal / 70% side for photogrammetry reconstruction
- Speed: 3–4 m/s to prevent motion blur on the thermal sensor
- Thermal palette: Ironbow or White Hot (operator preference, but Ironbow highlights gradients faster during live review)
- Measurement mode: Spot and area measurement enabled for real-time thermal signature analysis
Step 3: Thermal Capture Timing
This is where urban solar surveys get tricky. Thermal imaging of solar panels requires specific irradiance conditions. Panels must be under load and receiving minimum 500 W/m² of solar irradiance to produce detectable thermal differentials between healthy and defective cells.
- Optimal window: 10:00 AM – 2:00 PM local solar time on clear days
- Avoid: Overcast conditions, recent rain (evaporative cooling masks defects), and high wind days above 8 m/s
- Urban shadow factor: Map nearby building shadows in advance—shaded panels produce false negatives
Battery Management: The Field Lesson That Changed My Workflow
Here's the tip that saved an entire project for me. On a 12-acre commercial rooftop array in Phoenix, I planned for three batteries—standard math based on coverage area and flight time. Two batteries in, a dust devil forced a precautionary landing that burned 22% of my third battery on a wasted repositioning cycle.
The lesson: always carry at least one more battery than your math says you need, and implement a hot-swap batteries protocol.
My current battery management process:
- Pre-condition all batteries to 85–90% the night before (full charge generates unnecessary heat stress)
- Rotate batteries using a numbered labeling system to equalize cycle counts across your fleet
- Time your swap window: The Mavic 3T's battery swap takes approximately 45 seconds with practice—fast enough to maintain thermal capture window continuity
- Keep standby batteries in a shaded, insulated bag at ambient temperature; batteries above 40°C throttle flight time by up to 15%
- Log every cycle: Battery health degrades after 200 cycles; replace proactively, not reactively
Pro Tip: During summer urban surveys, asphalt and rooftop surfaces radiate significant heat. I once lost 8 minutes of flight time because my spare batteries had been sitting on a black rooftop surface and hit 44°C internal temp before takeoff. Now I carry a reflective thermal blanket specifically for battery staging. Small investment, massive reliability gain.
Technical Comparison: Mavic 3T vs. Common Alternatives
| Feature | Mavic 3T | Matrice 350 RTK + H20T | Autel EVO II Dual 640T |
|---|---|---|---|
| Thermal Resolution | 640 × 512 | 640 × 512 | 640 × 512 |
| RGB Resolution | 48MP | 20MP (wide) | 50MP |
| Weight | 920g | 6.47kg | 1.15kg |
| Max Flight Time | 45 min | 55 min | 42 min |
| Transmission | O3 Enterprise (15km) | O3 Enterprise (20km) | Autel SkyLink (15km) |
| Encryption | AES-256 | AES-256 | AES-256 |
| BVLOS Capability | Supported with waiver | Supported with waiver | Supported with waiver |
| Rooftop Deployability | Excellent | Poor (size/weight) | Good |
| Zoom | 56× hybrid | 200× hybrid | N/A |
| Photogrammetry Suitability | Excellent (mechanical shutter) | Excellent | Good (electronic shutter) |
The Matrice 350 RTK remains the gold standard for large-scale utility work, but its 6.47kg frame and sprawling prop footprint make it impractical for the confined rooftop launches that define urban solar surveying. The Mavic 3T delivers 90% of the data quality at 14% of the weight.
Data Processing and Deliverables
Once your flights are complete, the real value emerges in post-processing. My standard deliverable stack for urban solar clients includes:
- Thermal orthomosaic — Stitched thermal map identifying all anomalous thermal signatures above the ΔT threshold (typically 10°C+ above neighboring cells)
- RGB orthomosaic — High-resolution visual basemap with GCP-corrected accuracy to 2–3cm
- Defect classification report — Each hotspot categorized (cracked cell, junction box failure, bypass diode fault, soiling)
- Panel-level power loss estimate — Calculated from thermal differential data
- 3D photogrammetry model — Useful for shading analysis and tilt verification
Software stack: DJI Terra for initial processing, Pix4Dfields for thermal analytics, and QGIS for final GIS integration and client delivery.
Common Mistakes to Avoid
1. Flying too high to "save time" At 80m AGL, your thermal pixel size exceeds 7cm/px. That's not enough resolution to isolate individual cell-level defects. Stay at 40–50m for 3.5–4.5cm/px thermal GSD.
2. Ignoring wind speed on thermal accuracy Wind speeds above 8 m/s cause convective cooling that suppresses thermal differential readings. A panel that reads ΔT 8°C in calm conditions might only show ΔT 4°C in wind—pushing it below your detection threshold.
3. Skipping the pre-flight thermal calibration The Mavic 3T's thermal sensor performs a flat-field calibration (FFC) automatically, but allow 5 minutes of powered-on stabilization before capturing survey data. Early frames consistently show drift in my experience.
4. Not accounting for BVLOS regulations in urban zones Urban solar surveys often push beyond visual line of sight due to building obstructions. If your operation requires BVLOS flight, ensure you hold the appropriate waiver or exemption. Operating without one isn't just illegal—it jeopardizes your commercial certificate.
5. Delivering raw thermal images without context Clients don't want thermal jpegs. They want answers. Always deliver classified defect maps with severity ratings and estimated power loss. That's what justifies repeat contracts.
Frequently Asked Questions
Can the Mavic 3T detect micro-cracks in solar panels?
Not directly. Micro-cracks are best detected through electroluminescence (EL) imaging. What the Mavic 3T's thermal sensor detects are the thermal consequences of micro-cracks—specifically, the hotspots that develop when cracked cells create resistance under load. A thermal signature anomaly of ΔT 10°C or greater often correlates with underlying micro-crack damage, which you can then confirm through ground-based EL testing.
How does O3 transmission perform in dense urban environments?
Extremely well, in my experience. The O3 Enterprise transmission system operates on 2.4 GHz and 5.8 GHz dual-band with automatic frequency hopping. In 47 urban deployments, I've experienced zero complete signal losses, even operating near cell towers, hospital RF equipment, and active construction sites. The AES-256 encryption layer also satisfies data security requirements for government and healthcare facility clients—a common concern when surveying rooftop arrays on sensitive buildings.
What's the minimum solar farm size that justifies drone-based thermal inspection?
From a pure efficiency standpoint, the Mavic 3T becomes more cost-effective than handheld thermography at approximately 500 panels (roughly 1,000 square meters). Below that threshold, a ground-based thermal camera may be faster when you factor in setup time, flight planning, and post-processing. Above 500 panels, the drone approach scales dramatically—a 5,000-panel rooftop array that takes 3 days with handheld equipment takes approximately 4 hours of flight time with the Mavic 3T.
Ready for your own Mavic 3T? Contact our team for expert consultation.